|
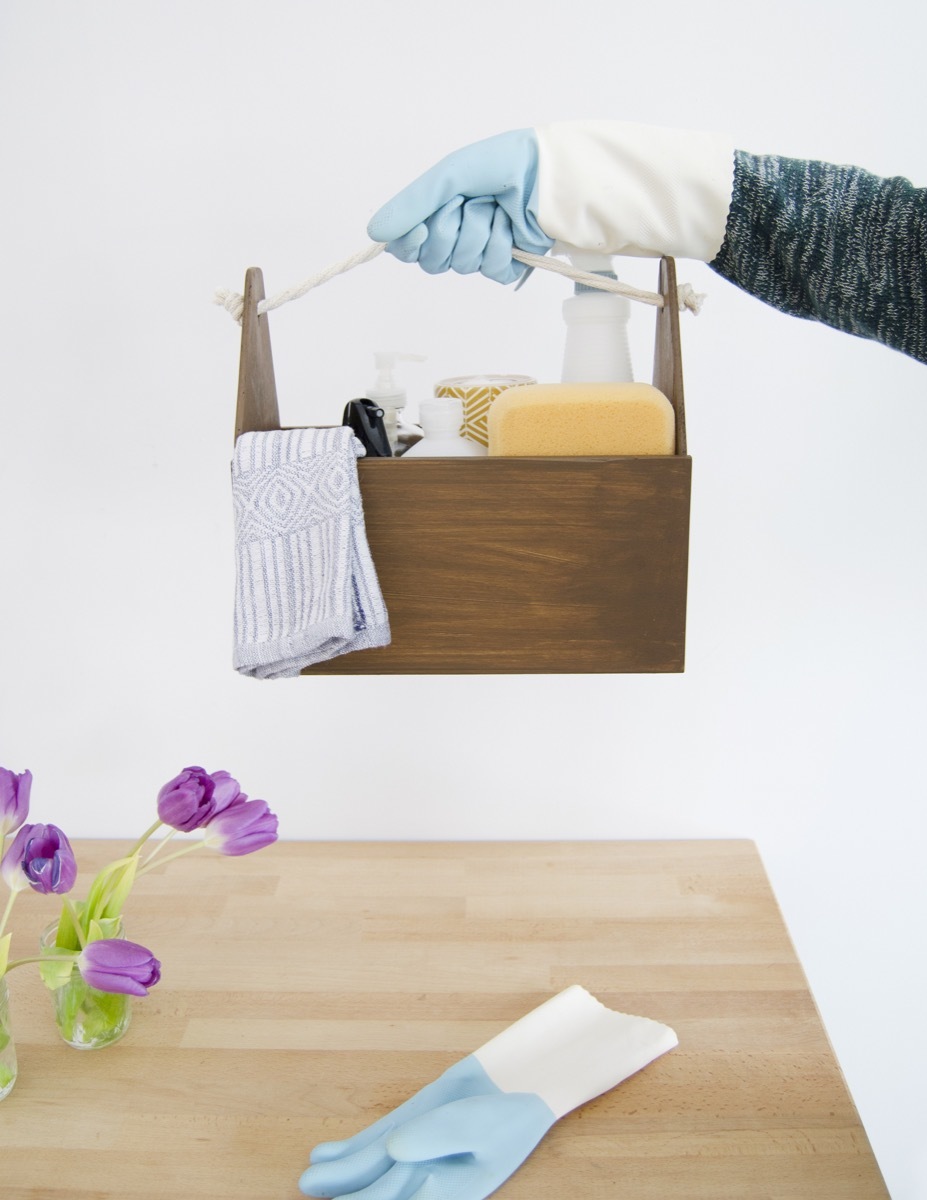
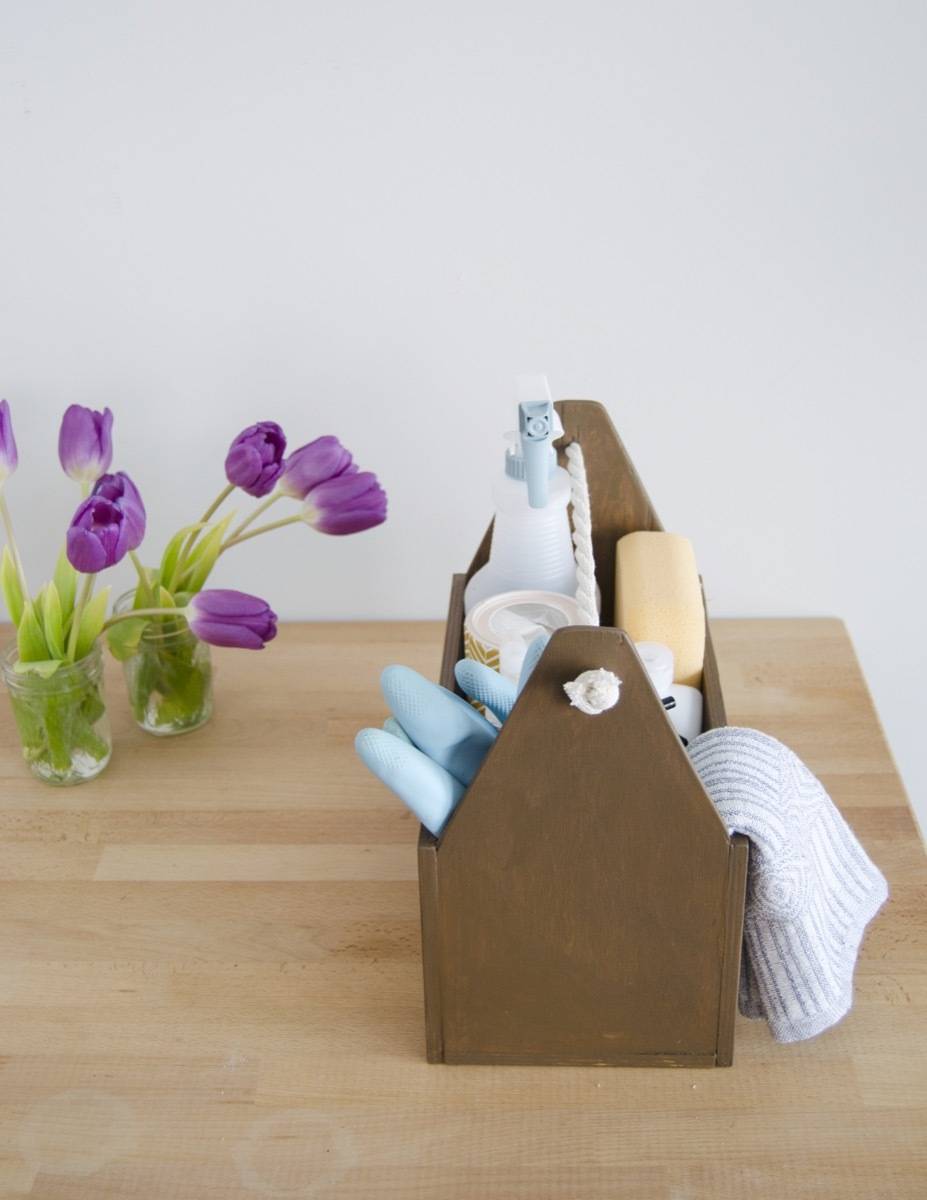
There are a couple rules-of-thumb when it comes to successfully keeping your home clean. One of those rules is that you should always keep your cleaning supplies in one place, and you should always put them back when you’re done using them. A cleaning caddy meets both those criteria, and – bonus – makes carrying household cleaners from room to room super easy! I’ve been wanting to incorporate a carrier into my cleaning routine for a while now, and rather than purchase a cheap-looking plastic one that will surely break over time, I opted to make one instead.
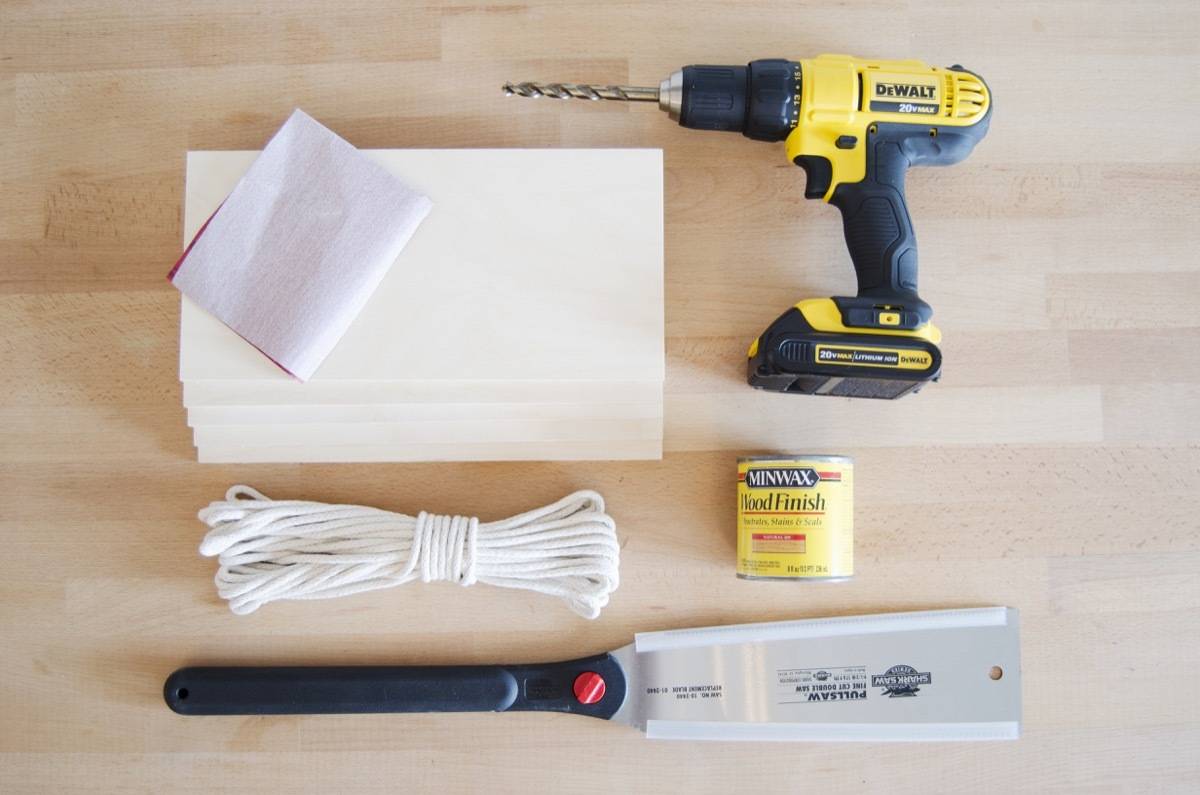
The plus side to making rather than buying a cleaning caddy is I could build it a little smaller than the store-standard sizes. Living in a smaller apartment, I’m always looking for ways to save on storage space! Materials
Step
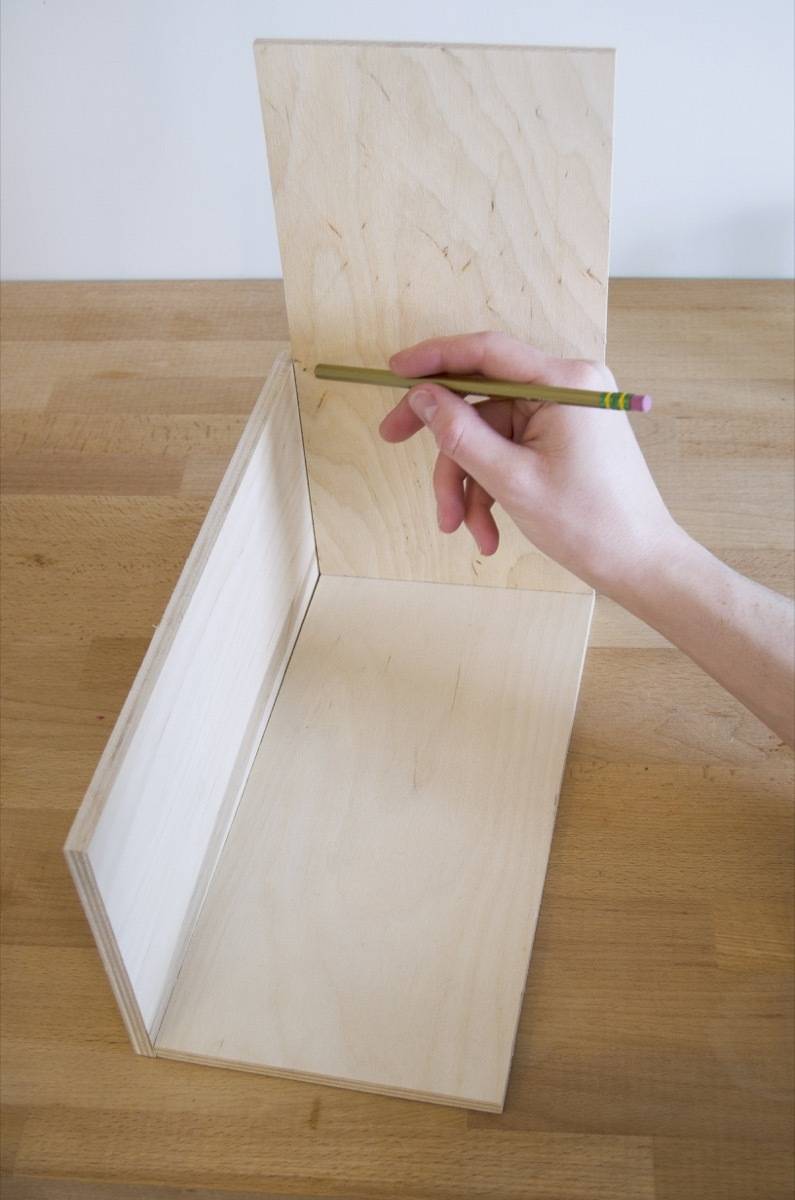
Begin by lining up the pieces of wood. Lay the first board on the bottom, and the second standing on its side flush with the edge of the bottom piece. Line a third board on top of the bottom board, and make a mark where it reaches the second board. This mark will lie about 5 1/2 inches from the edge of the board. Step
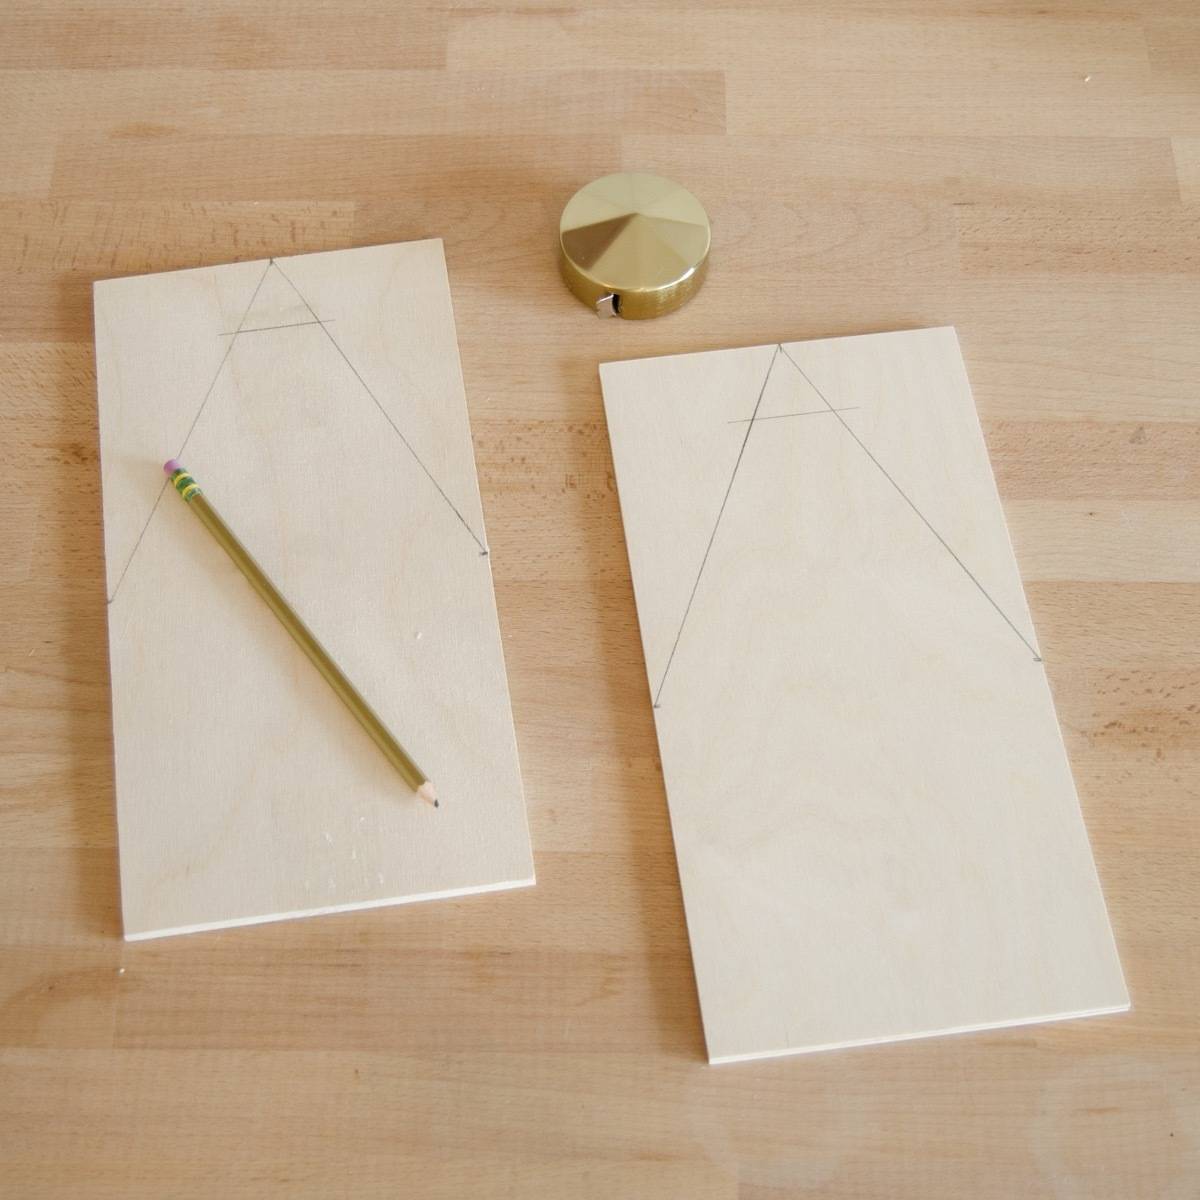
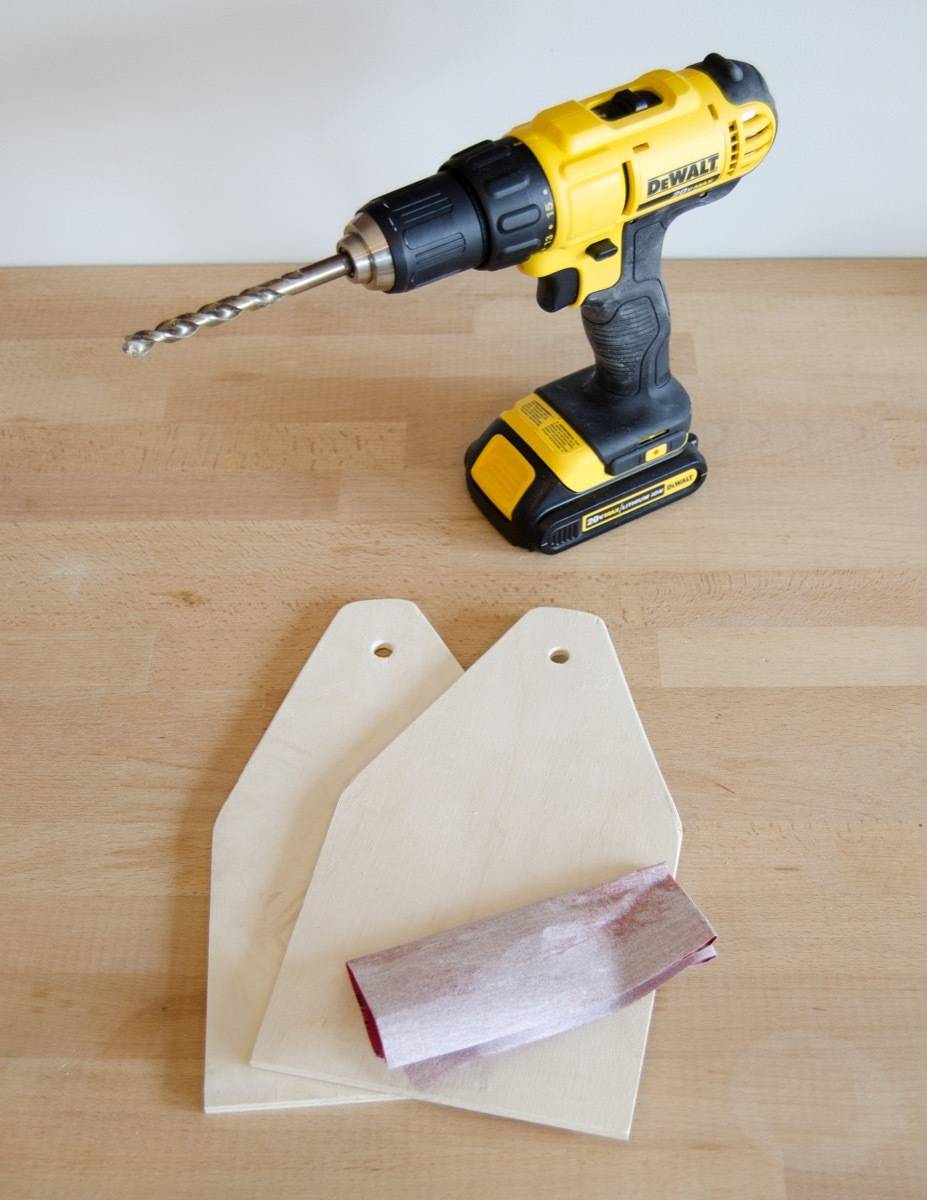
Make this mark on the opposite side of the board. Do the same for a fourth board. Next, make a mark in the middle of each board, and draw a line from the first marks to the middle point. About 1 1/2 inches down from the top, draw another line. This marks out what wood will be cut in the next step. Step
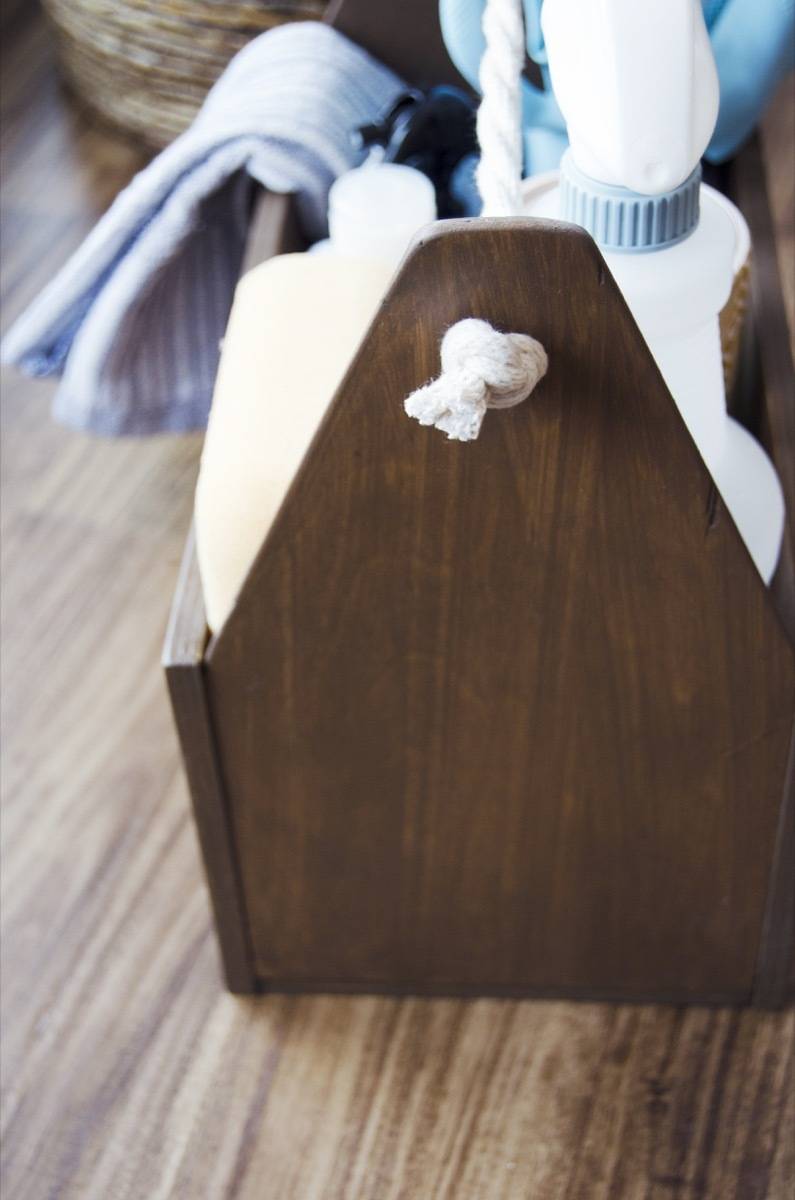
Cut along the drawn lines using a hand saw or a table saw. About 1 1/2 inch down from the pointed top of the cut boards, drill a 1/4 inch hole using a power drill. Sand all rough edges. Step
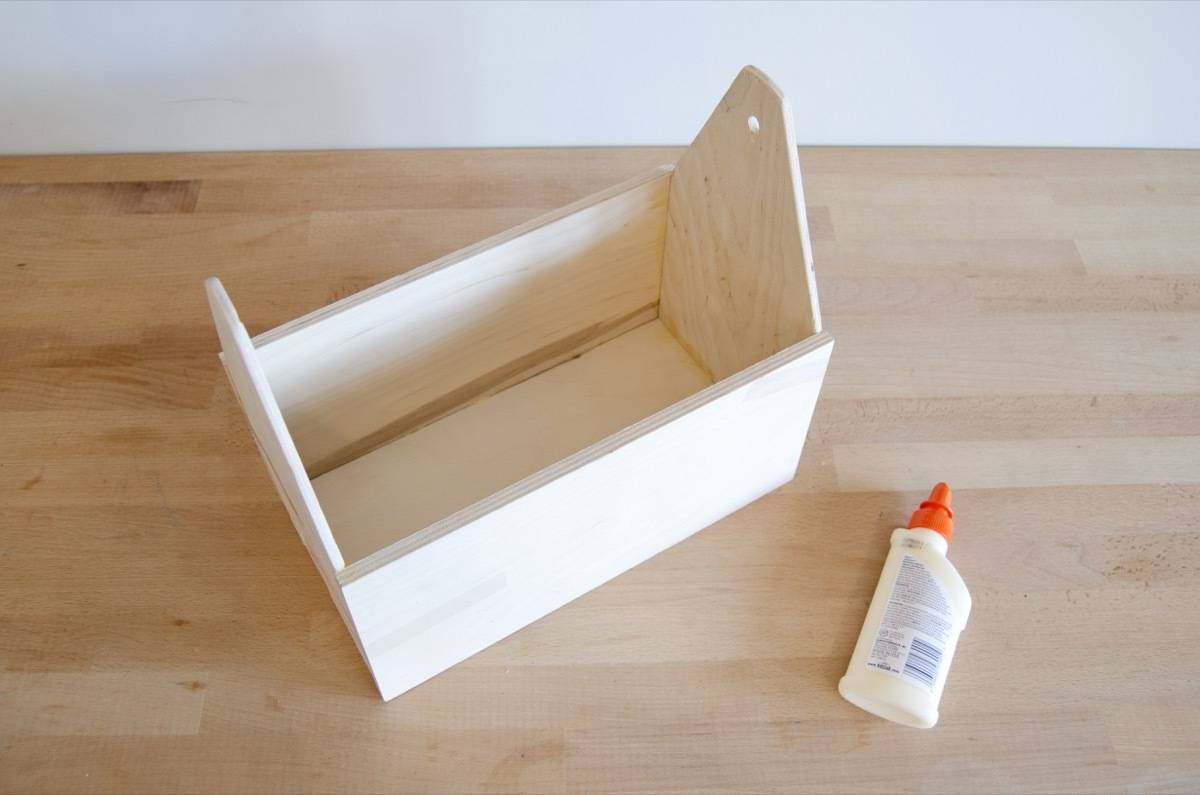
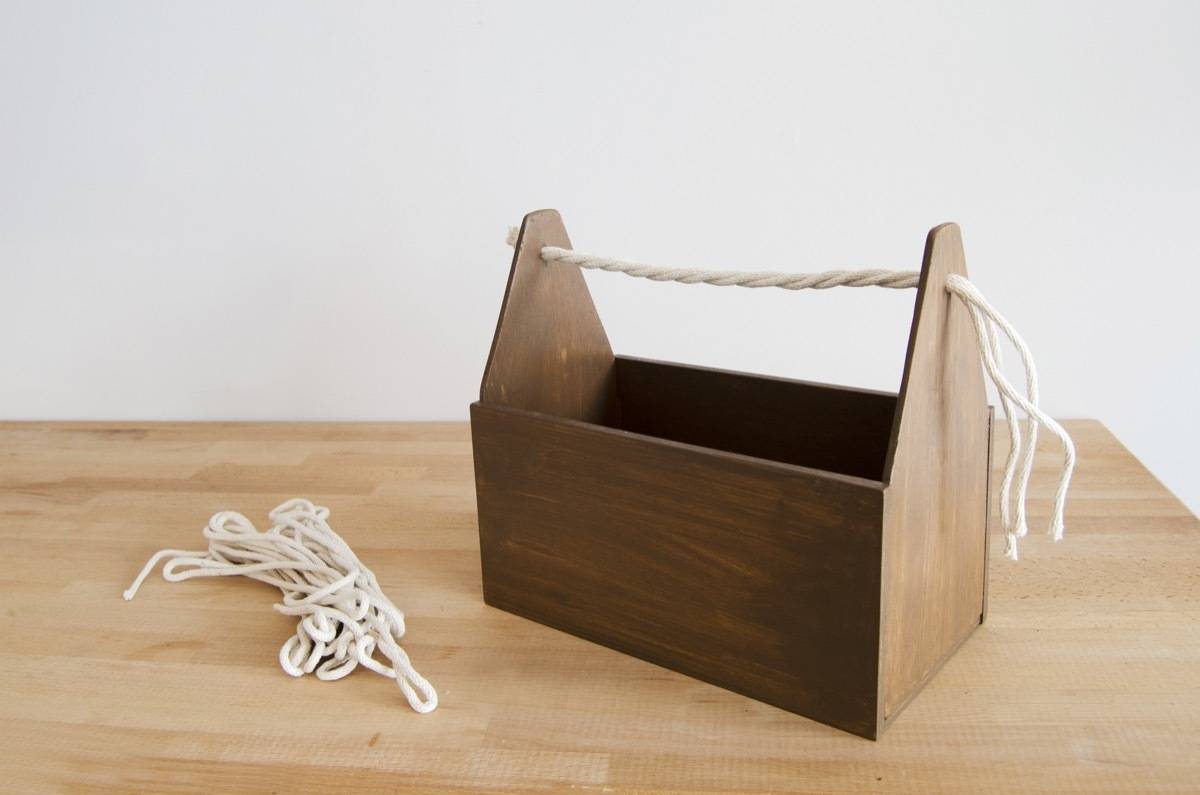
Assemble the caddy using wood glue. Use masking tape to hold the pieces in place as they dry. Wipe up any excess glue with a damp paper towel before the glue dries. StepApply a layer of wood stain to the entire caddy. Wipe the wood with a dry paper towel once it has reached the desired darkness of stain, then let dry completely. Step
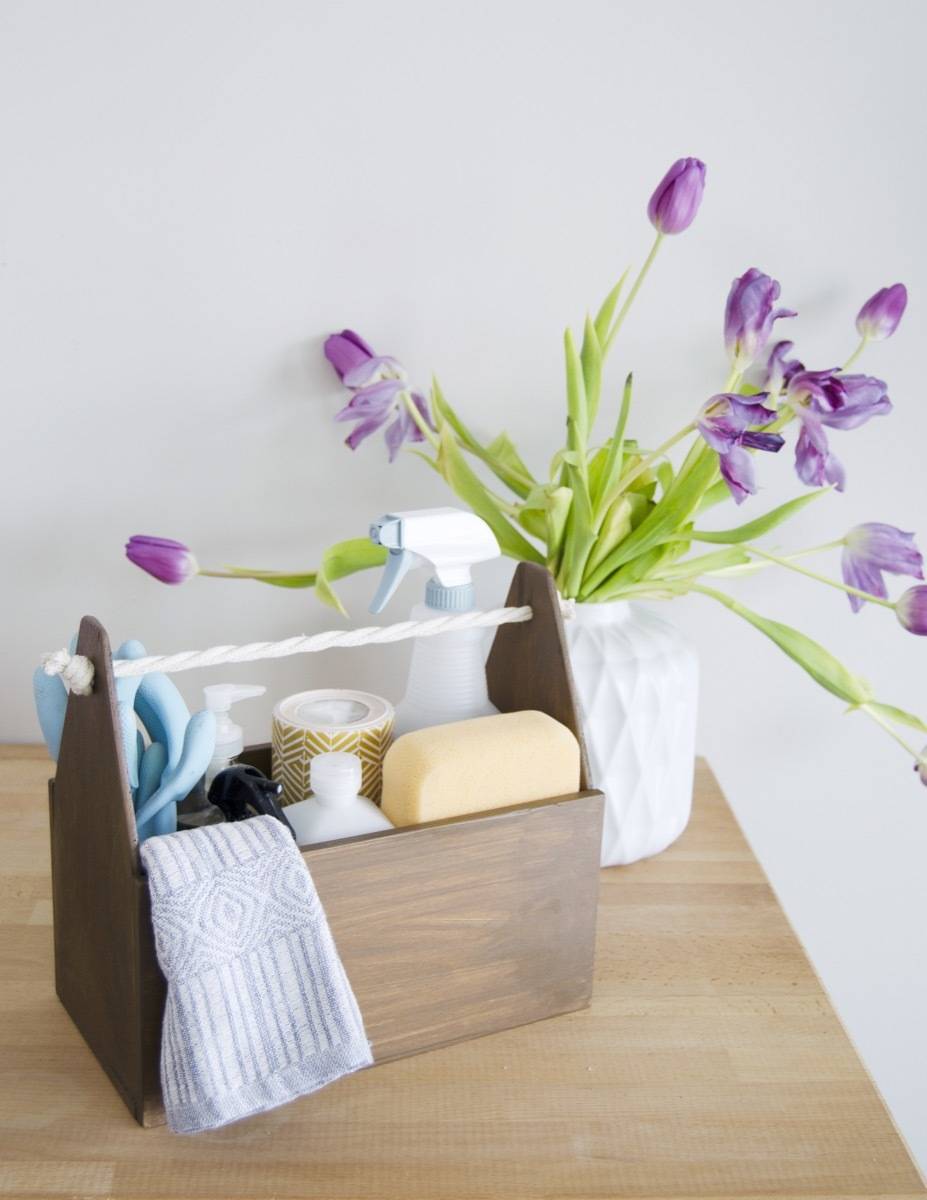
Feed rope or twine through the drilled holes the cleaning caddy. Knot the rope on each end. Done!
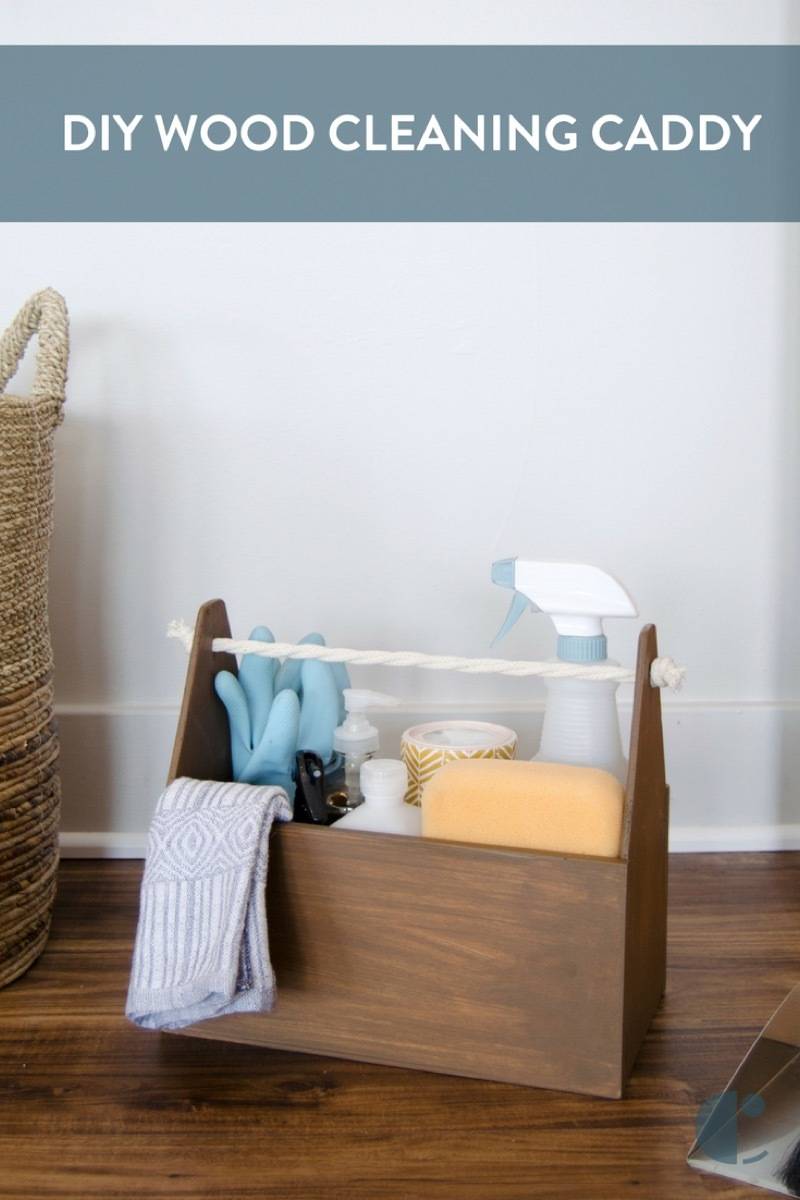
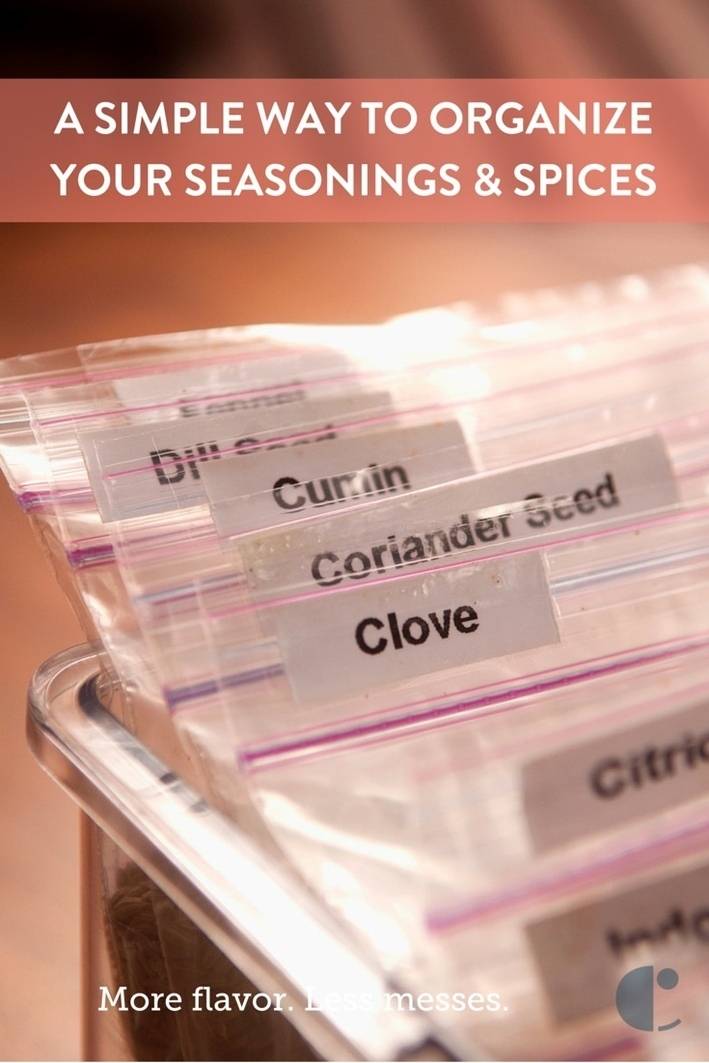
I’m really hoping that having such a cute cleaning caddy will encourage me to clean more around my apartment. Fingers crossed! Now that the cleaning supplies are in order, let’s tackle the spice rack with this simple system!
The post Make Cleaning Less of a Chore with this DIY Household Cleaner Organizer appeared first on Curbly. Via https://www.curbly.com/diy-wood-cleaning-caddy
0 Comments
September is National Sewing Month, and in honor of the occasion, we’re taking a deep look at one of the most versatile materials out there: fabric! From sewing pillows to creating statement wall pieces, there’s no limit to the way you can use fabric in the world of interior design. Here are 99 of our favorite tips on how to use fabric to decorate every room of your home. You don’t have to be a tailor to use textiles in your space. From no-sew curtains to fabric as wallpaper, there’s a project out there for everybody! What’s the coolest way you’ve decorated with fabric? Let us know in the comments!LIVING ROOM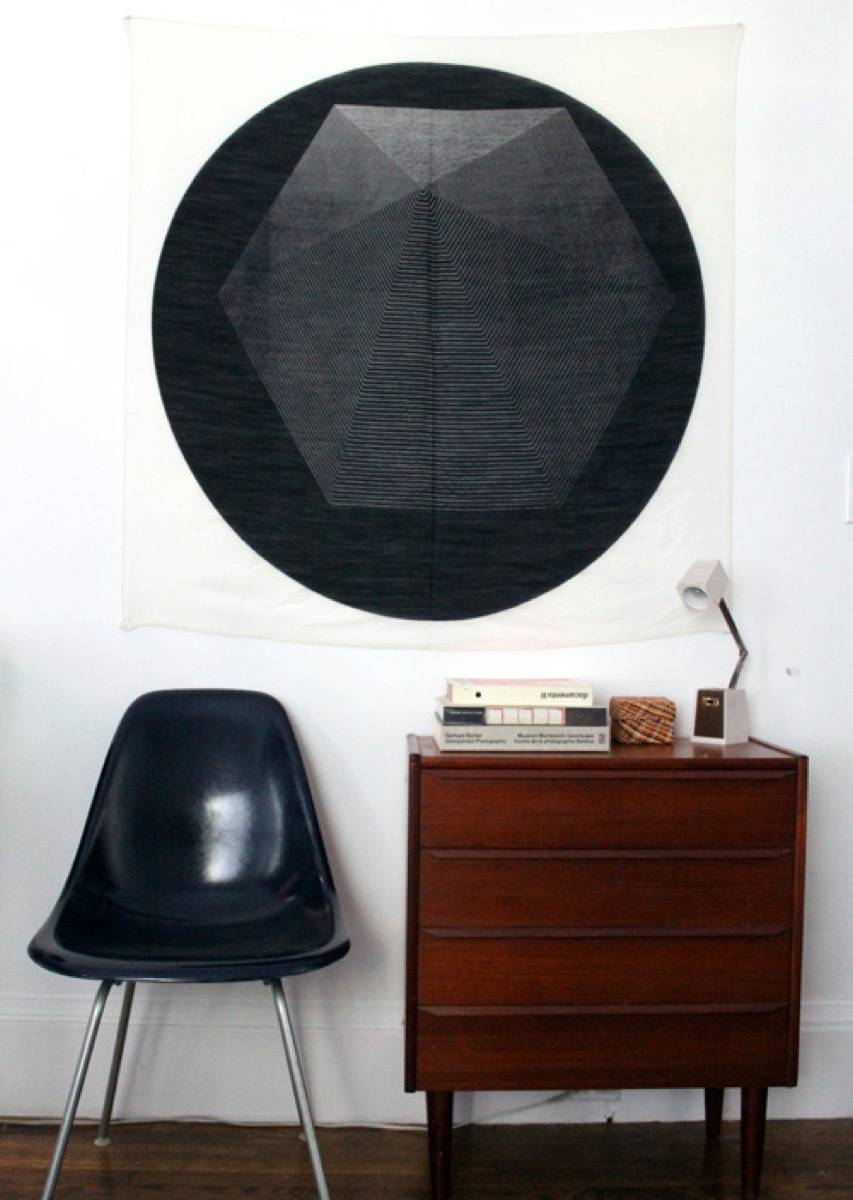
1. Hang some pretty fabric, like a scarf on the wall for instant and cheap wall art. 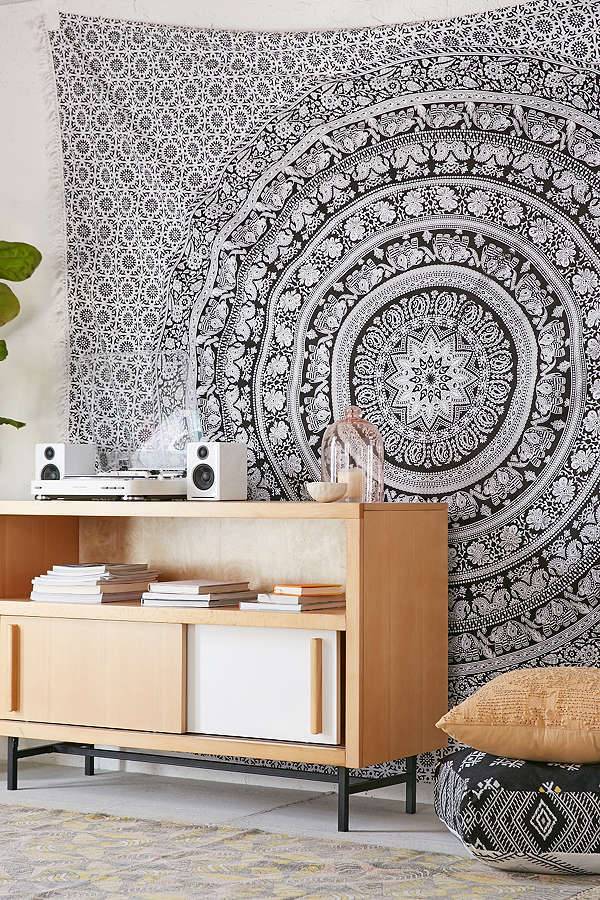
2. Hang a giant tapestry to create an accent wall. 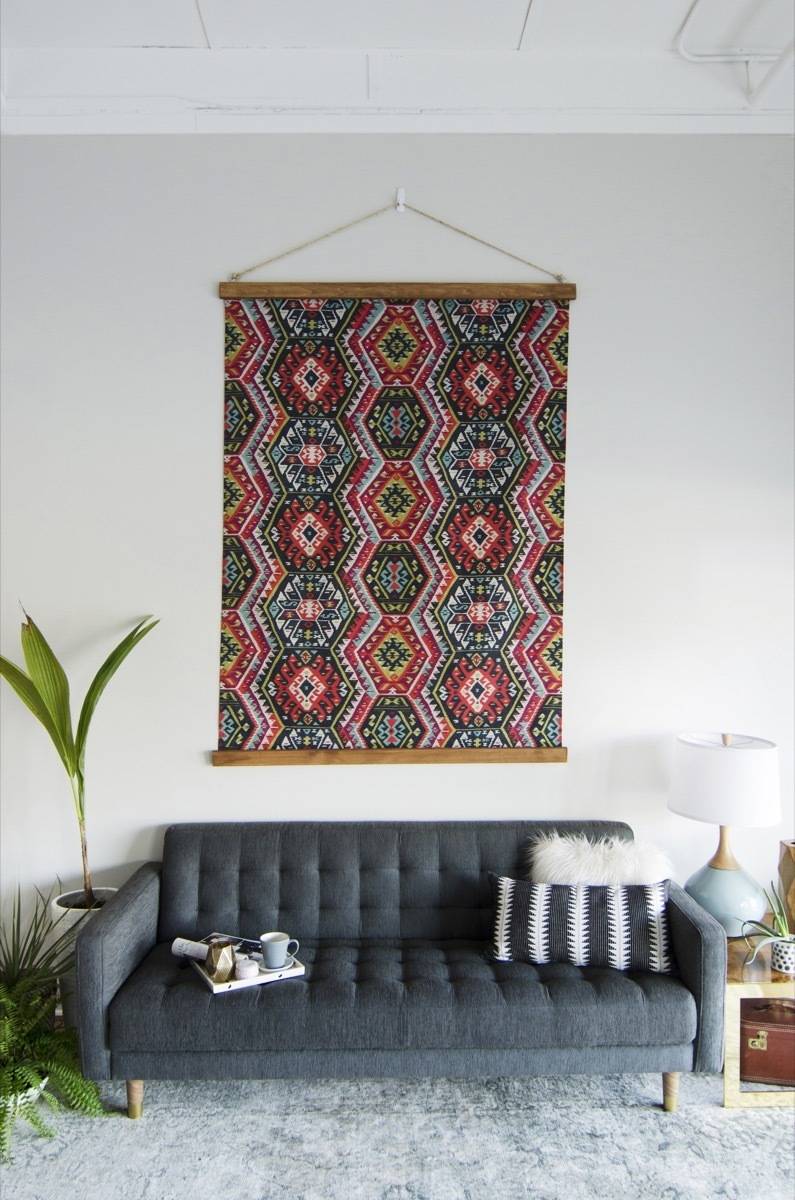
3. Staple wood beams to to colorful fabric to create custom framed art. 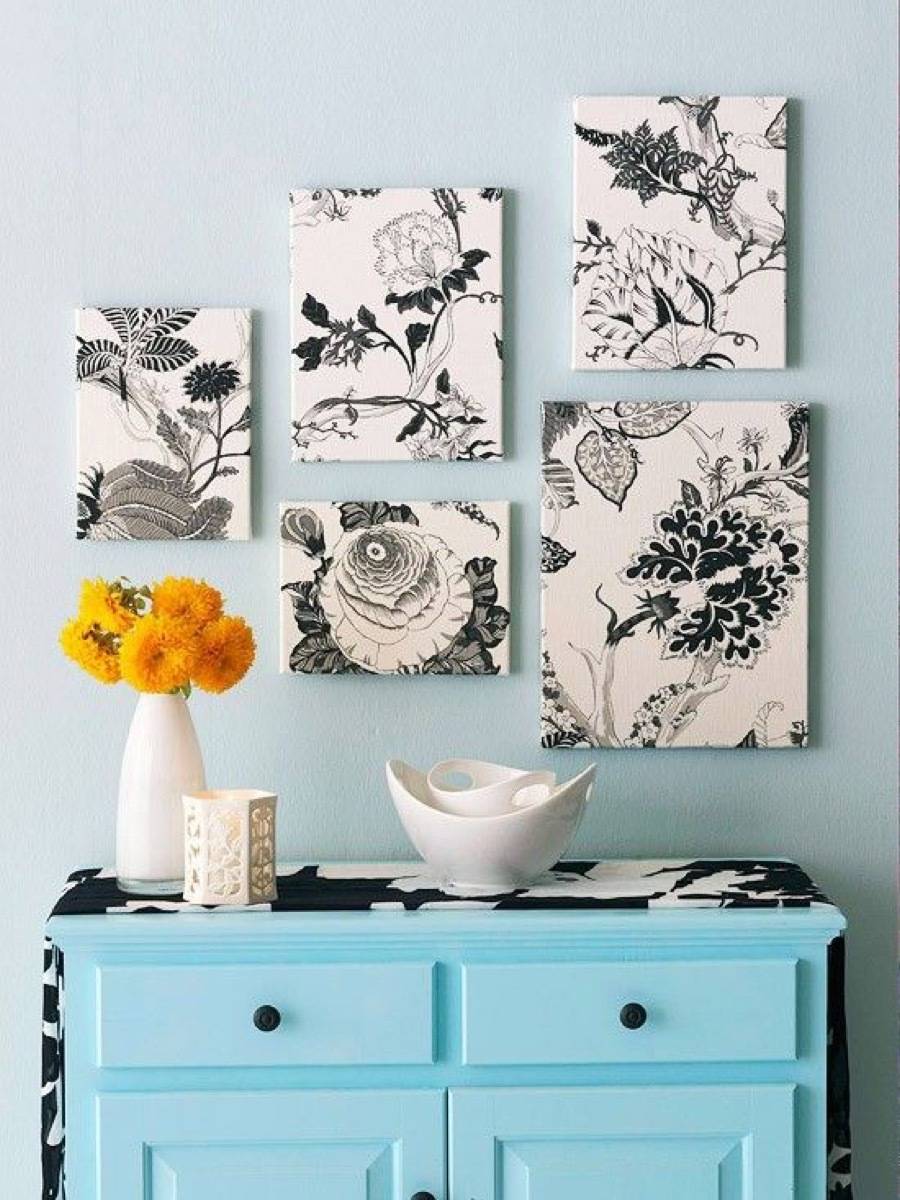
4. Wrap canvases in fabric to occupy more wall space. 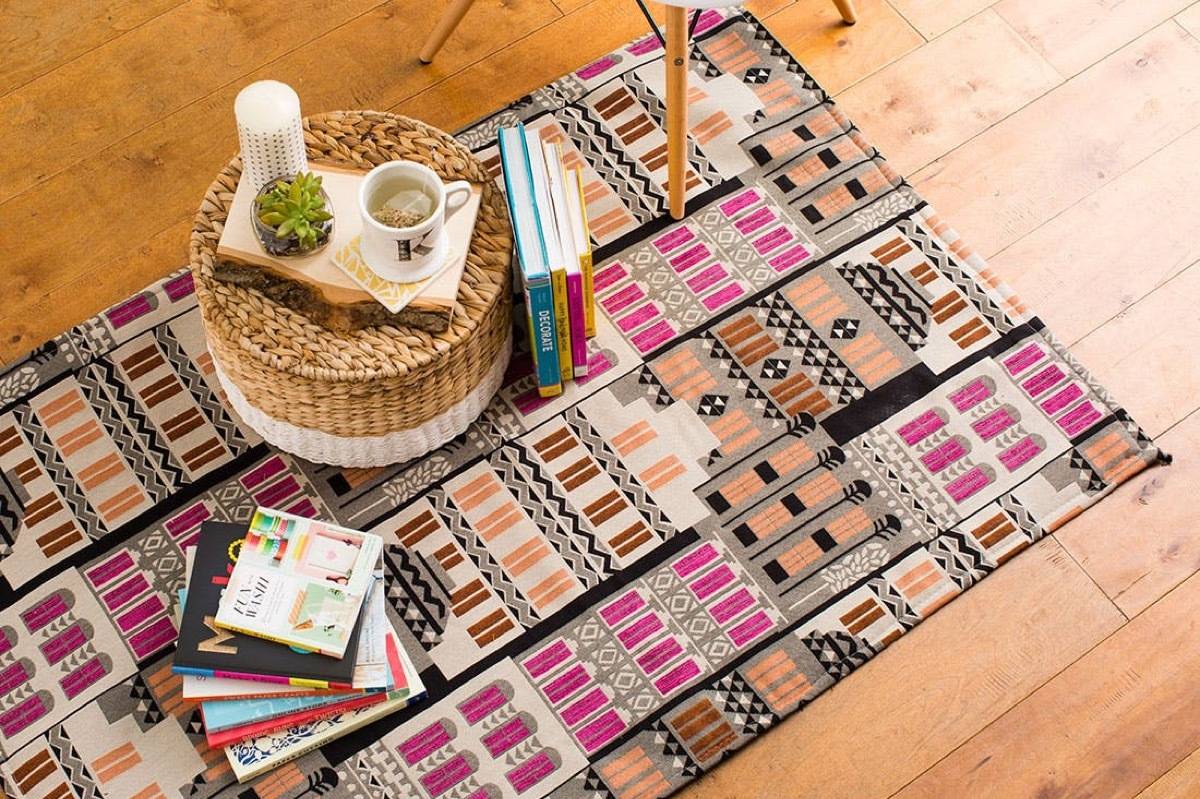
5. Did you know you can make a giant rug from a piece of fabric? And it’s inexpensive, too! 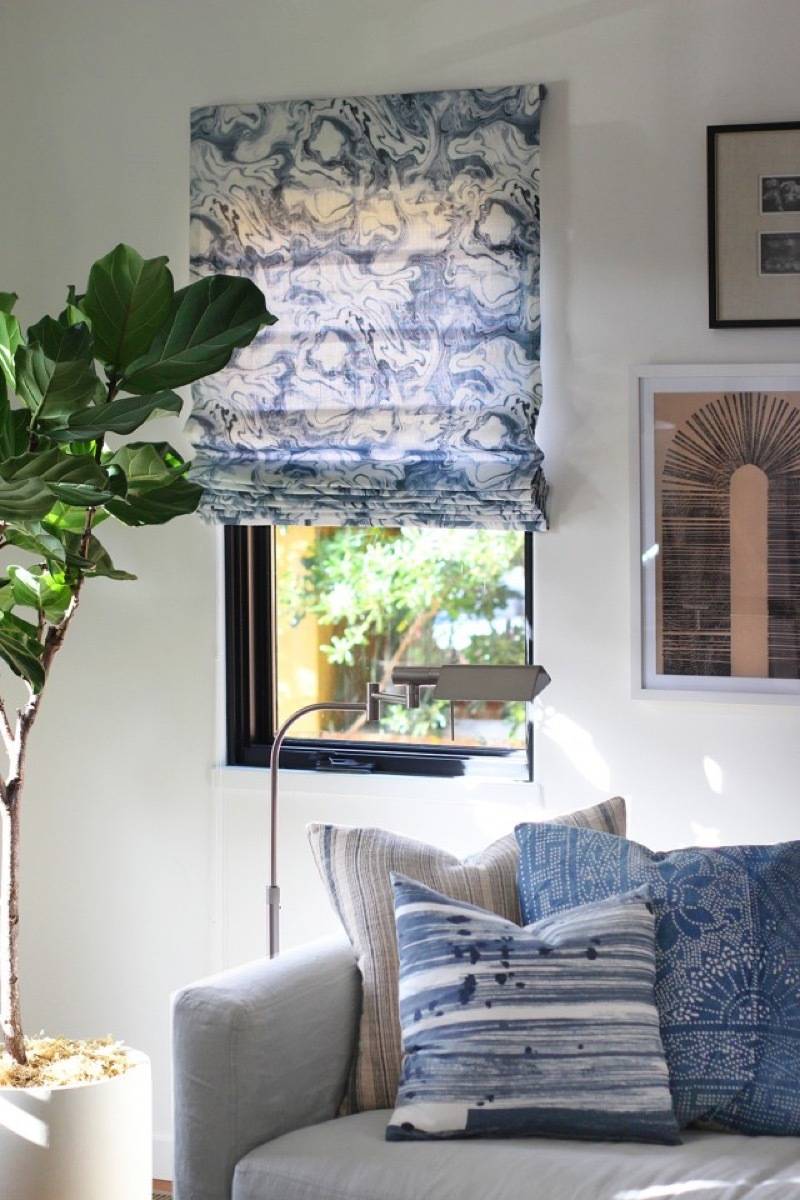
6. Make your own roman shades from unique fabric and mini blinds. 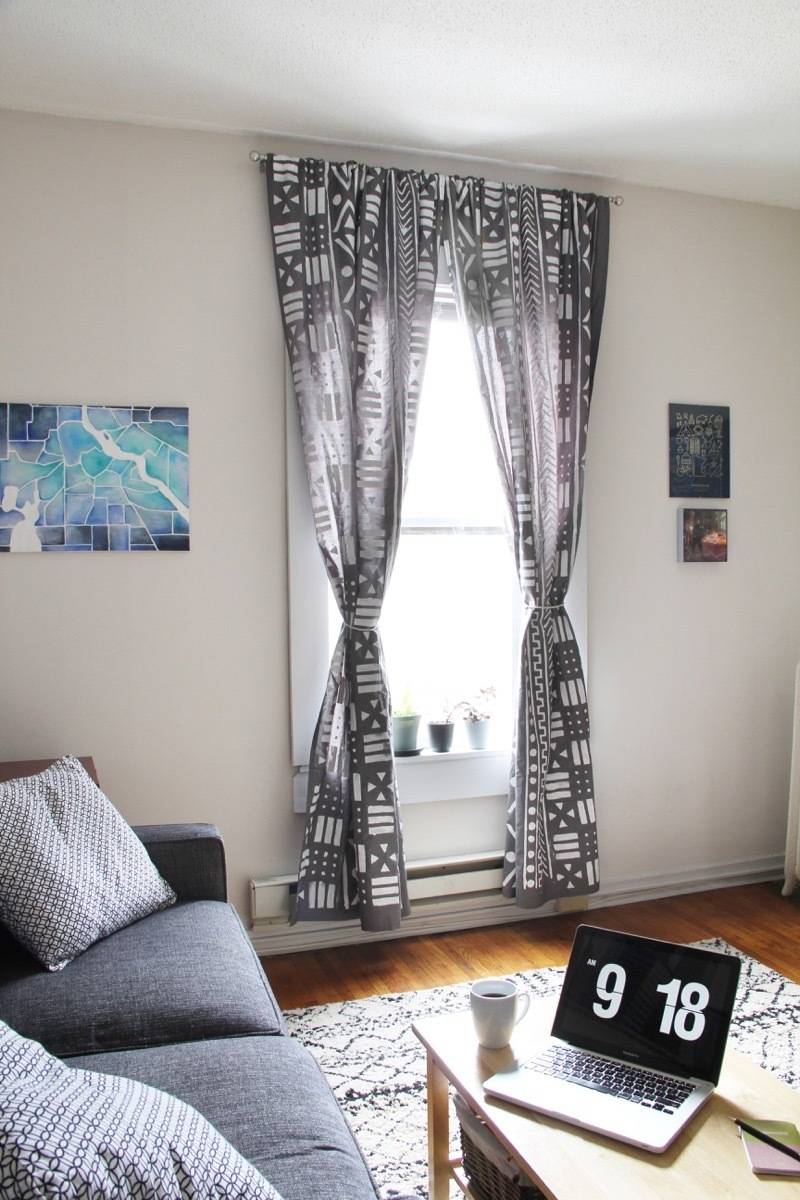
7. Stenciled two flat sheets to create one-of-a-kind curtains. 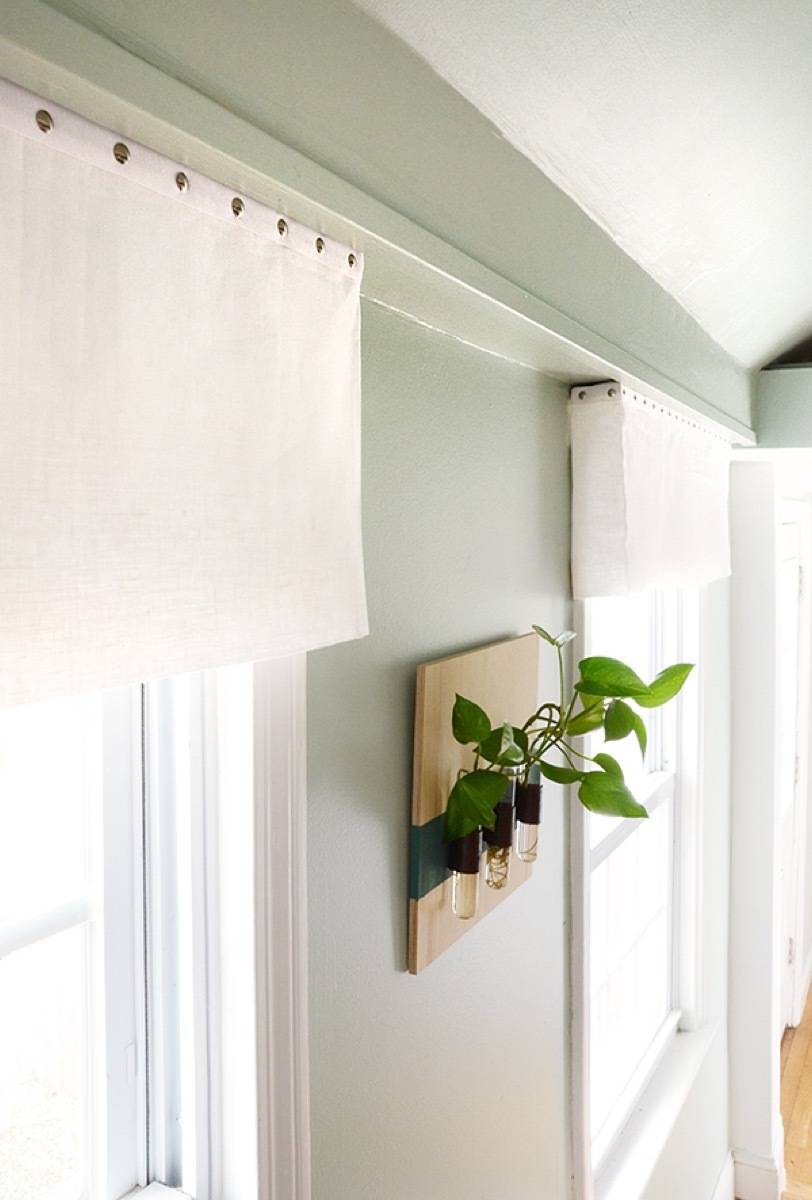
8. Use fabric to create a no-sew valance for a simple window treatment. 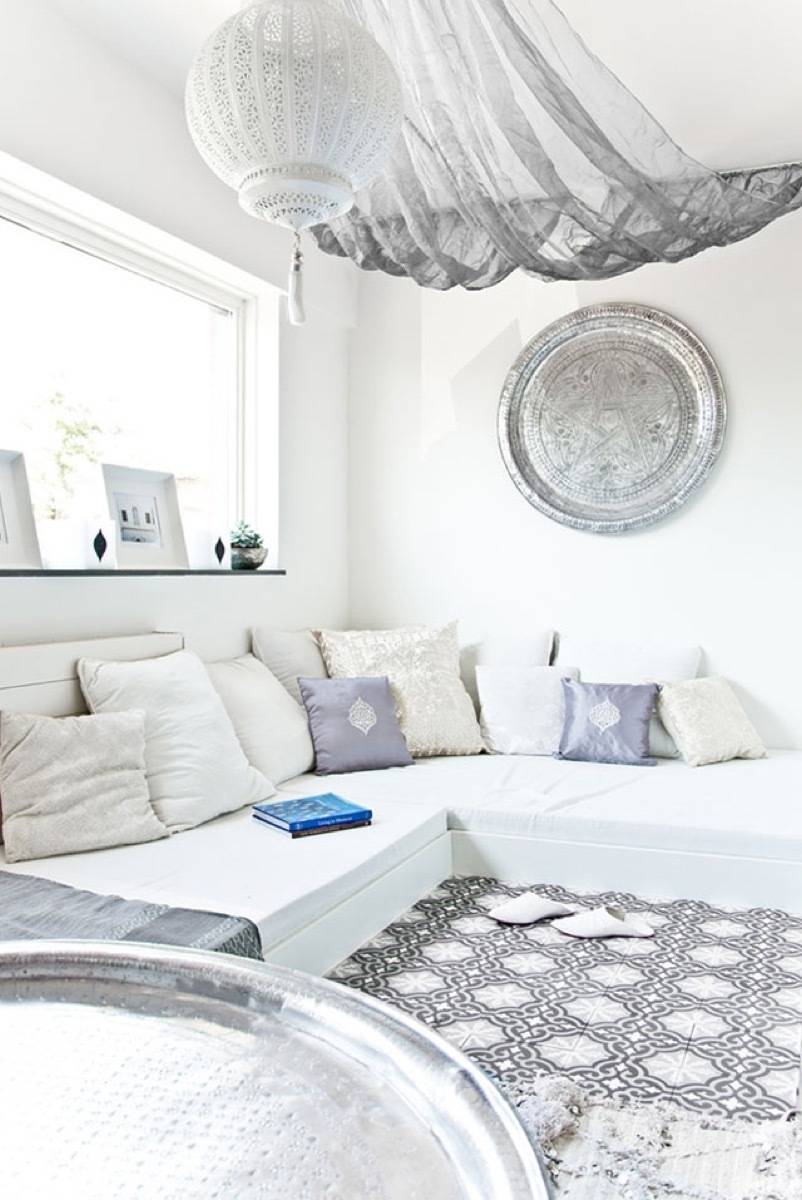
9. Hang fabric from a rod on the ceiling to achieve this Moroccan-style look. 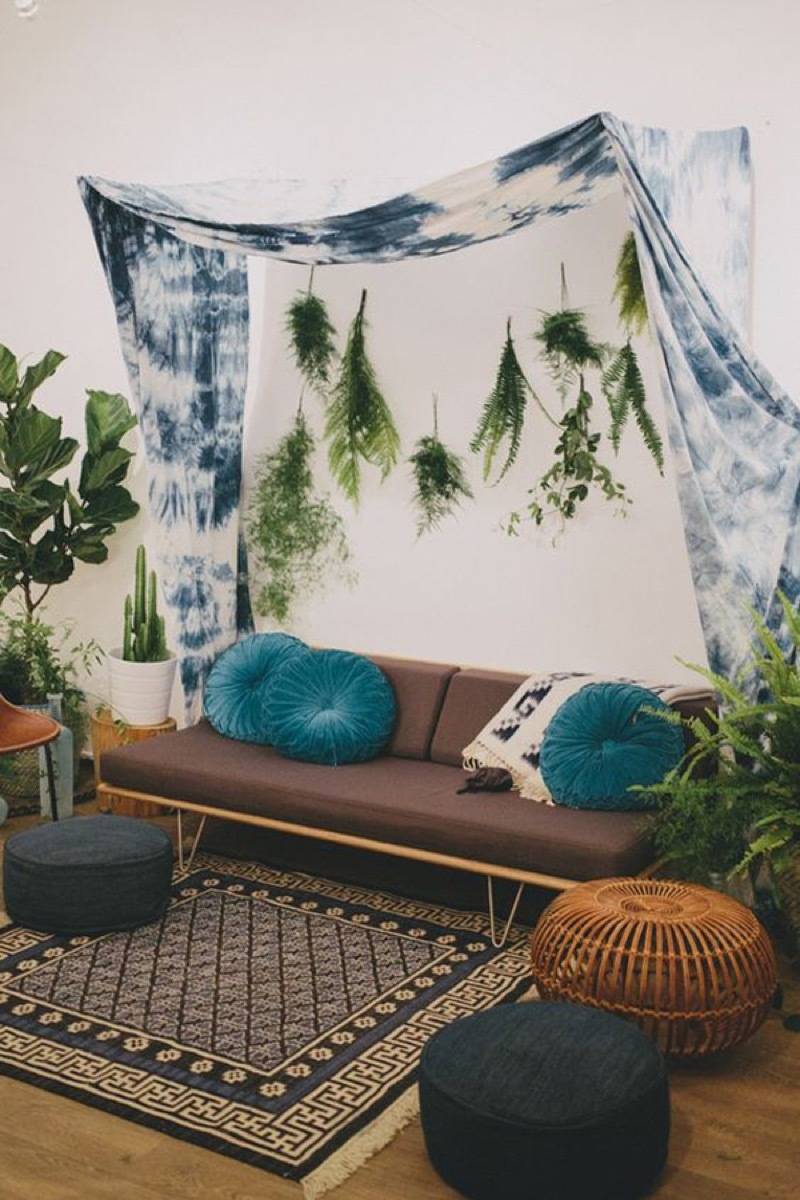
10. Dye and hang fabric straight from the wall for an indoor canopy. 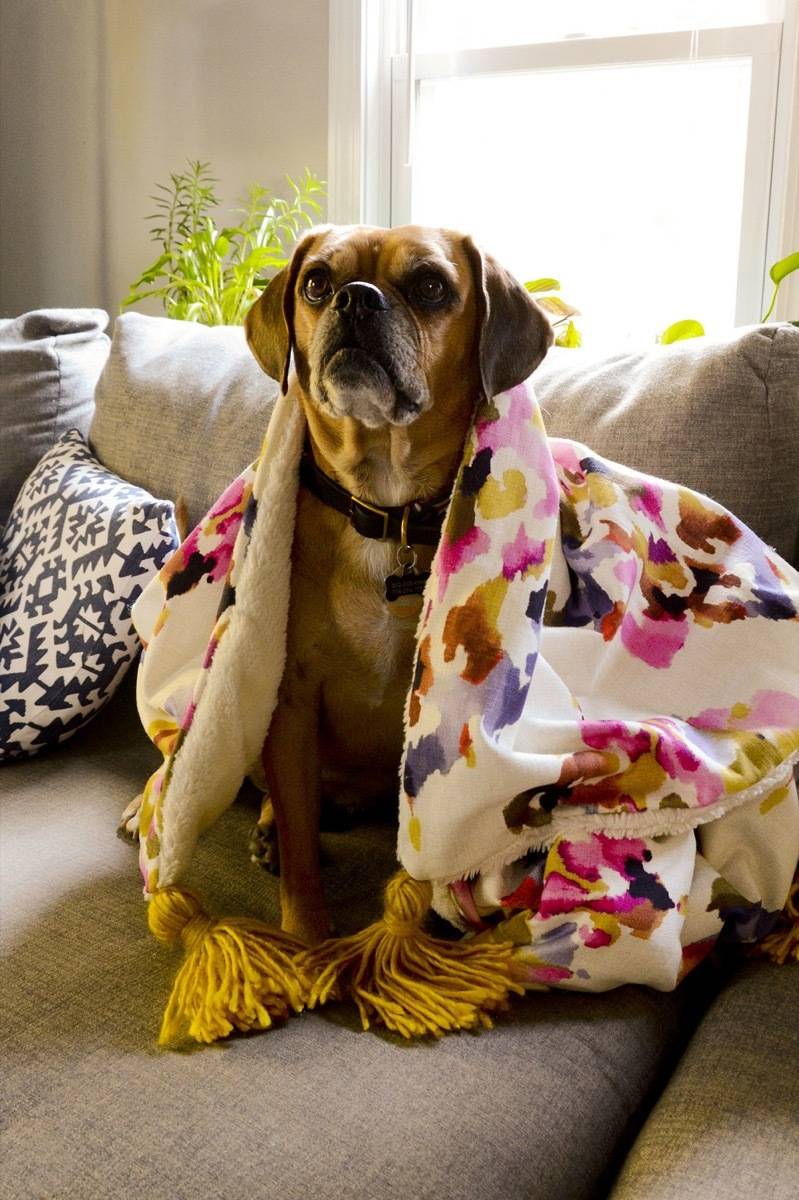
11. Use comfy fabric to sew your own throw blanket, like this faux fur one with tassles. 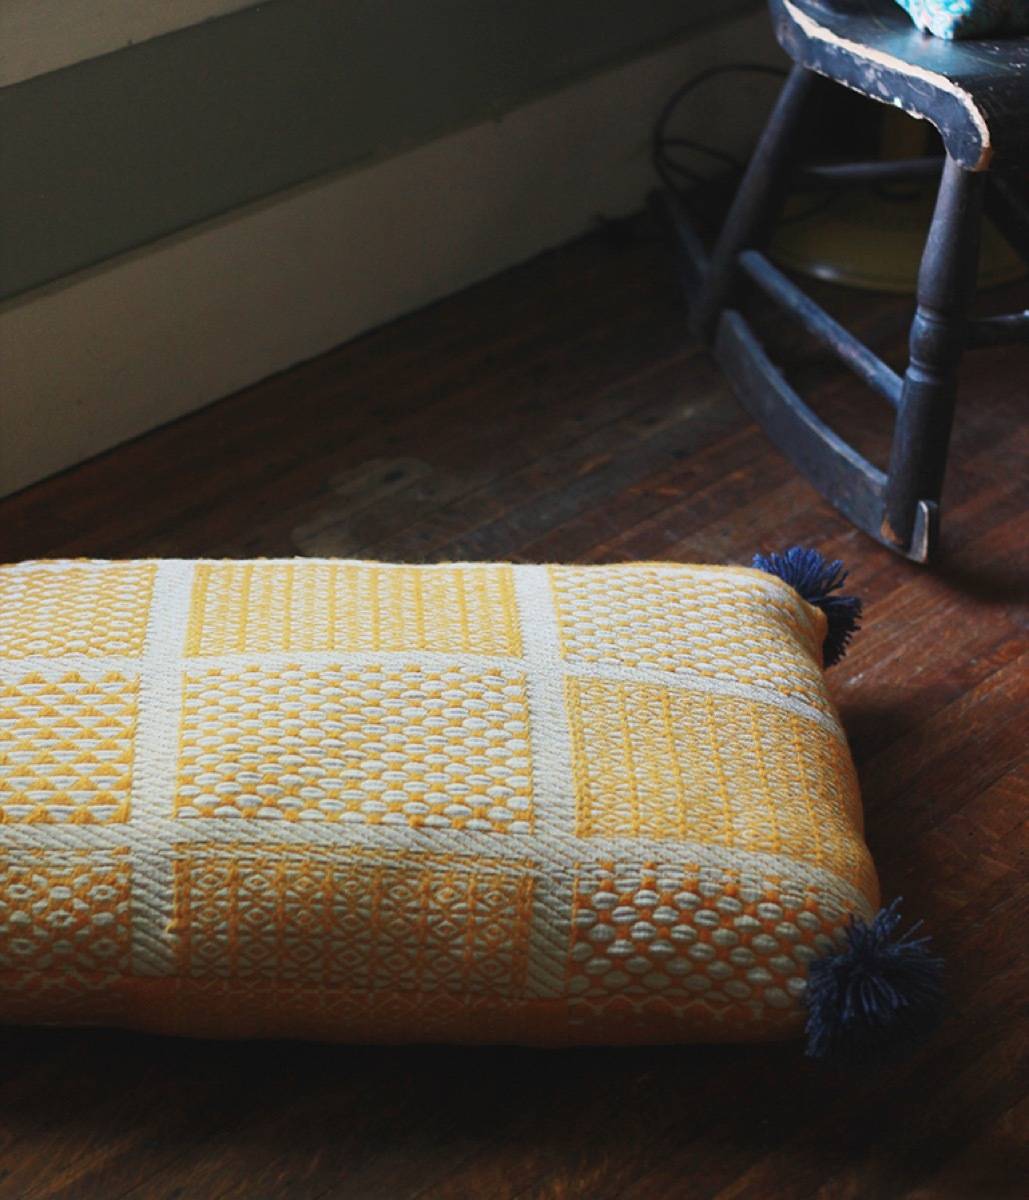
12. Make a floor pillow from an old blanket. 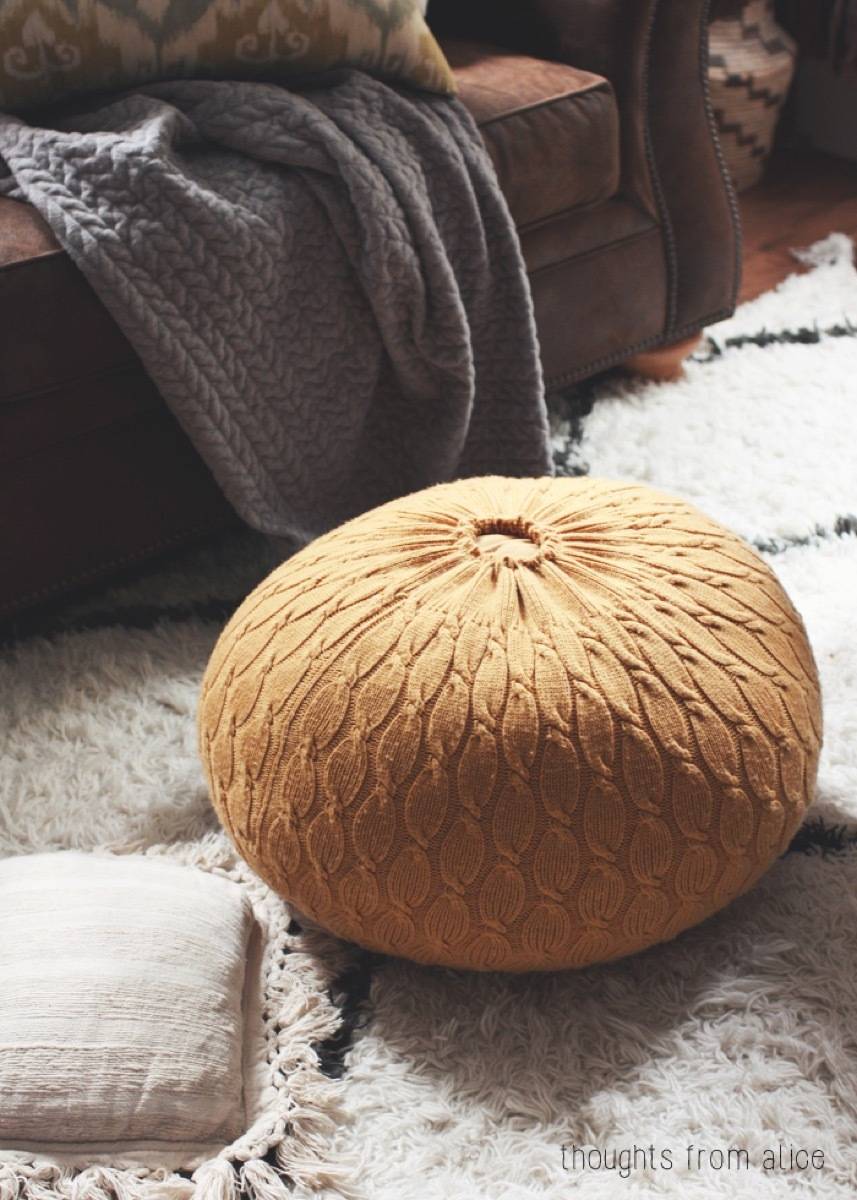
13. Or use a sweater to make a cute ottoman! 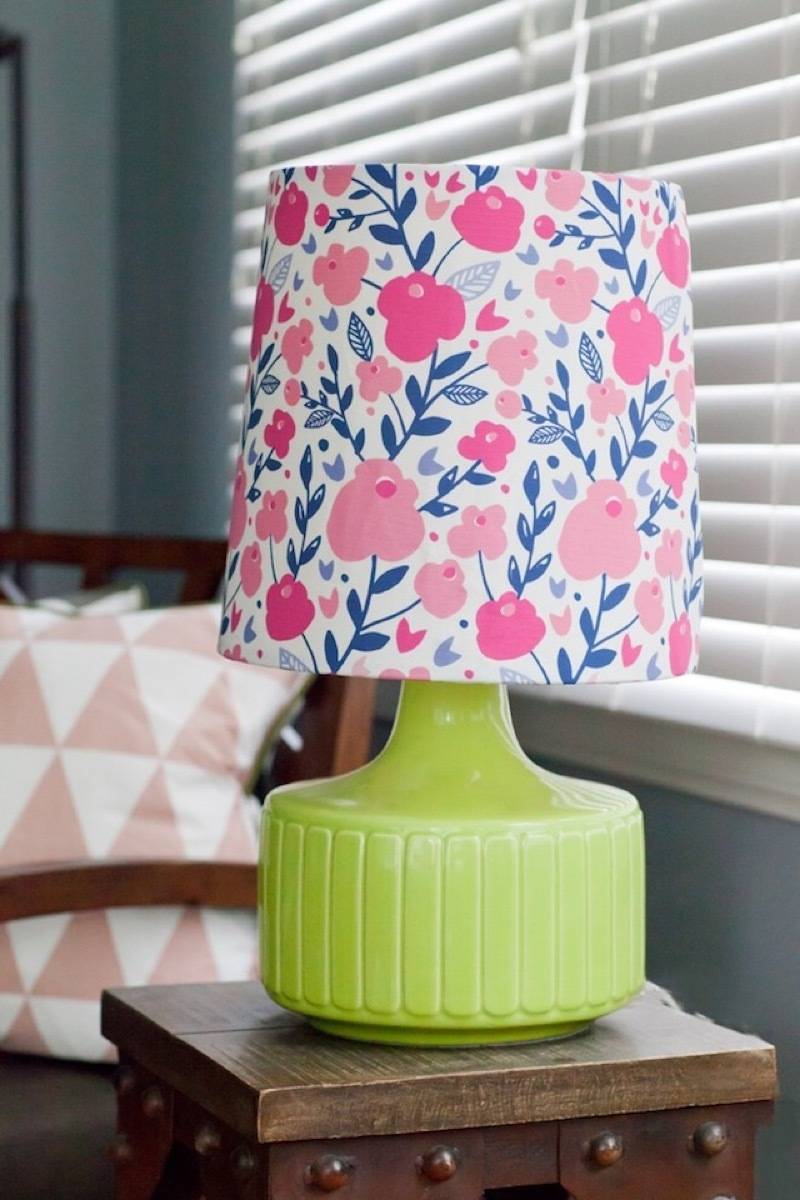
14. Use fabric to decorate a lampshade in a colorful print. 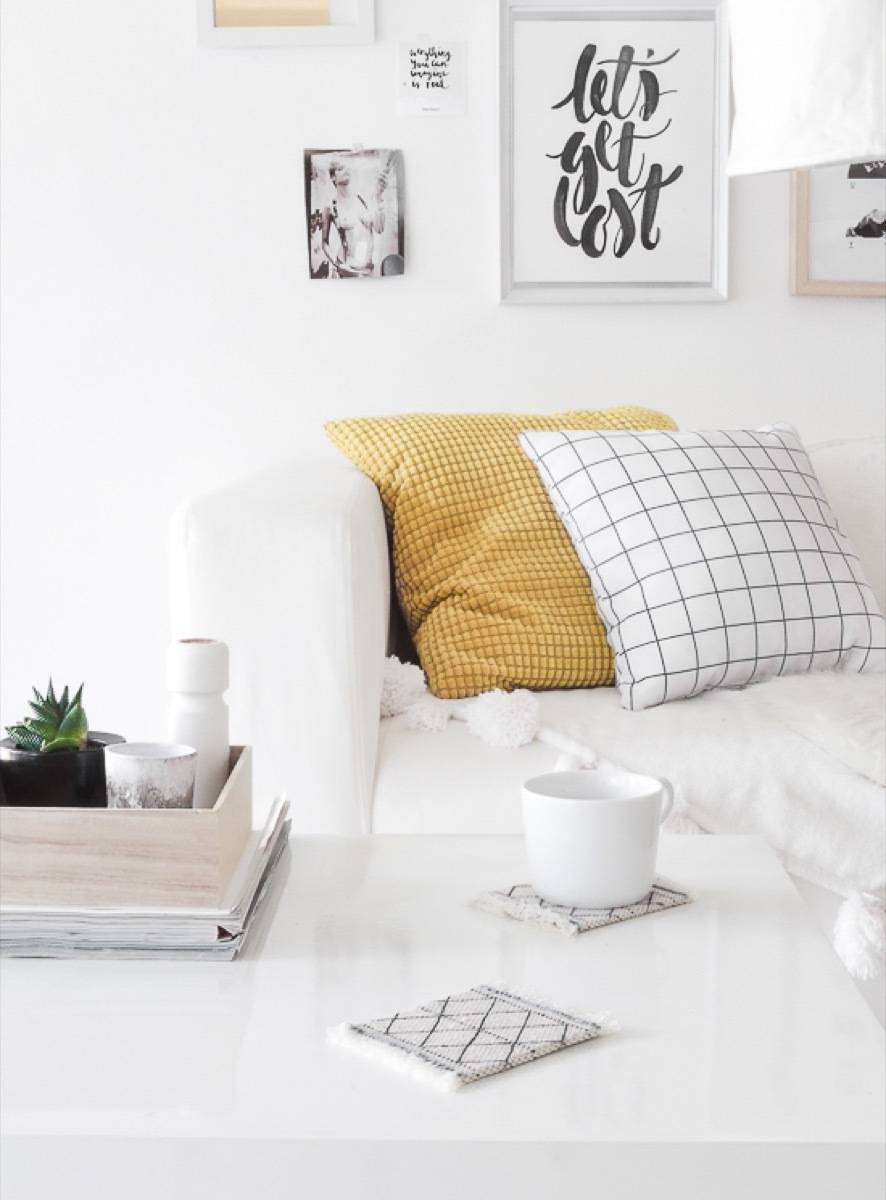
15. Use fabric and pens to make these Moroccan-inspired coasters. 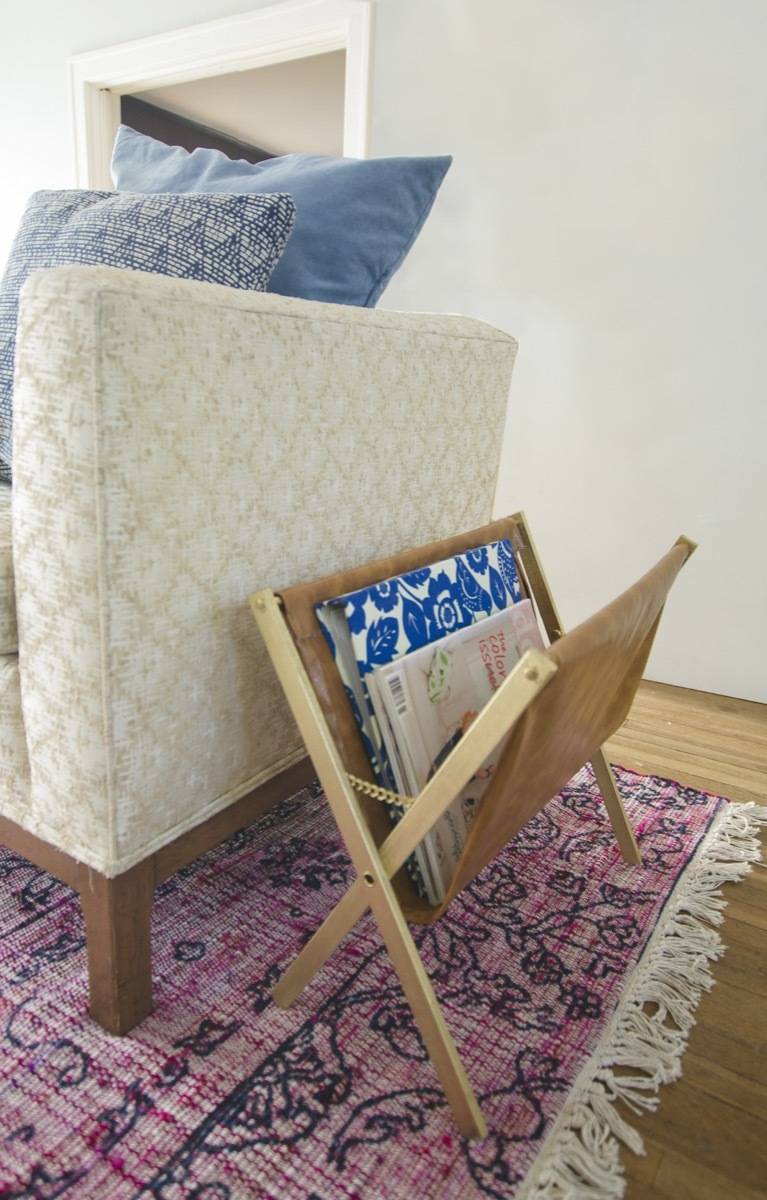
16. A drying rack + fabric = this DIY magazine rack. 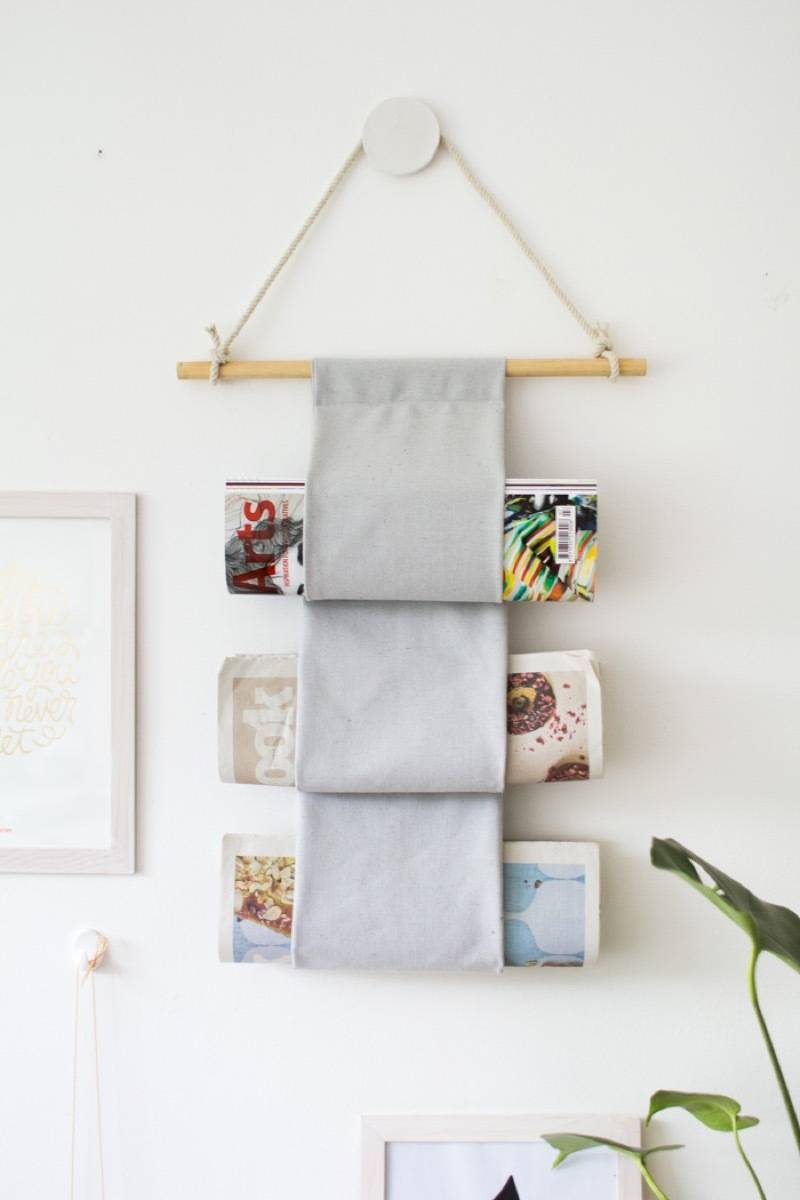
17. Or hang your magazines from the wall with fabric and a dowel. 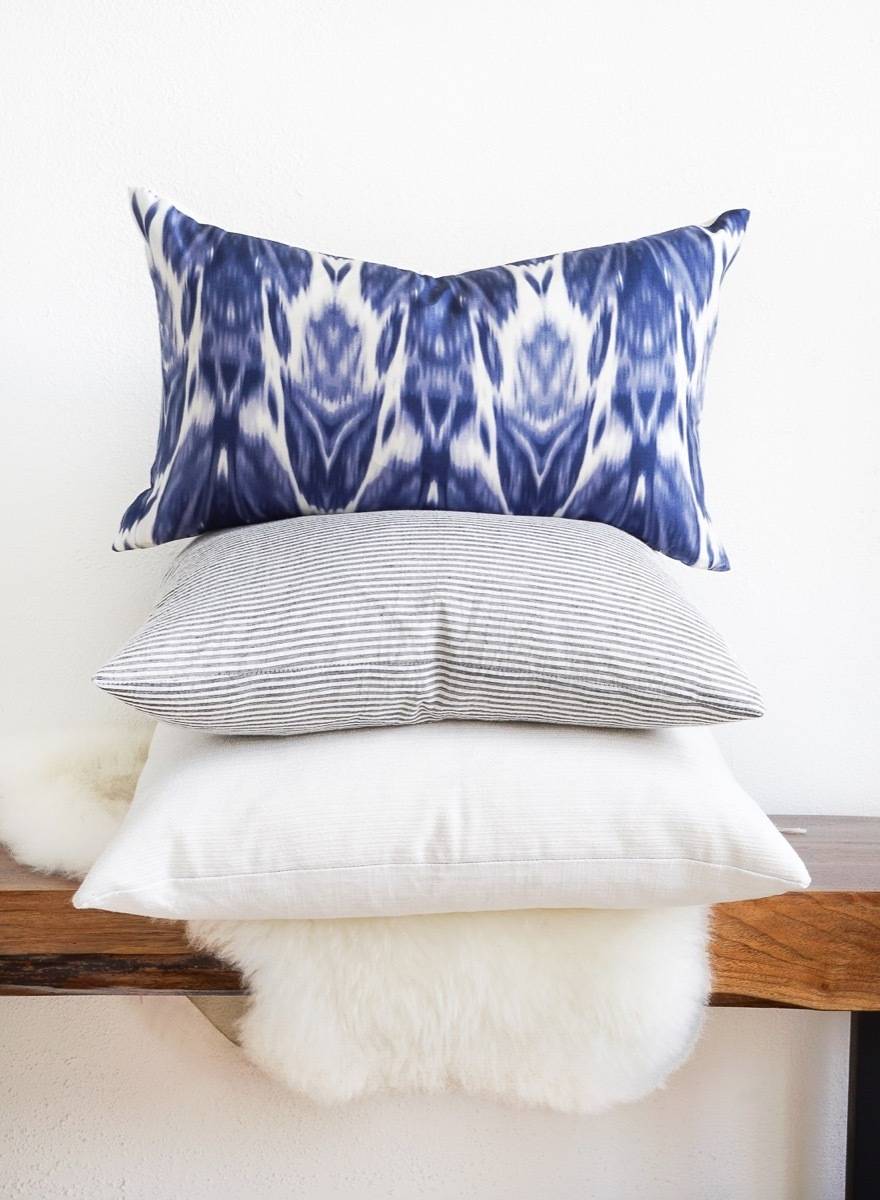
18. Use an old dress with a fun print to cover a pillow. 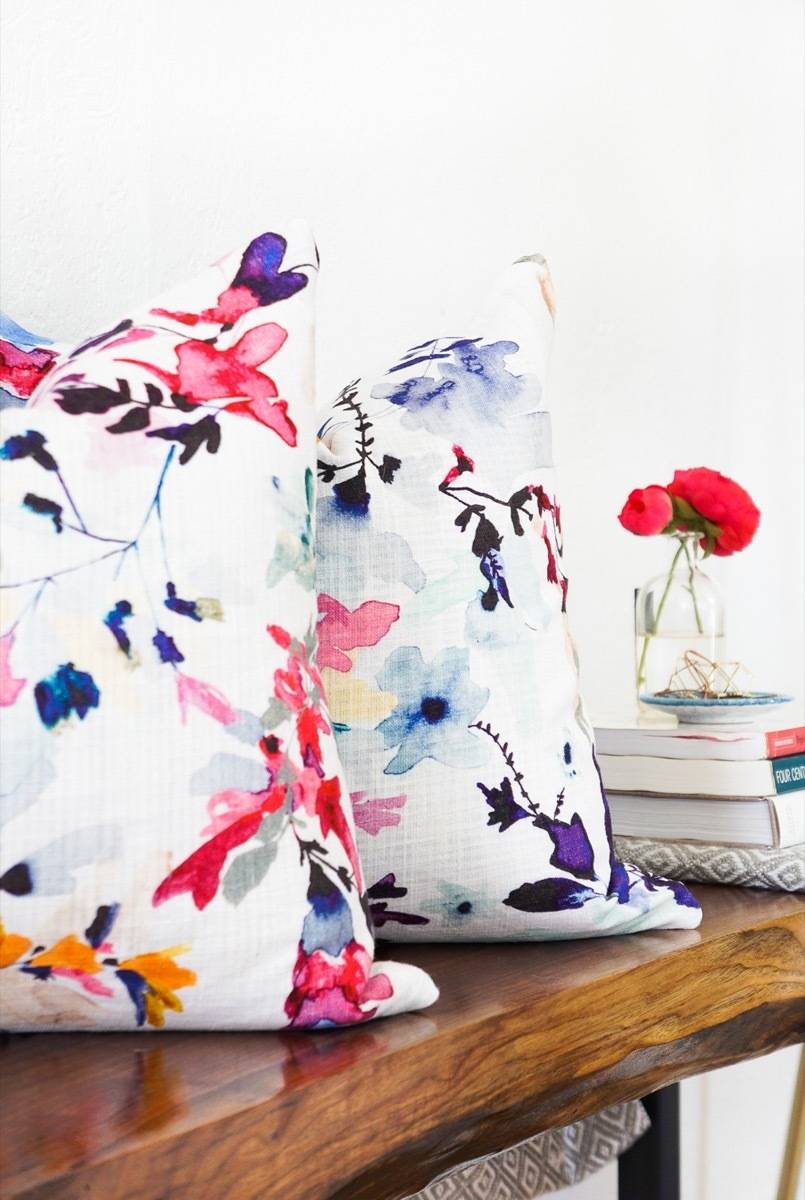
19. Create some no-sew envelope pillows from cloth napkins. 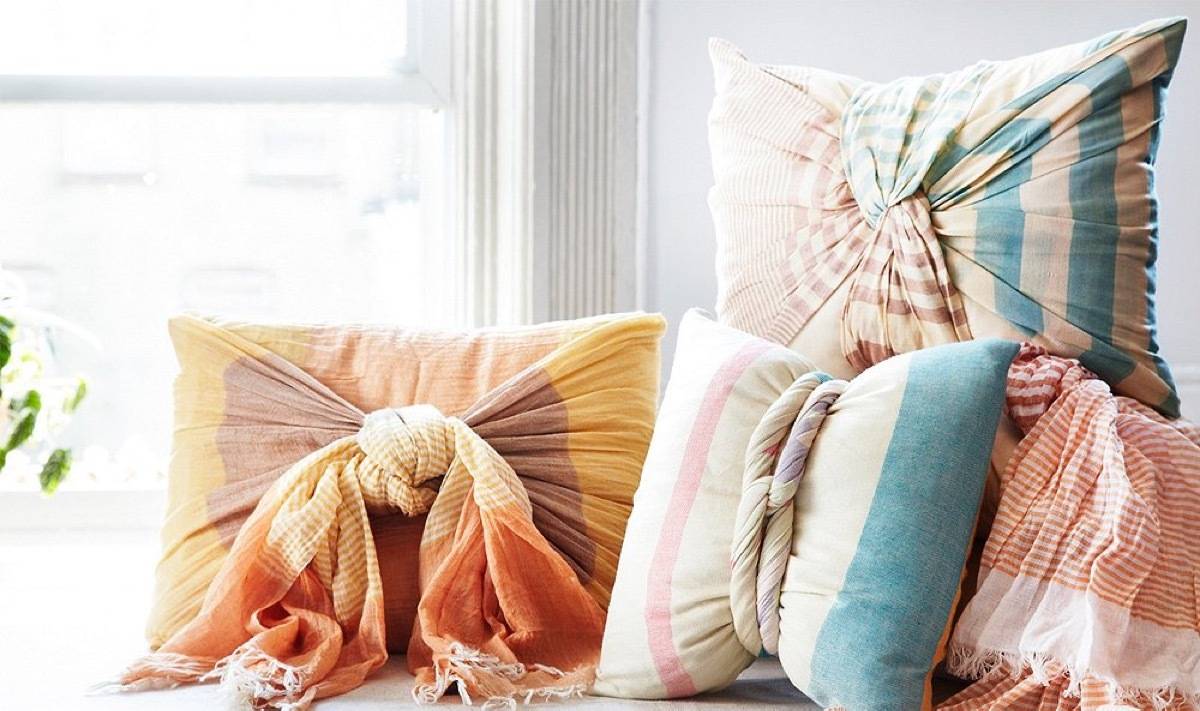
20. This looks simple enough – tied scarves around your couch pillows for a boho-look. 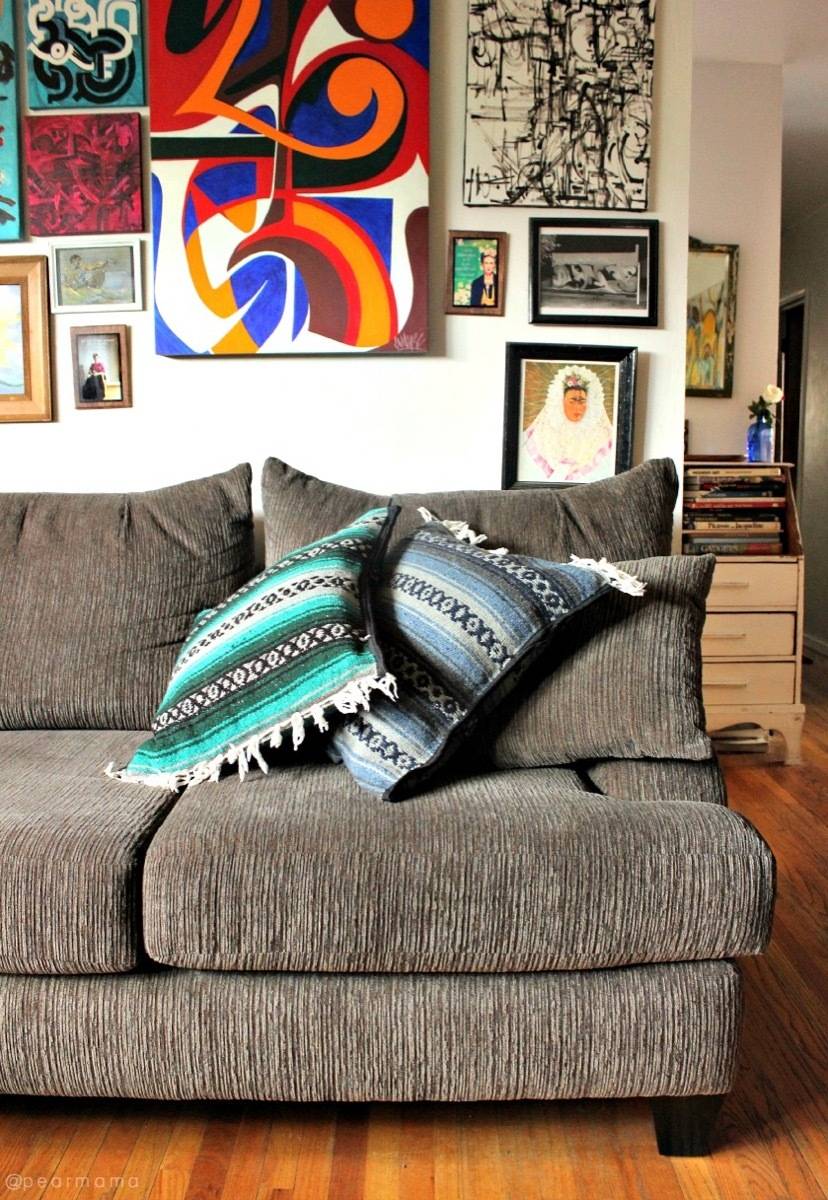
21. Turn your Mexican blankets into fringed pillows. 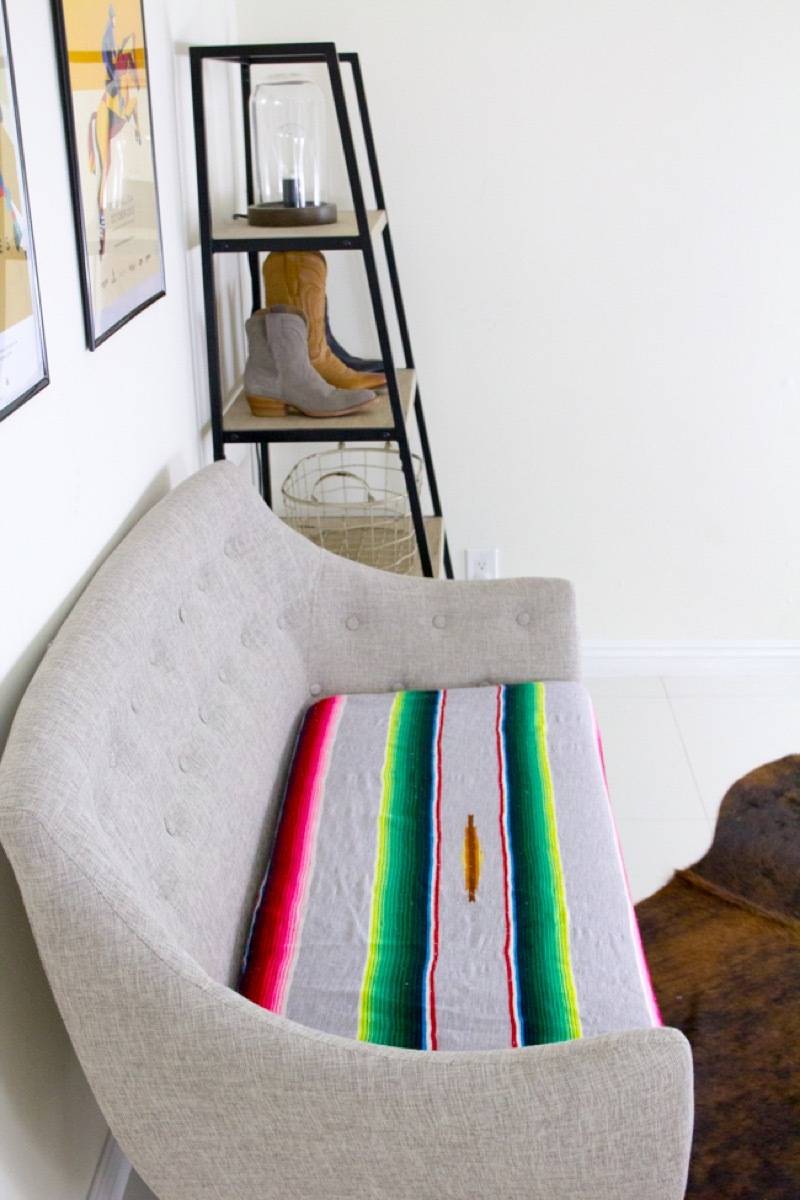
22. Wrap couch cushions in beautiful a blanket, like this Serape one for instant color. 
23. This is some black diamond-level crafting, but you can make your own sofa slipcover from fabric of your choosing. DINING ROOM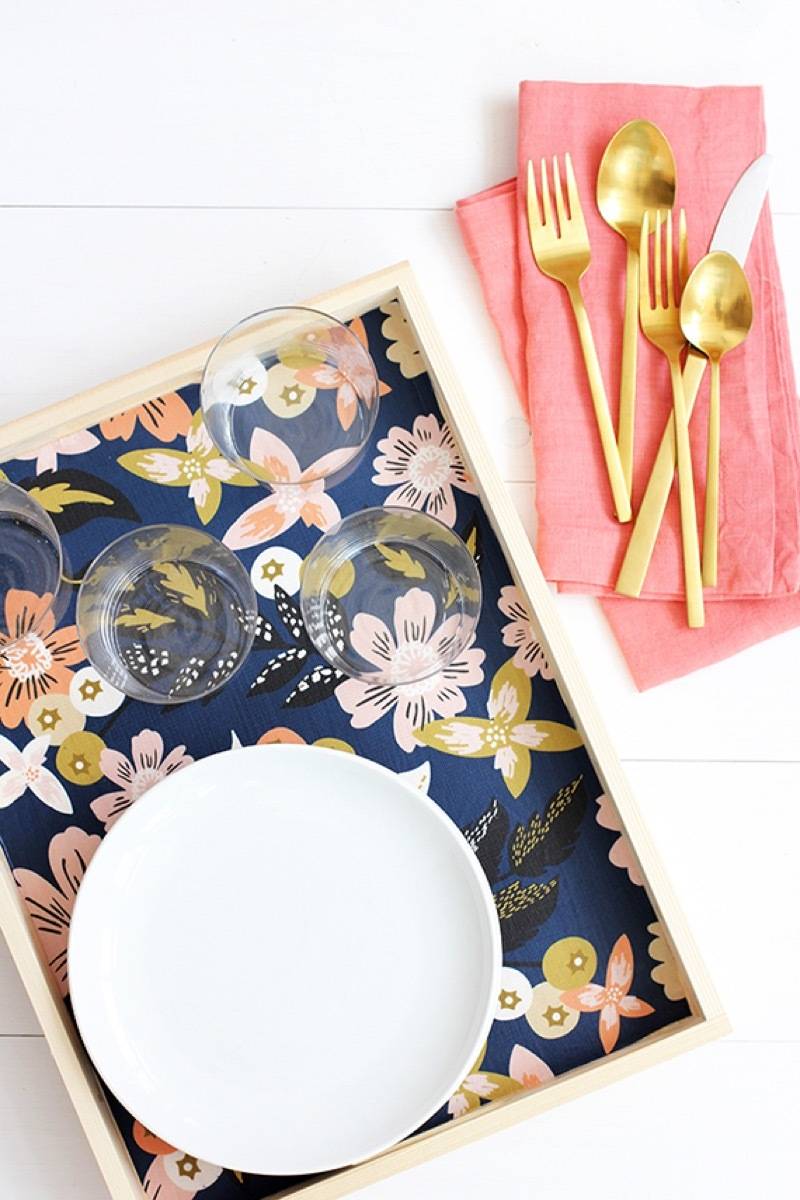
24. Line a wood serving tray with fabric. 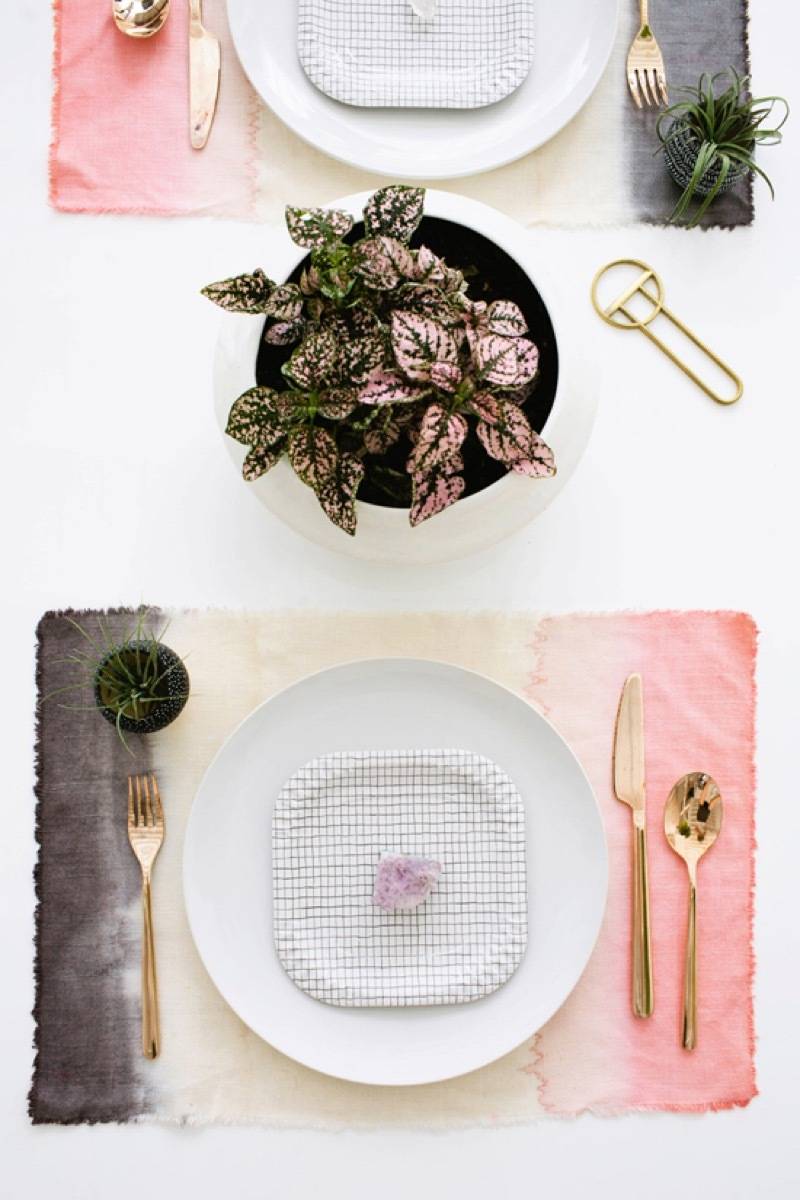
25. Decorate the dining room with textural placemats, like these dip-dyed pieces of fabric. 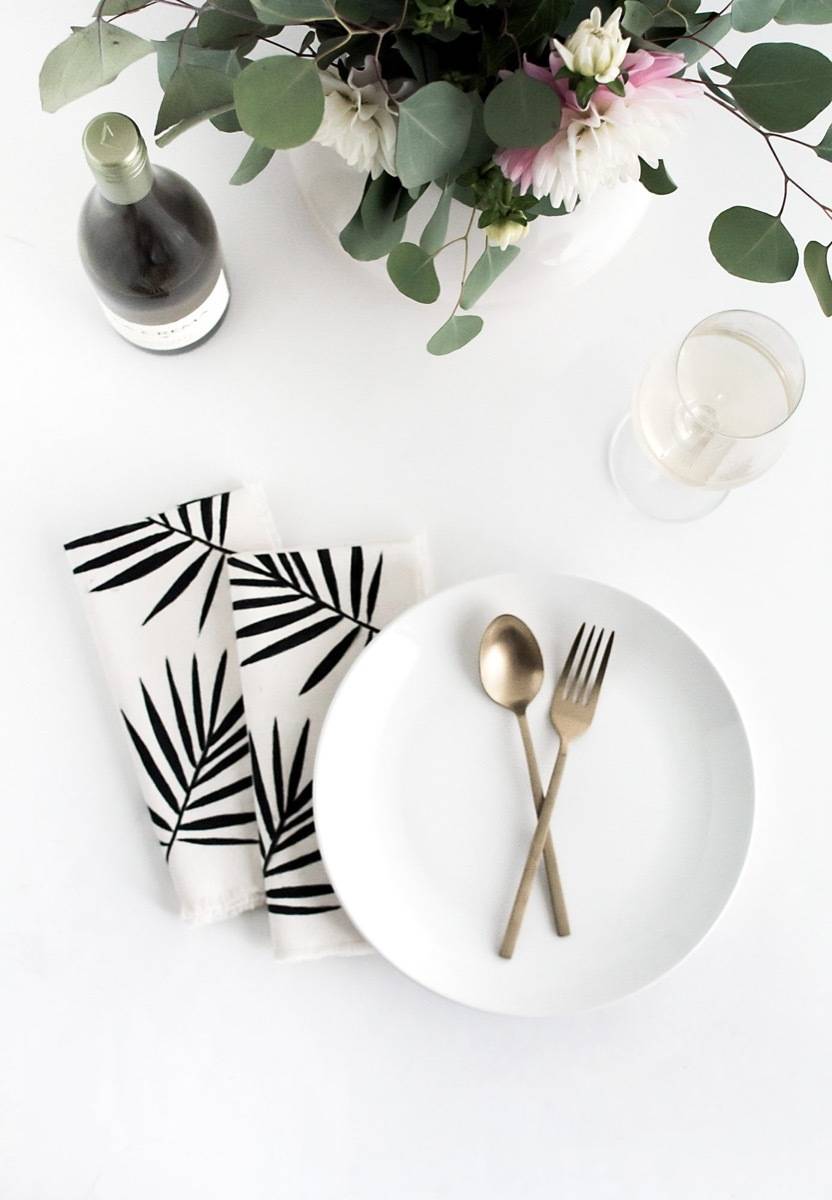
26. Add fabric flair with cloth napkins, like these DIY palm leaf ones. 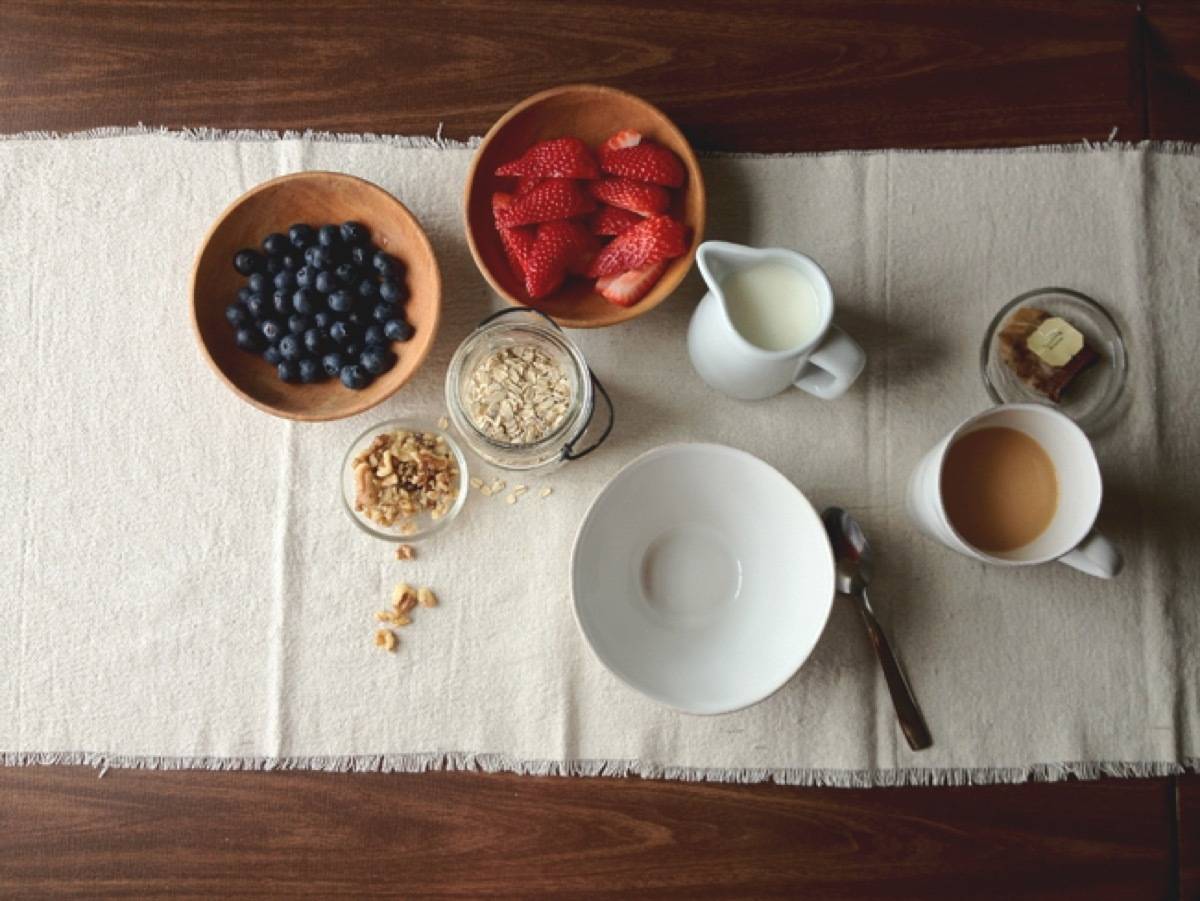
27. Use raw fabric as a table runner. 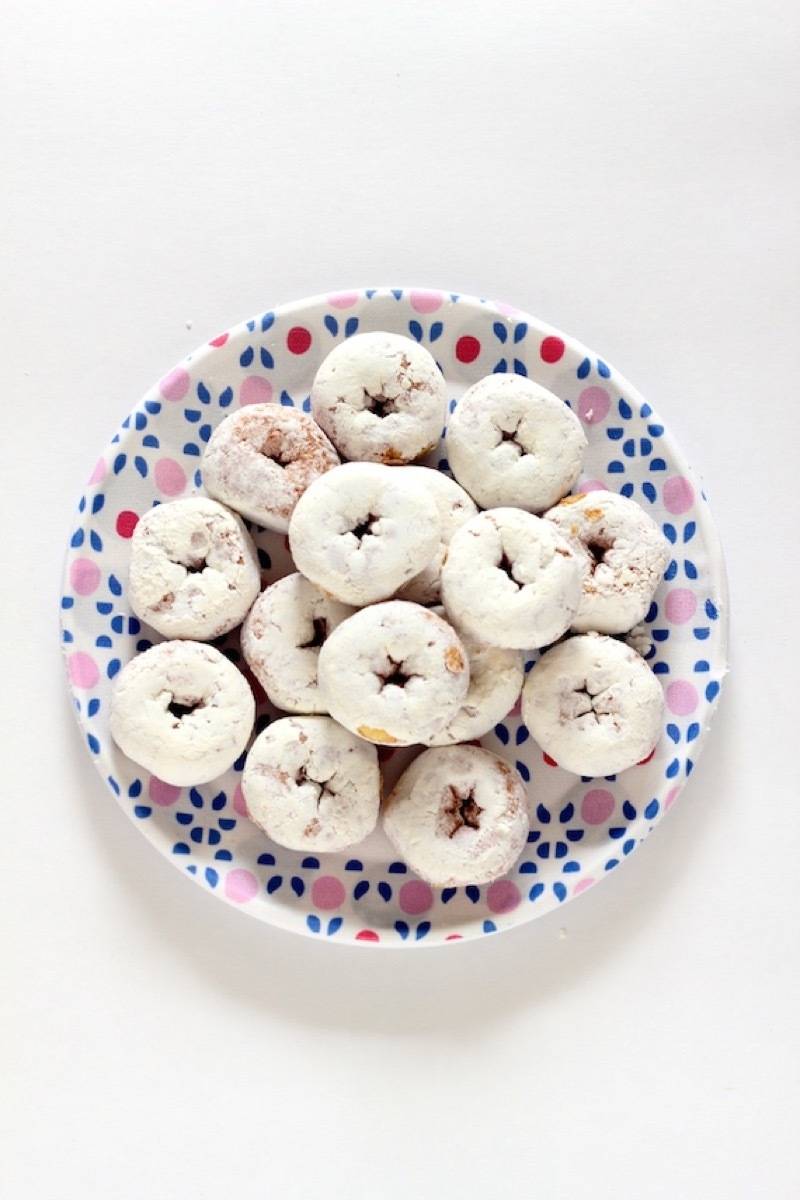
28. Create your own serving plate with decoupaged fabric. 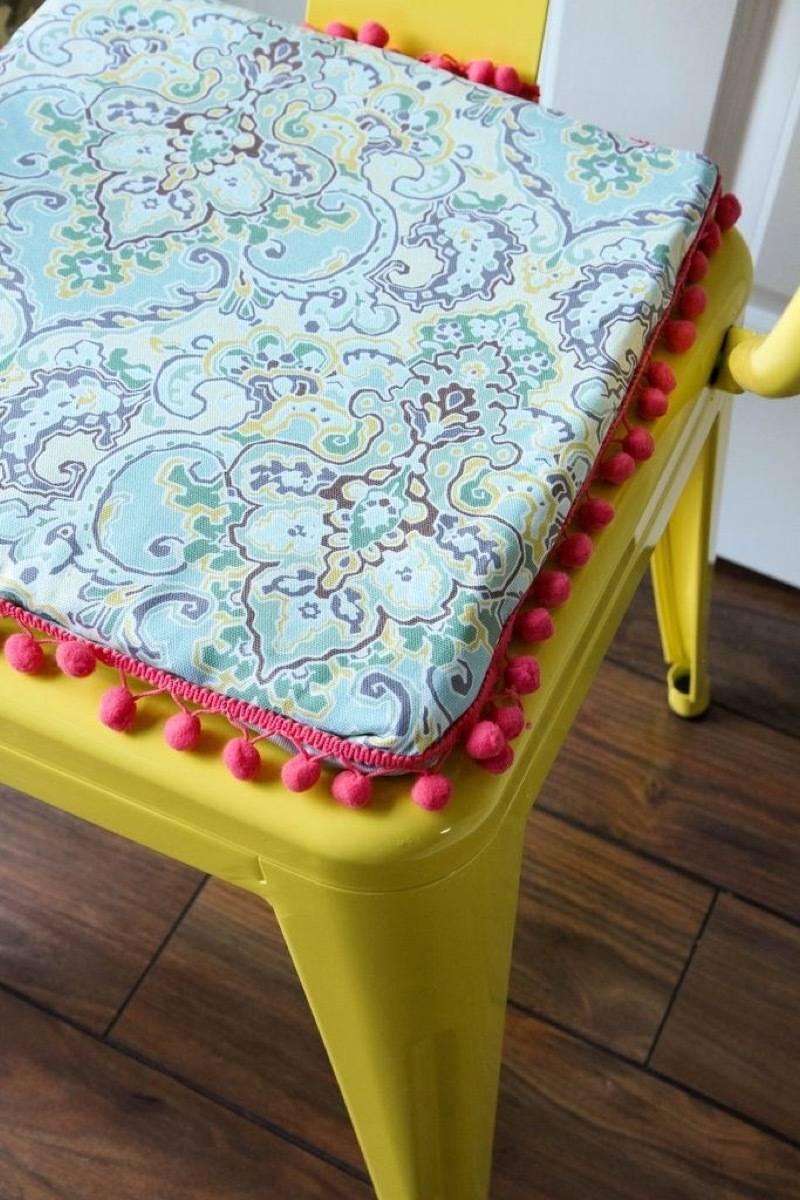
29. Create chair cushions to add contrast to dining seats. 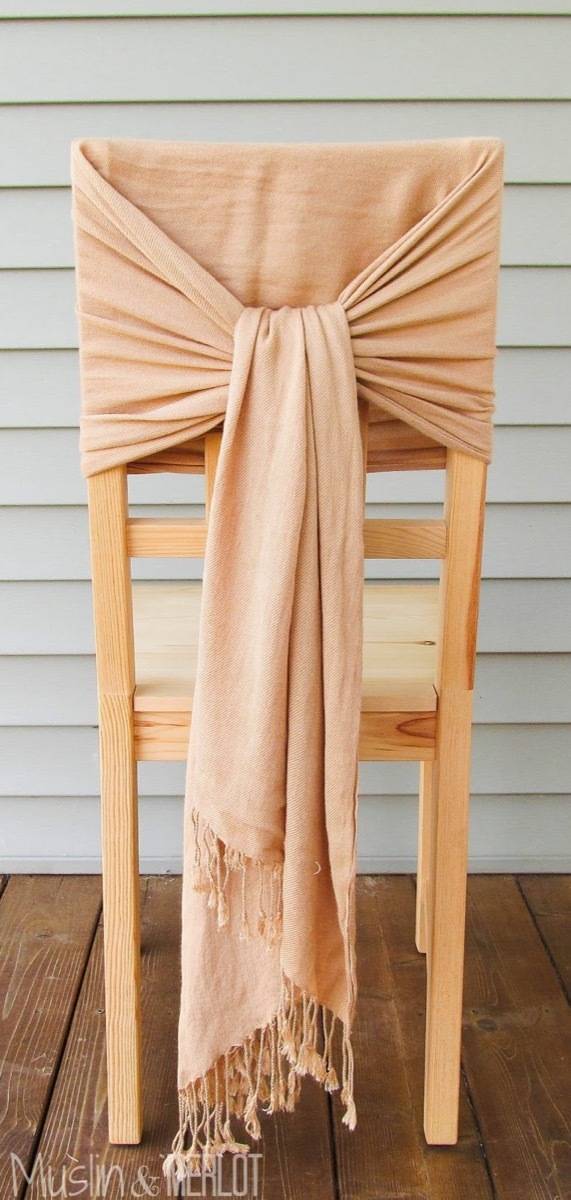
30. Or simply wrap a scarf across the back of your chairs. 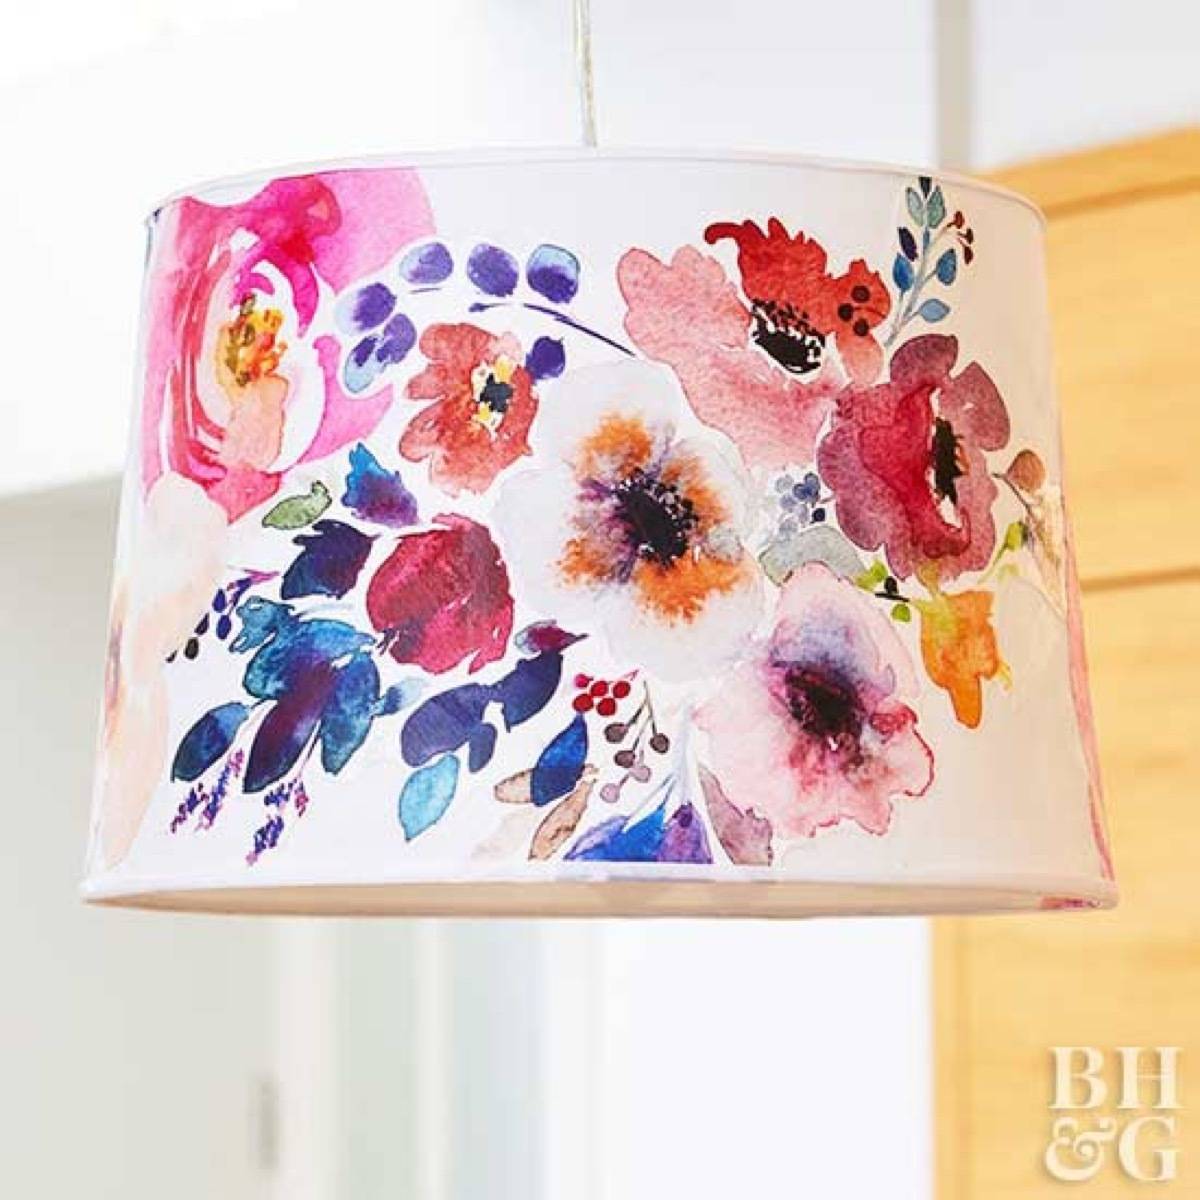
31. Use fabric to decorate your dining room by making a floral lampshade to go over your table. 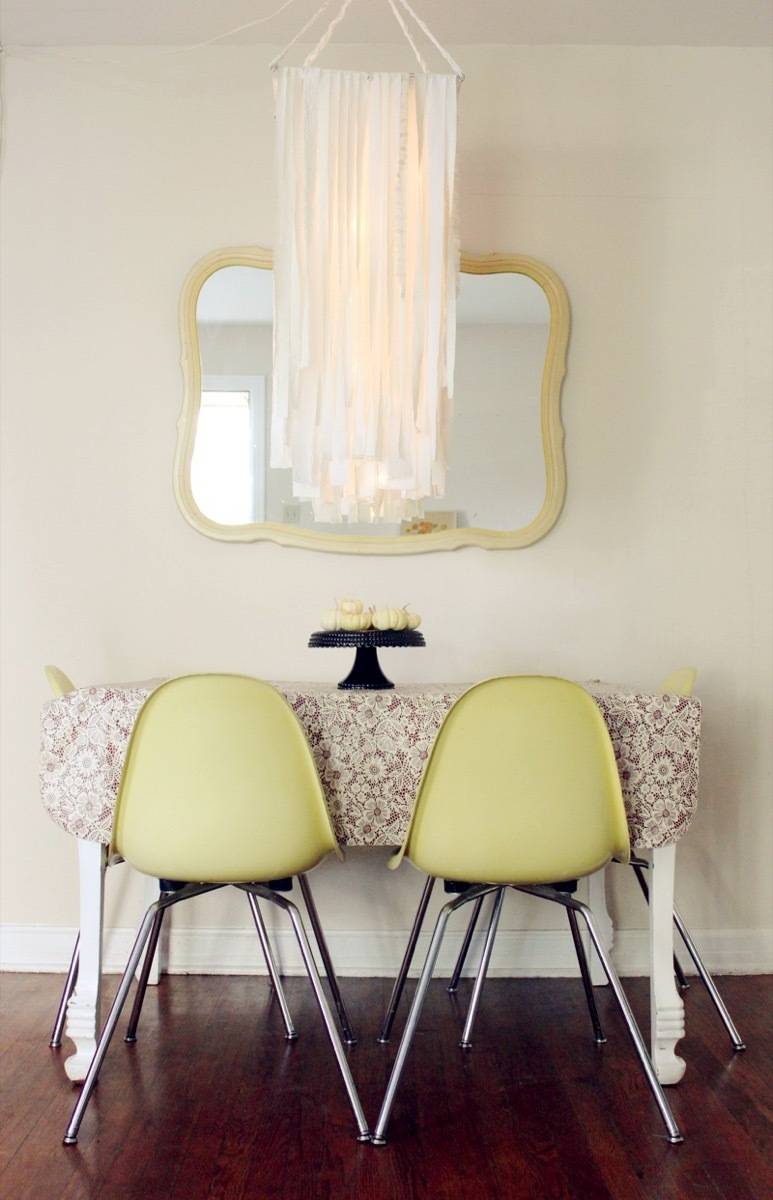
32. Add strips of fabric to your light fixture for a unique fabric chandelier. 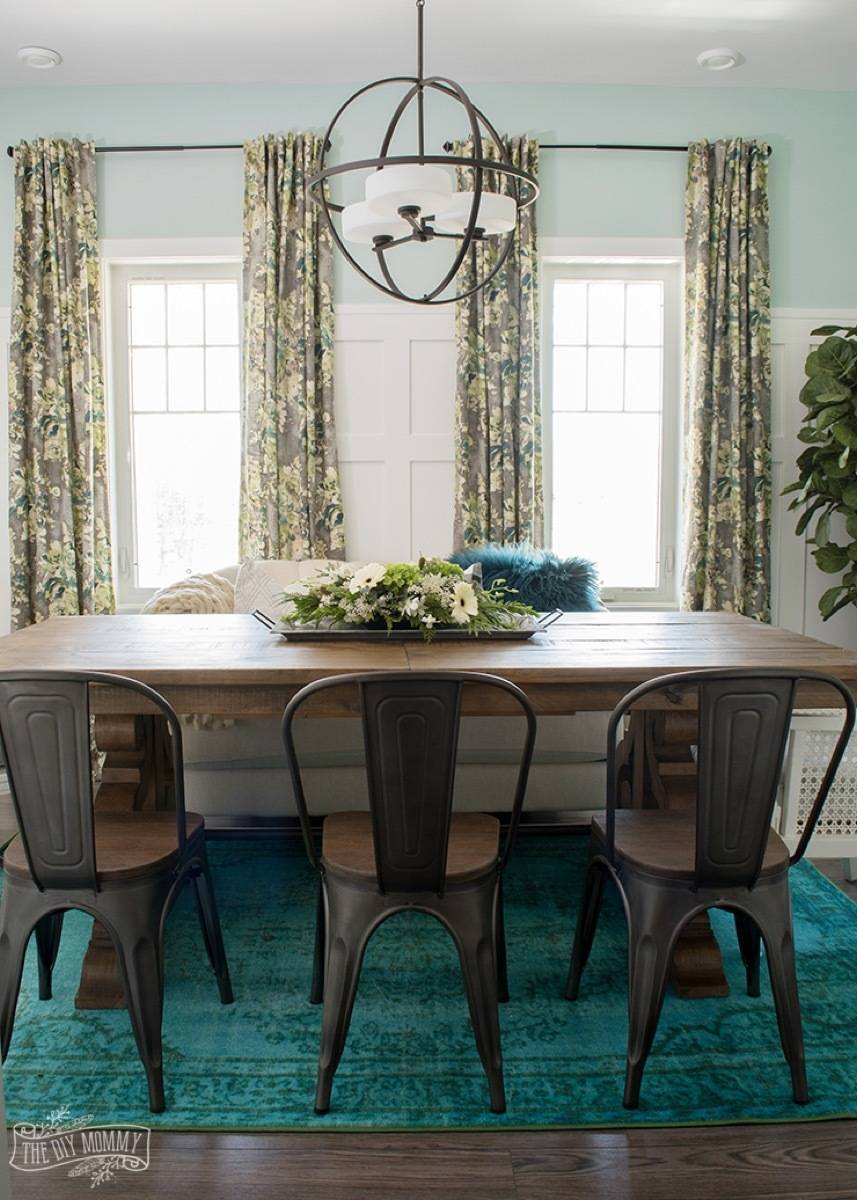
33. Learn how to make your own curtains from home decor fabric, like these hidden tab drapes. ENTRANCE + HALLWAYS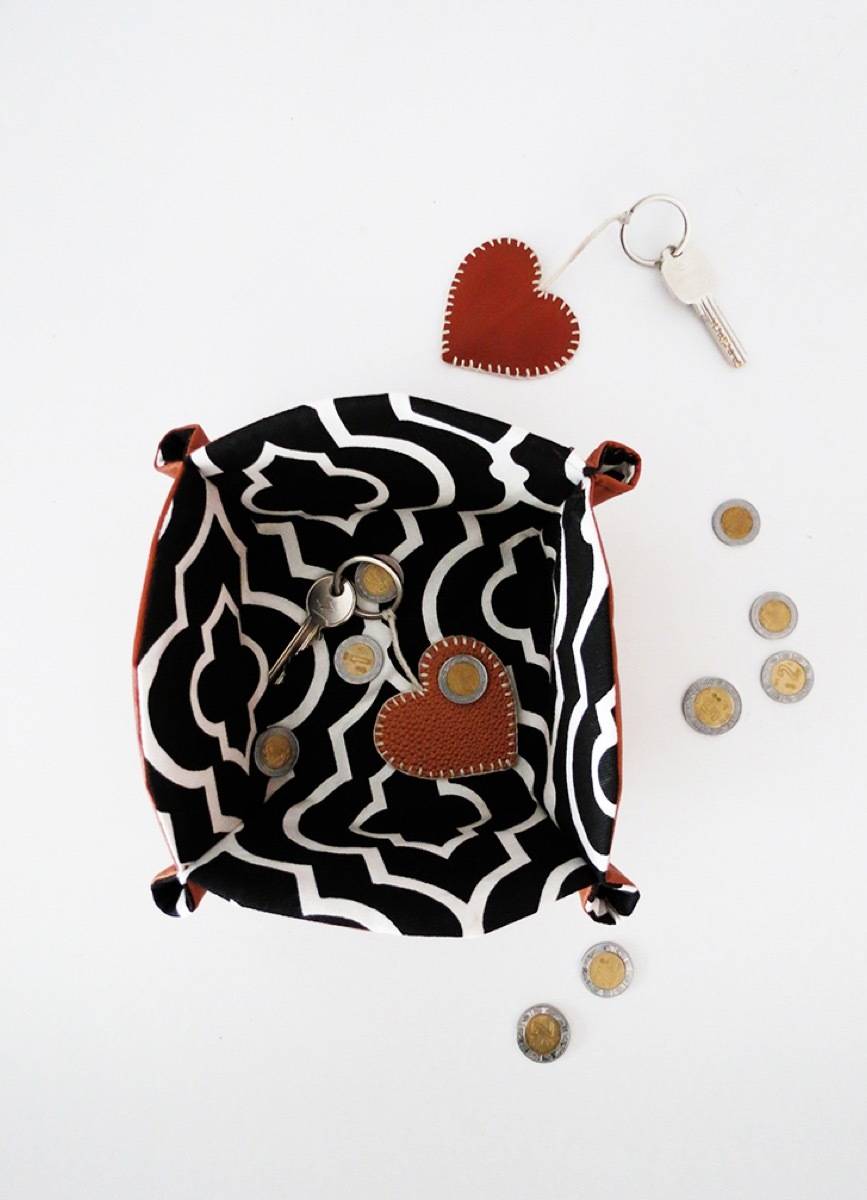
34. Create a fabric basket to hold your keys by the door. 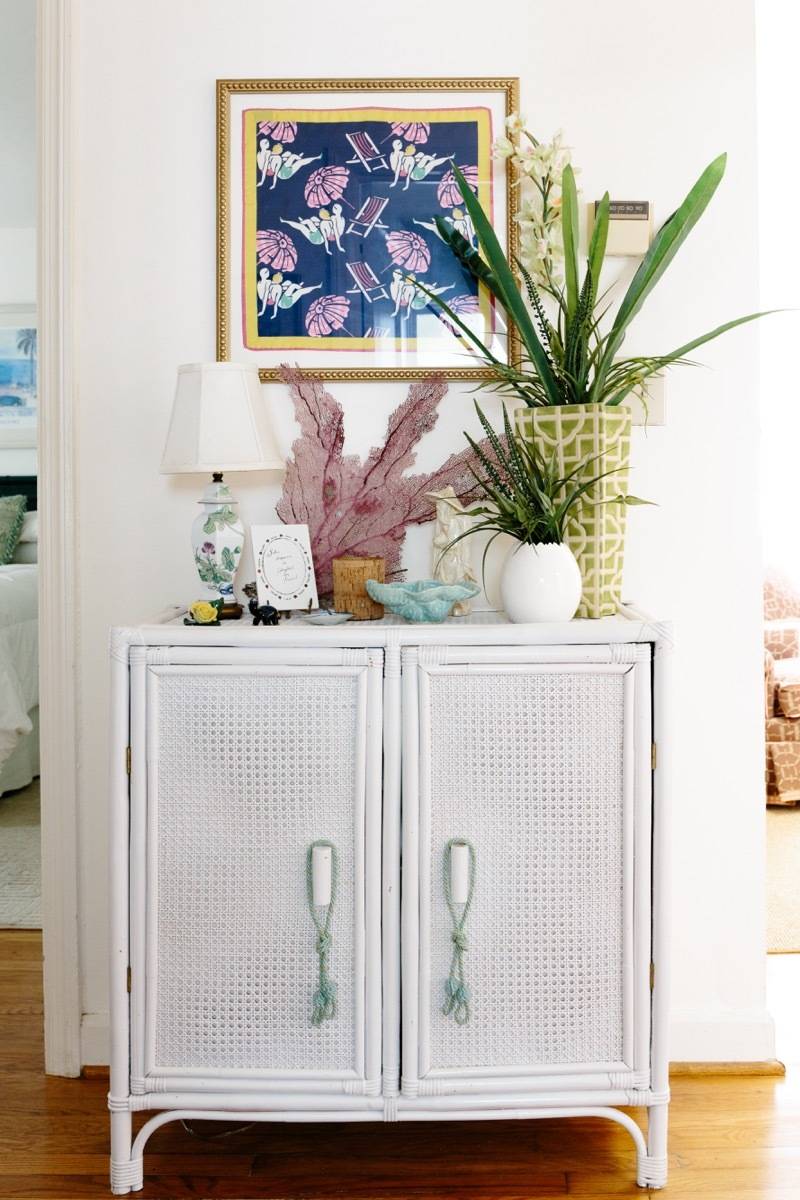
35. Create simple hallway art by framing a scarf. 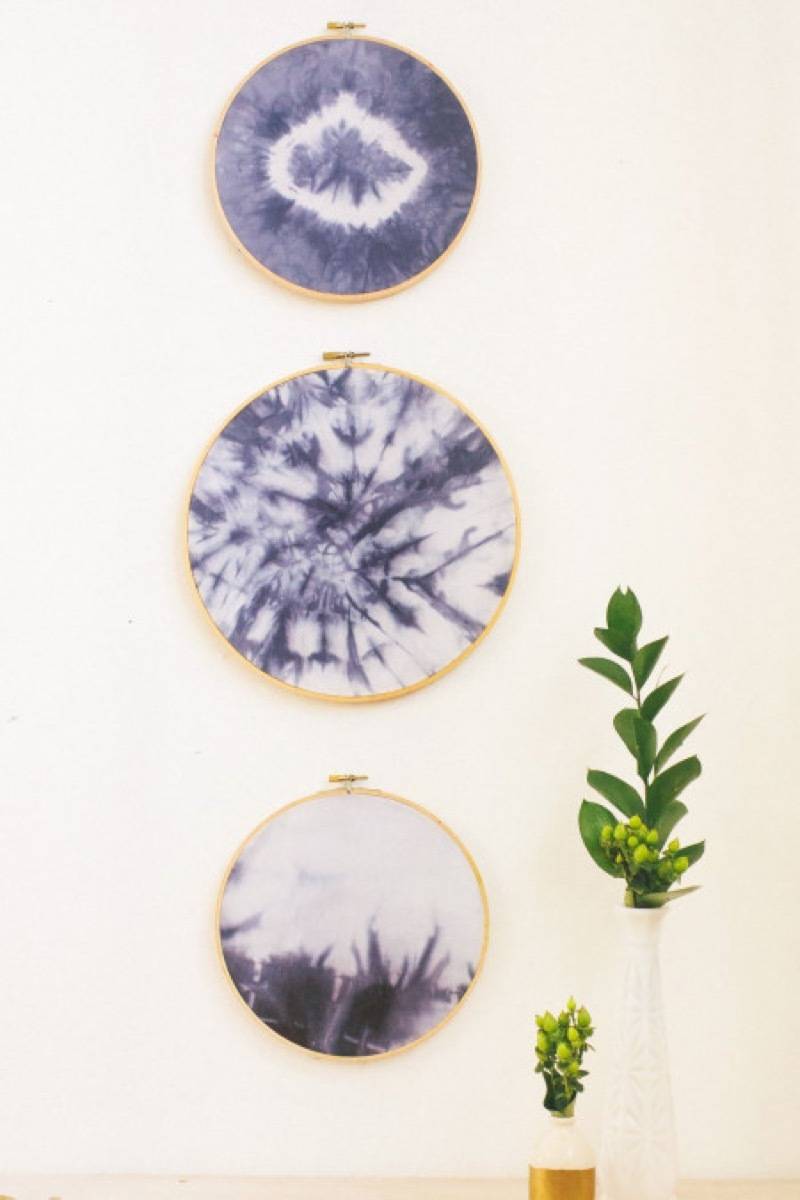
36. Or hang colorful or dyed fabric in embroidery hoops. 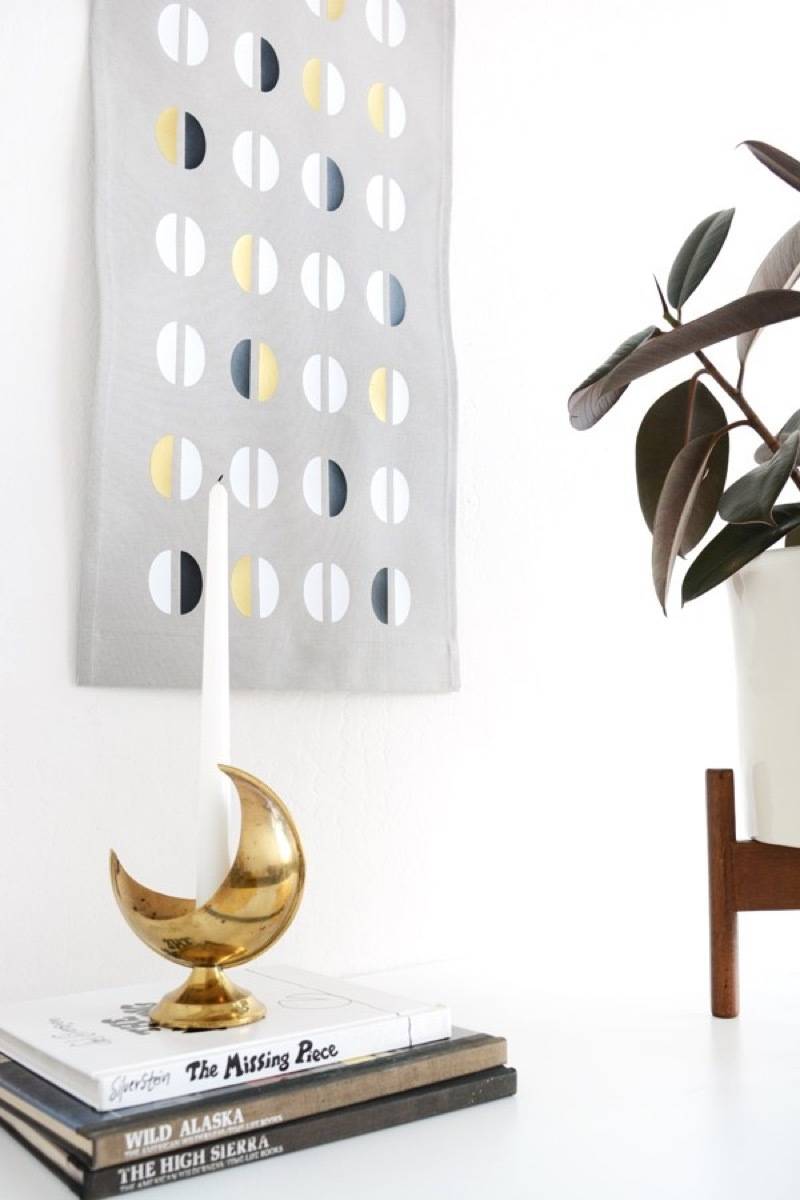
37. Make your own hanging banner from fabric and vinyl. 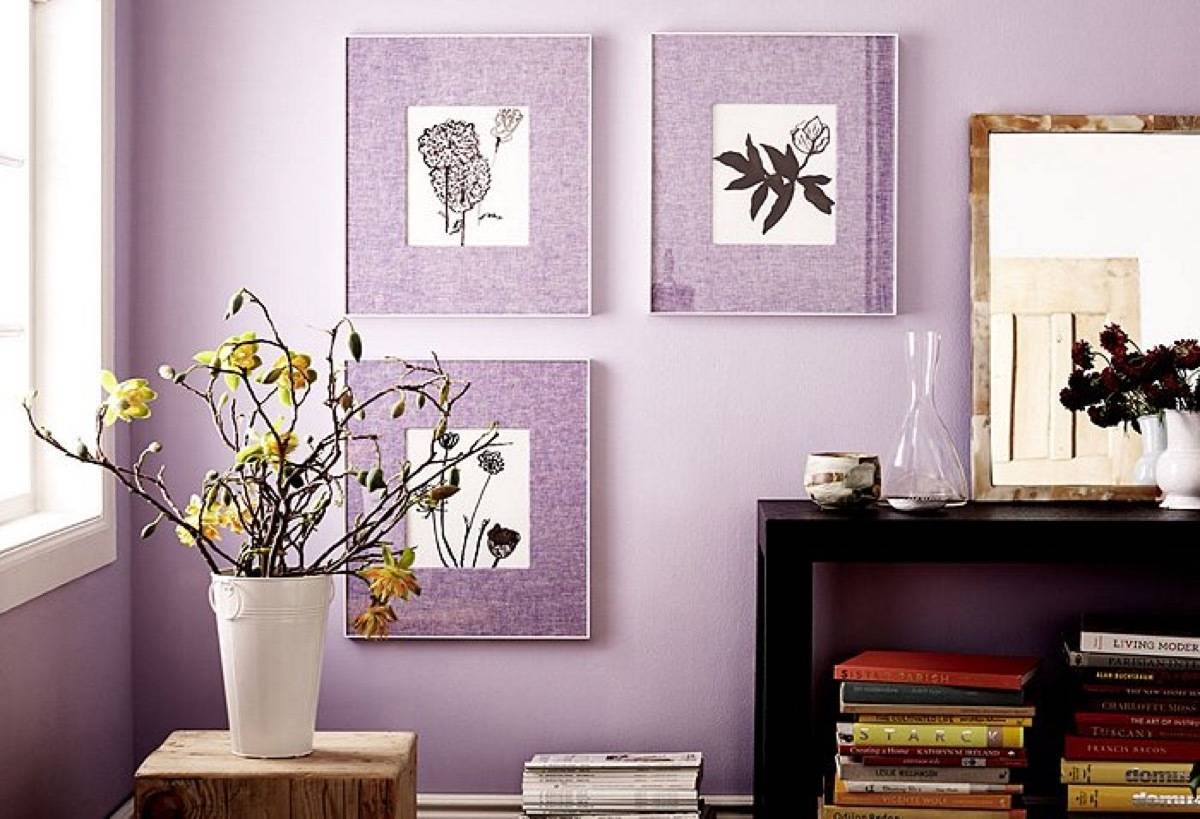
38. Add flair to framed art by wrapping picture mats in fabric. 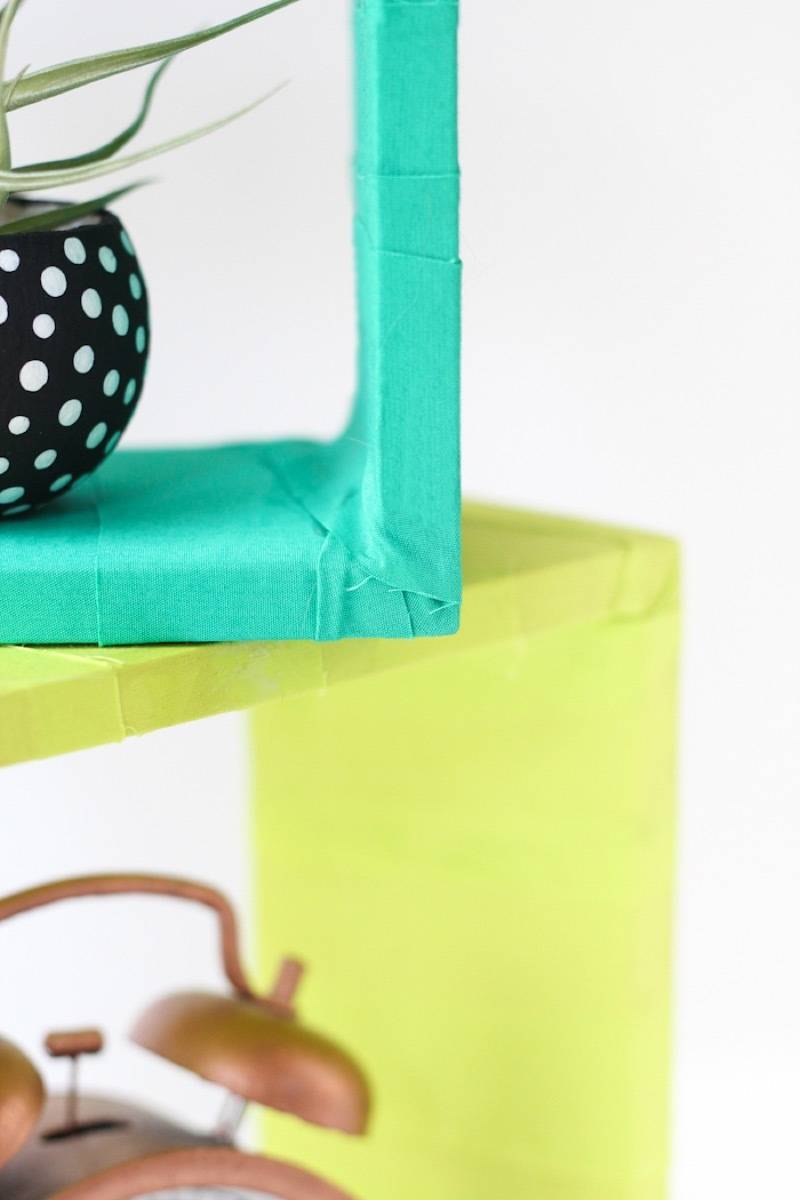
39. Wrap accent shelving in fabric for pop. 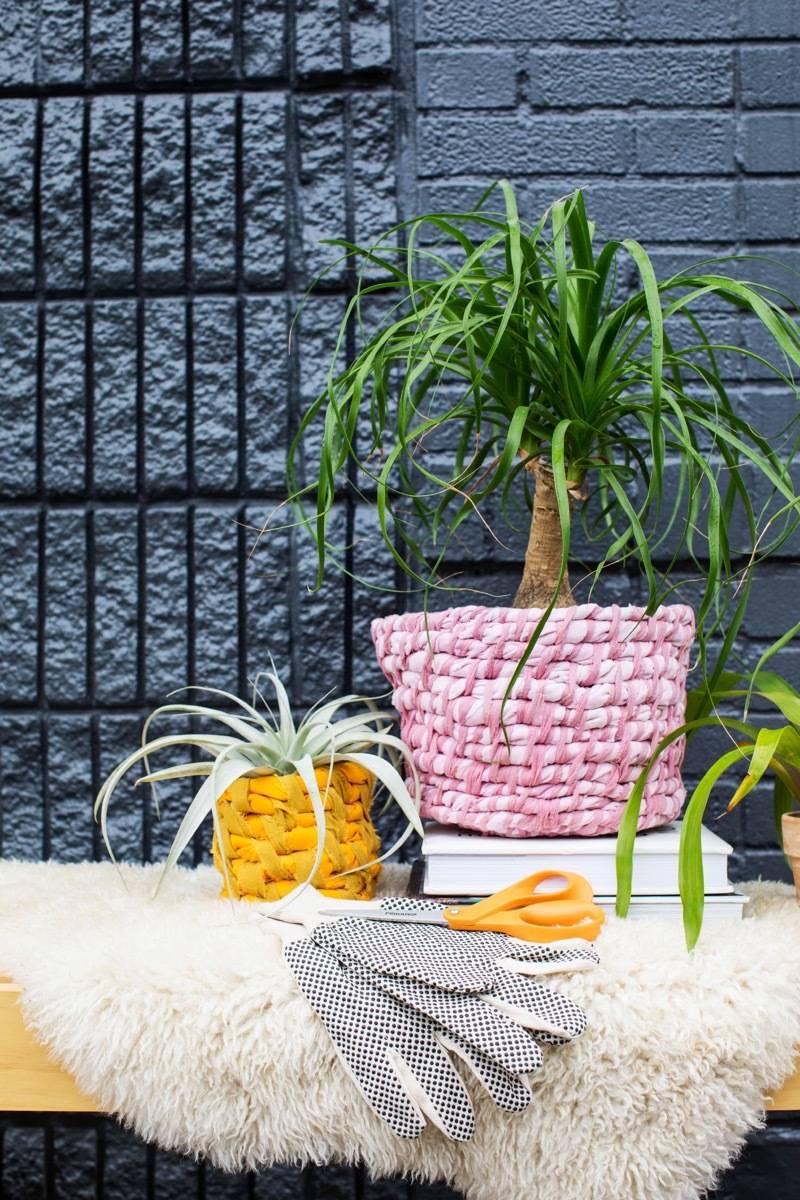
40. Wouldn’t these fabric-coiled planters look cute by the front door? 
41. Hang plants in cute fabric plant hammocks. 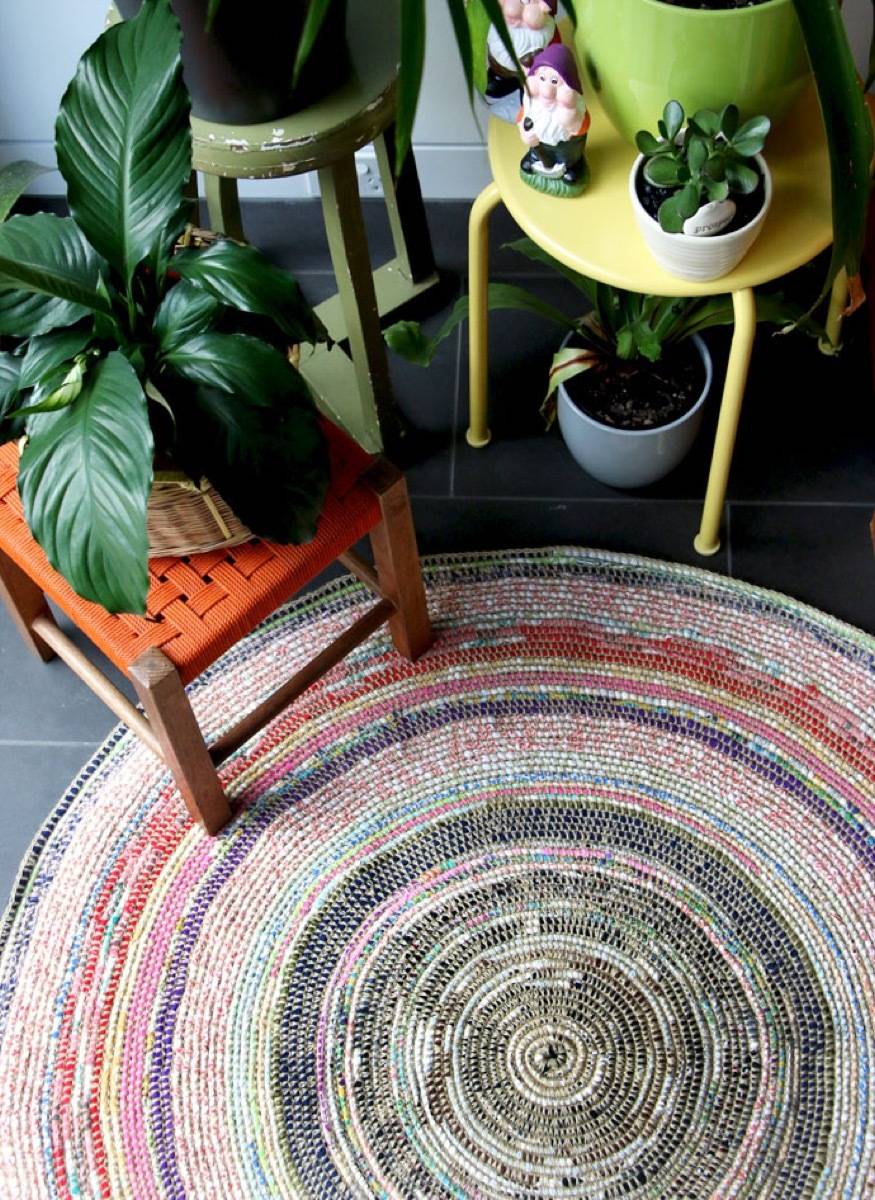
42. Create a coiled rug from fabric scraps for your entryway. 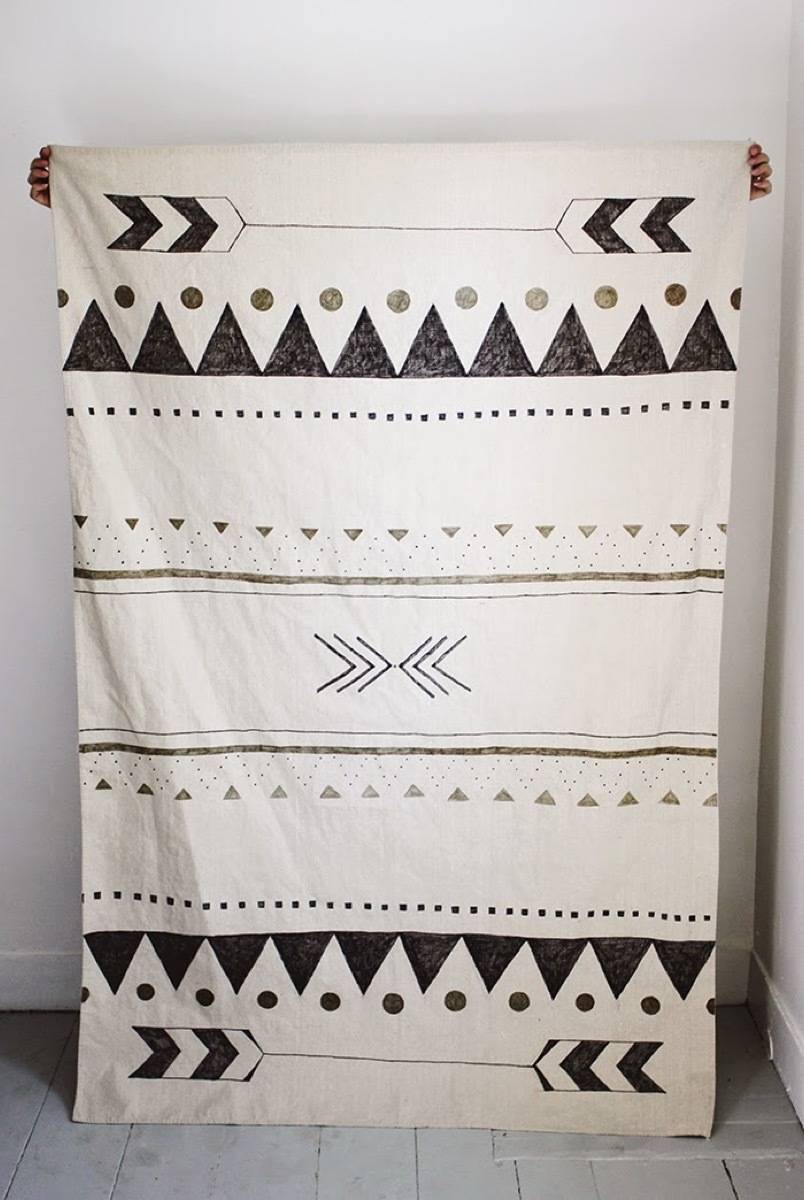
43. Or hand-paint a rug on a drop cloth. 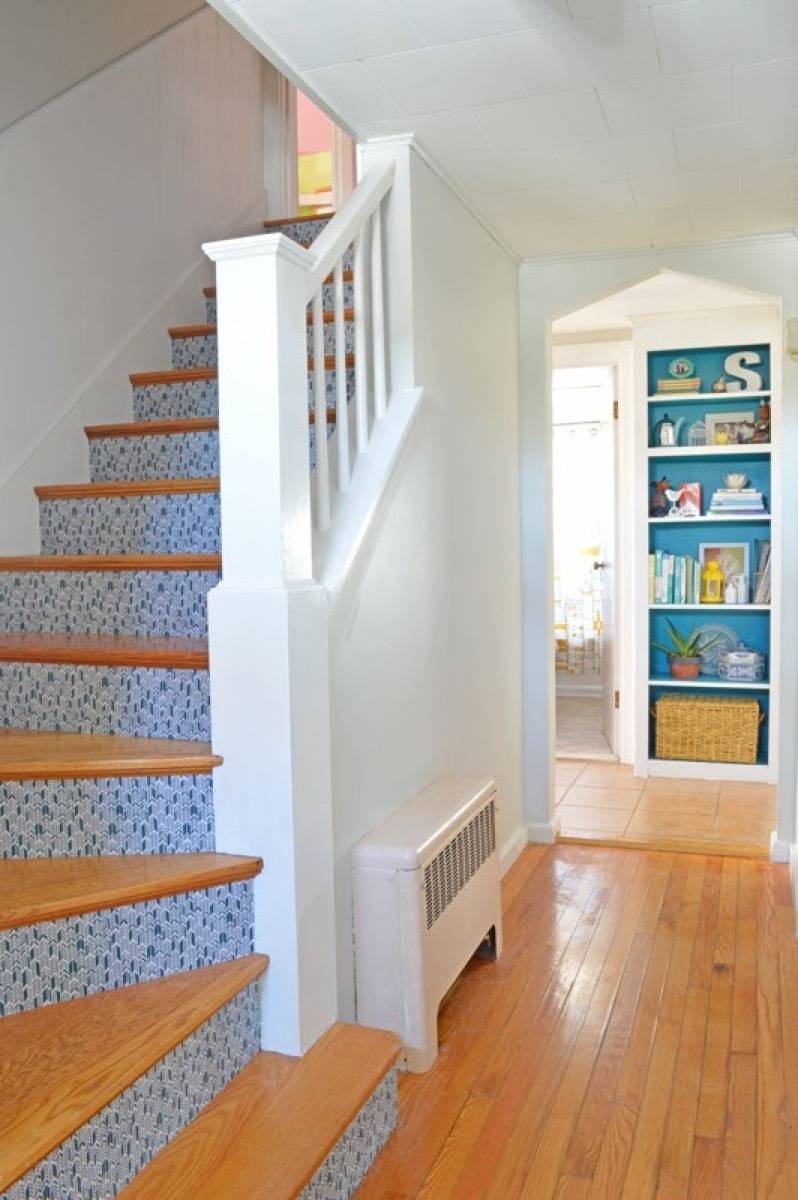
44. Use fabric to decorate your stairwell! KITCHEN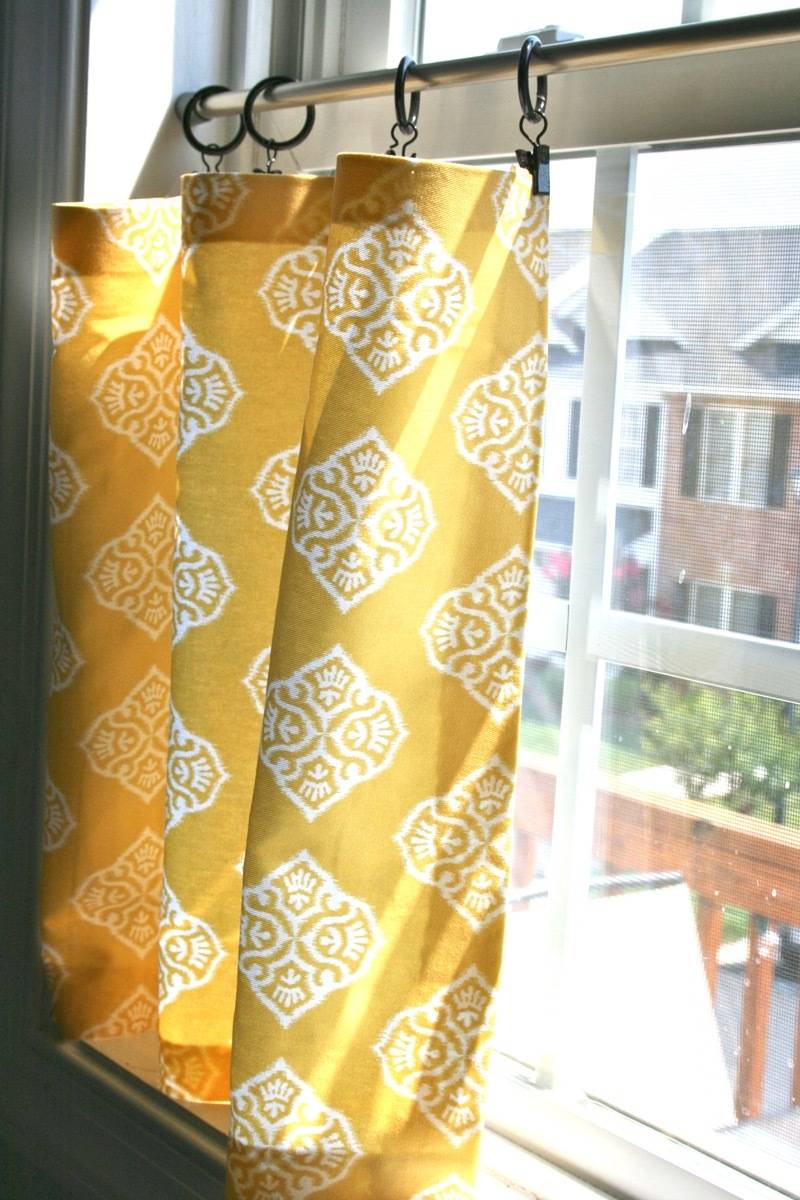
45. No-sew cafe curtains add color to an otherwise bland window. 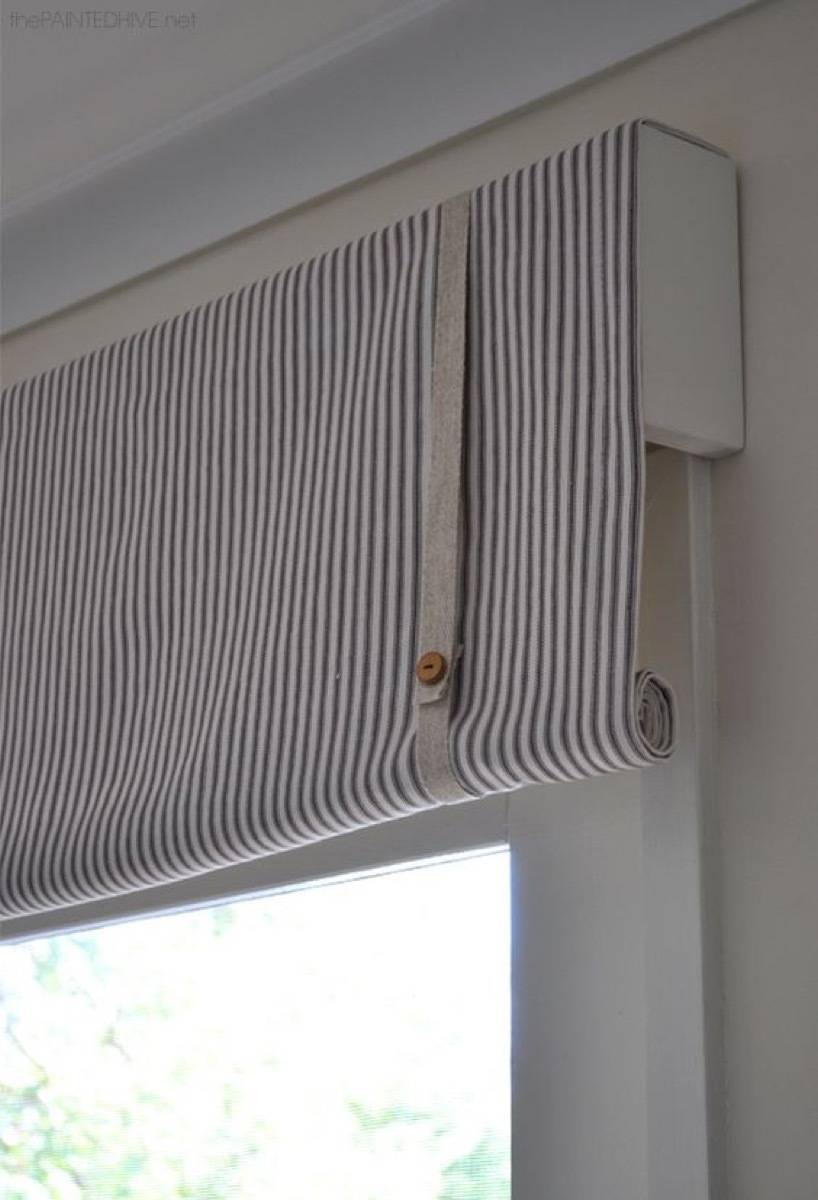
46. Or try this more classic no-sew rolled valance. 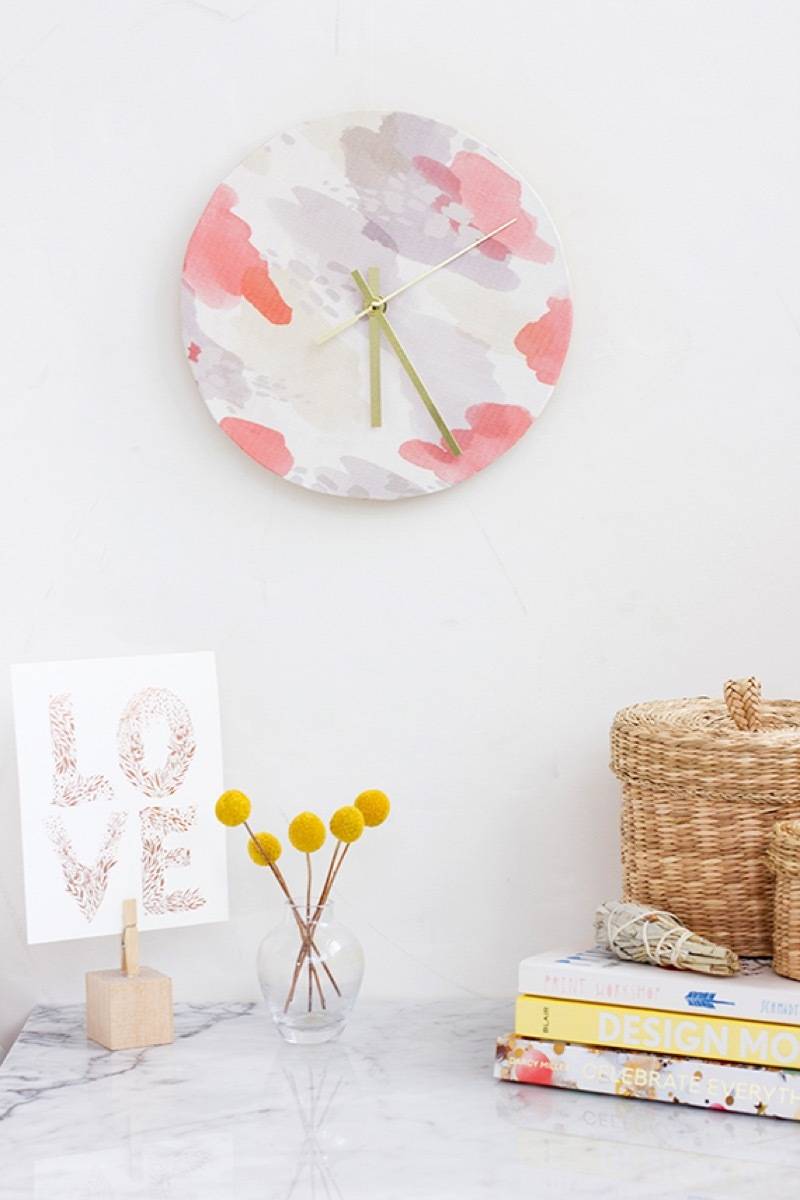
47. Keep an eye on the time – decoupage fabric to a clock face. 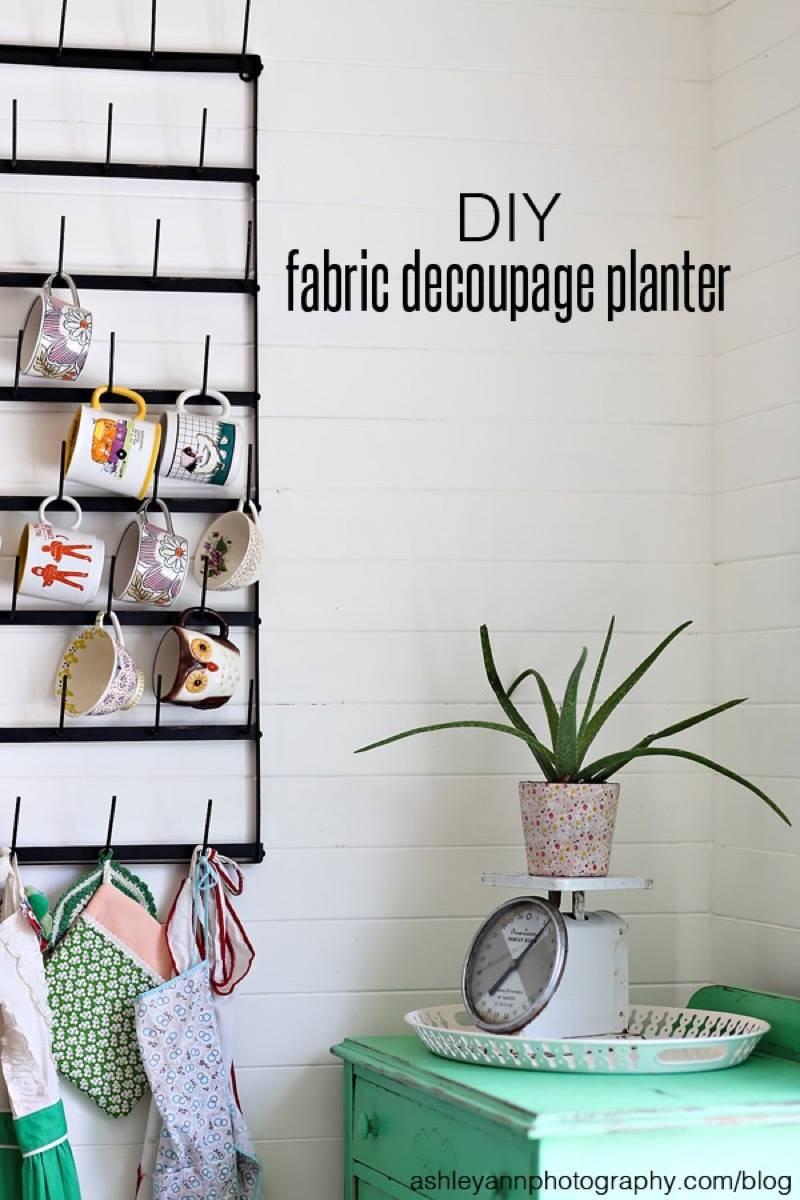
48. Use fabric to decorate a planter using Mod Podge. 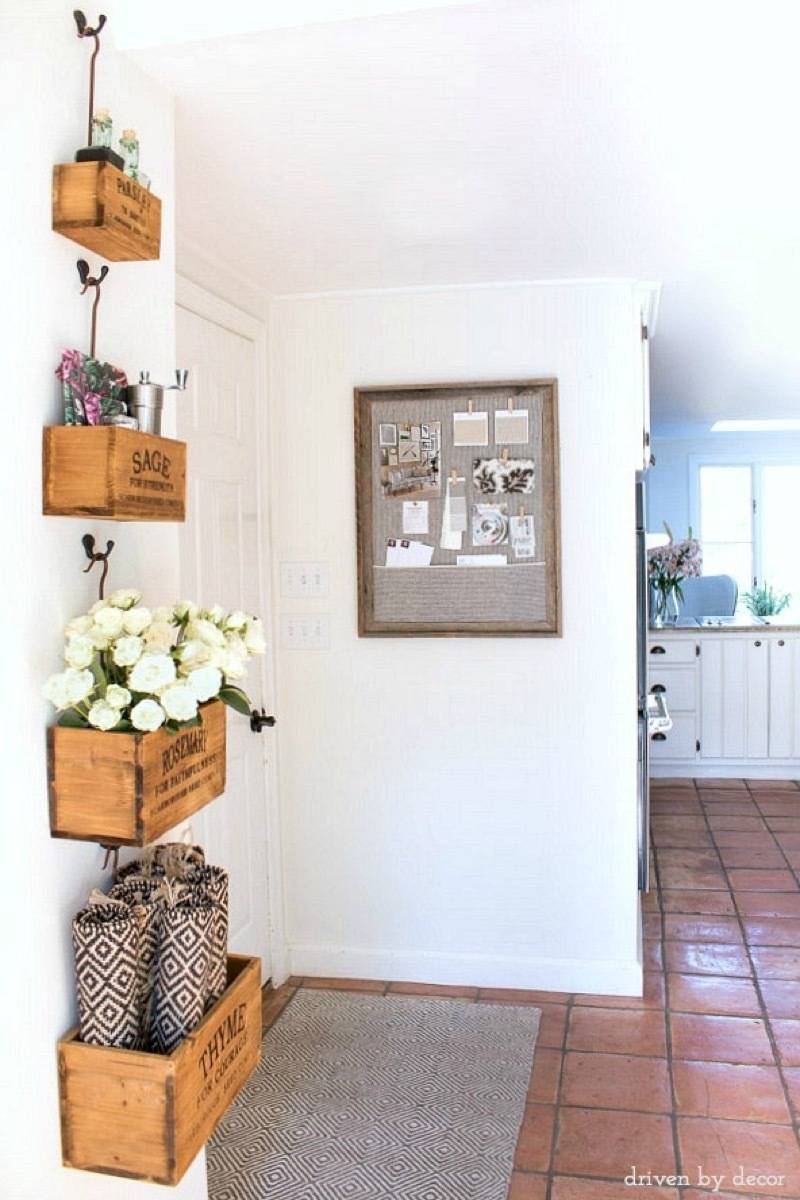
49. Cover your command station cork board with fabric. 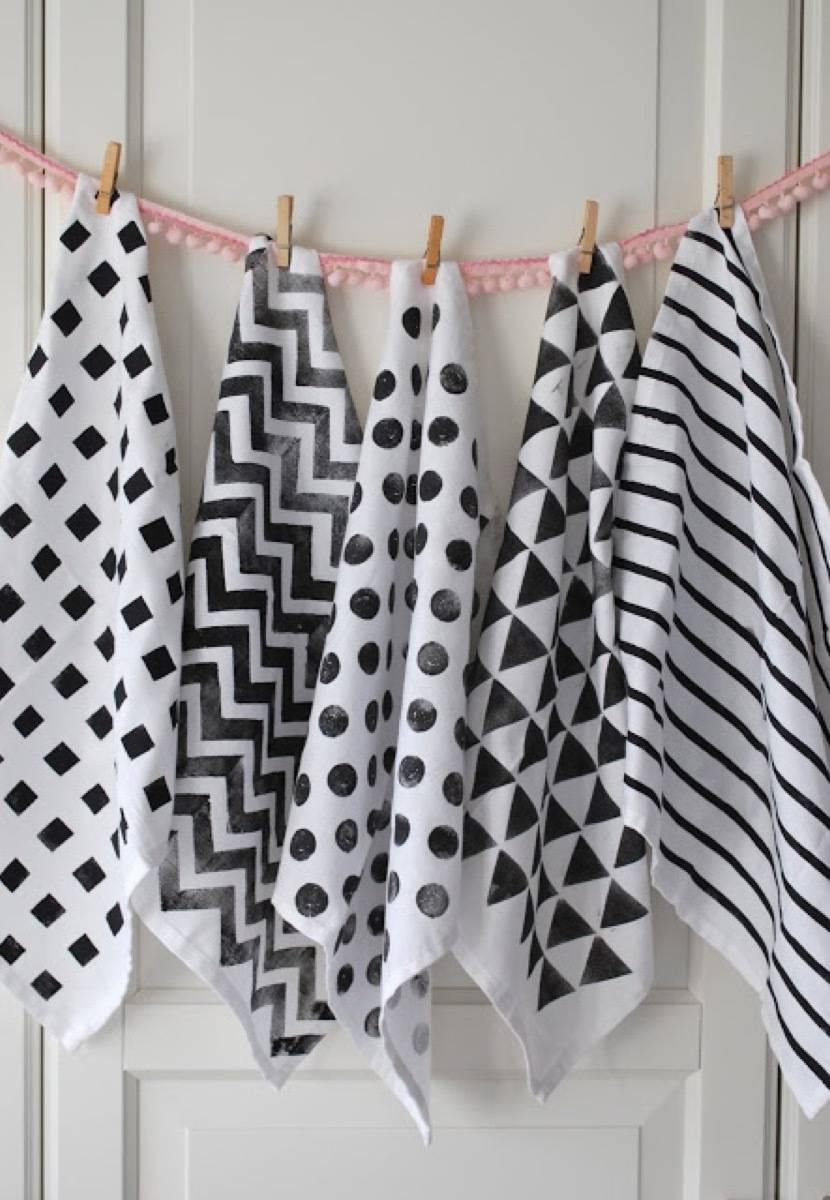
50. Decorate your kitchen with fun tea towels, like these stenciled ones. 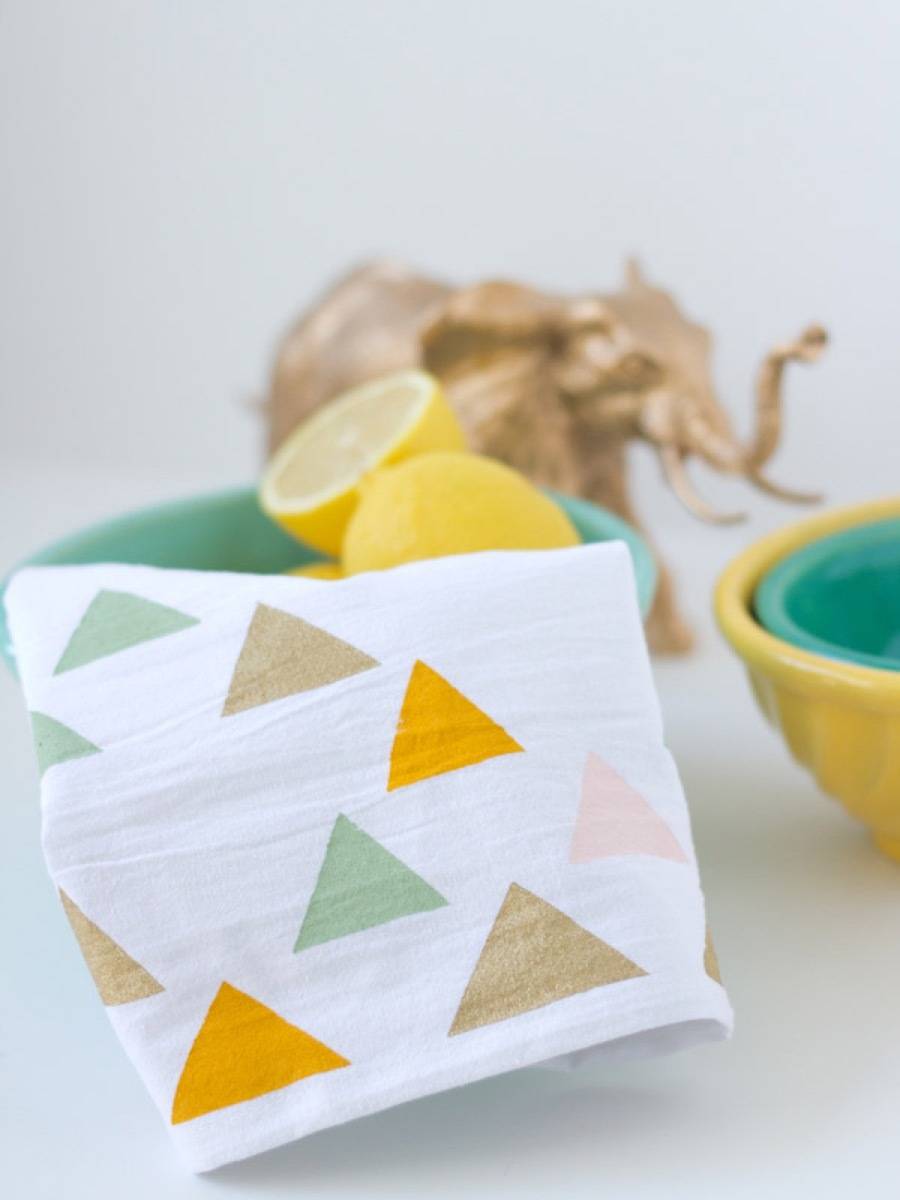
51. Or maybe stamping is more your style. 
52. Don’t be bland – make some colorful pot holders to adorn your kitchen. 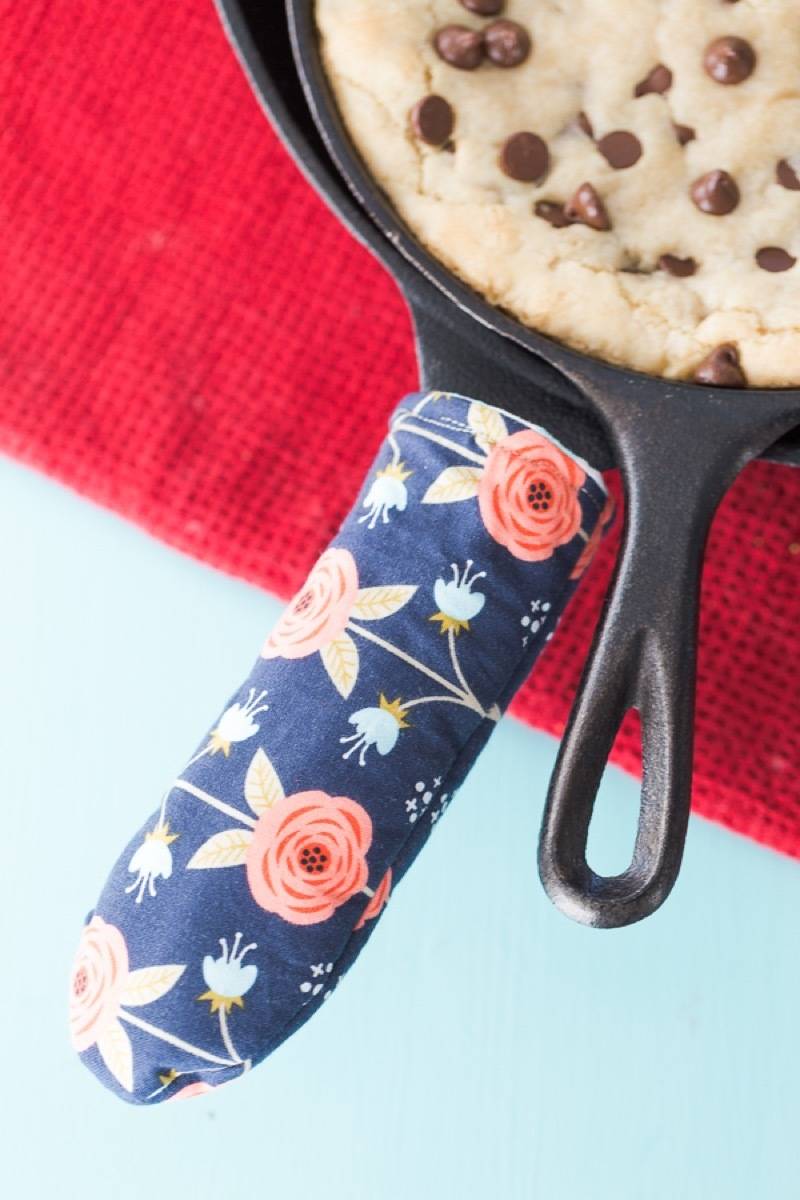
53. Or a cute skillet handle cover for your cast iron. 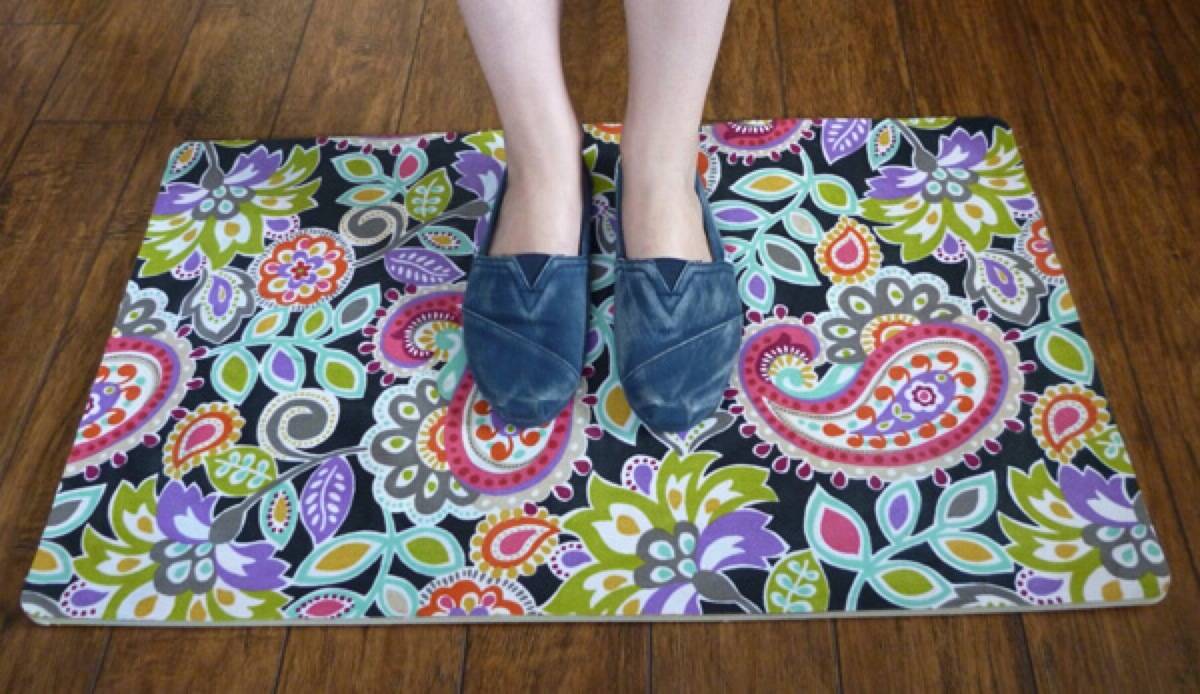
54. Personalize your kitchen by making a customized kitchen rug. 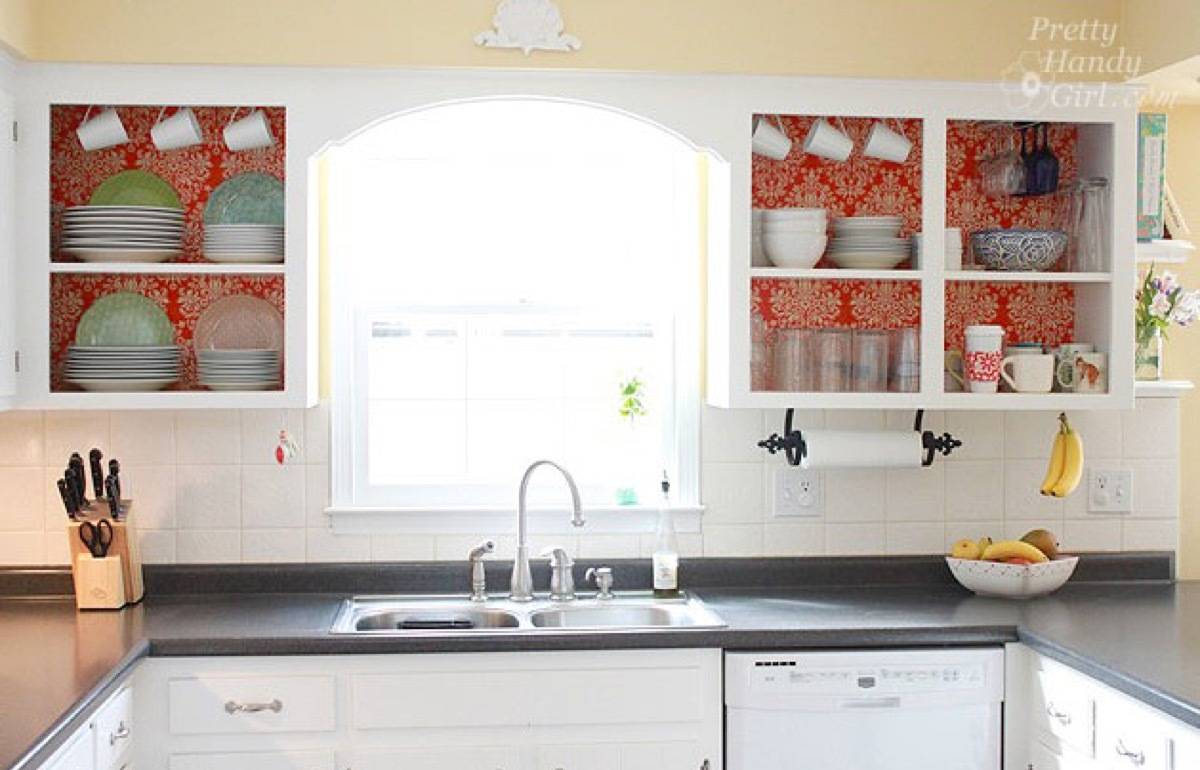
55. Line your cabinets in fabric for a pop of color. LAUNDRY + BATH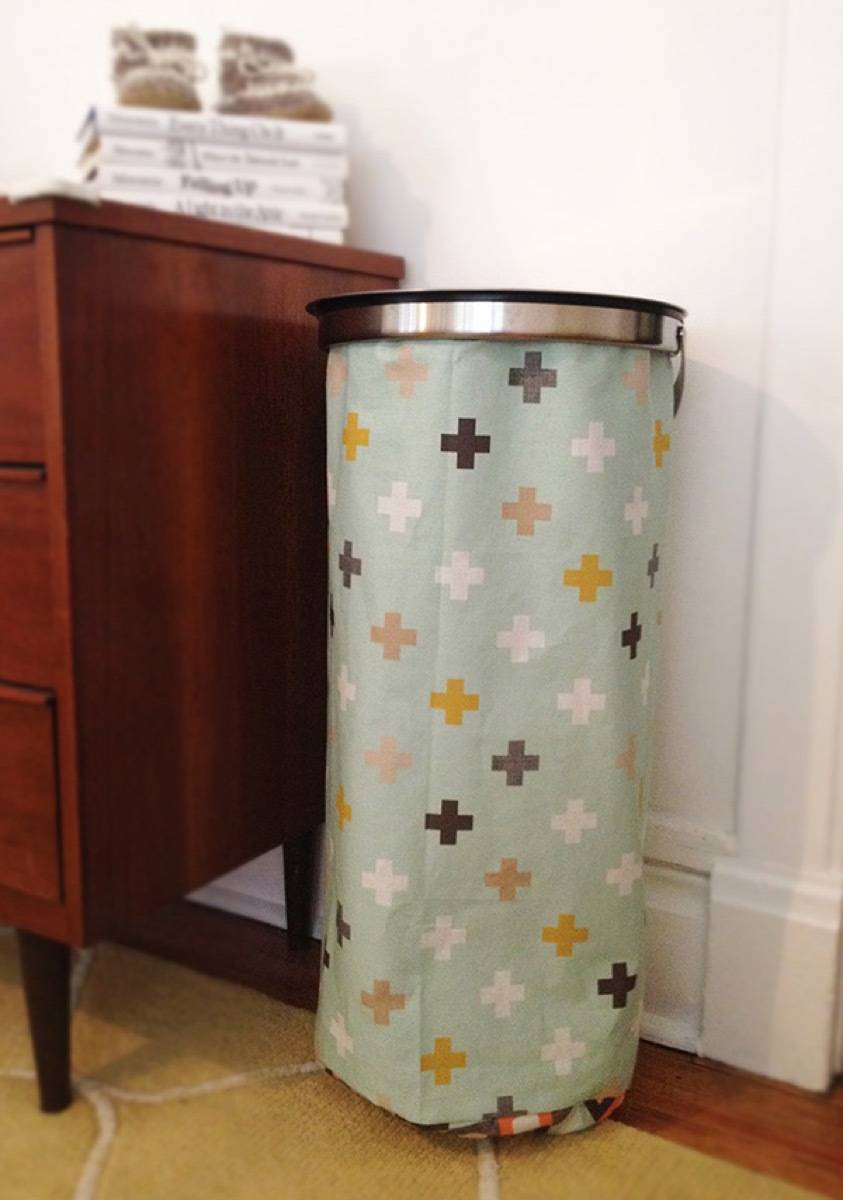
56. Sew your own laundry basket with a fun fabric print. 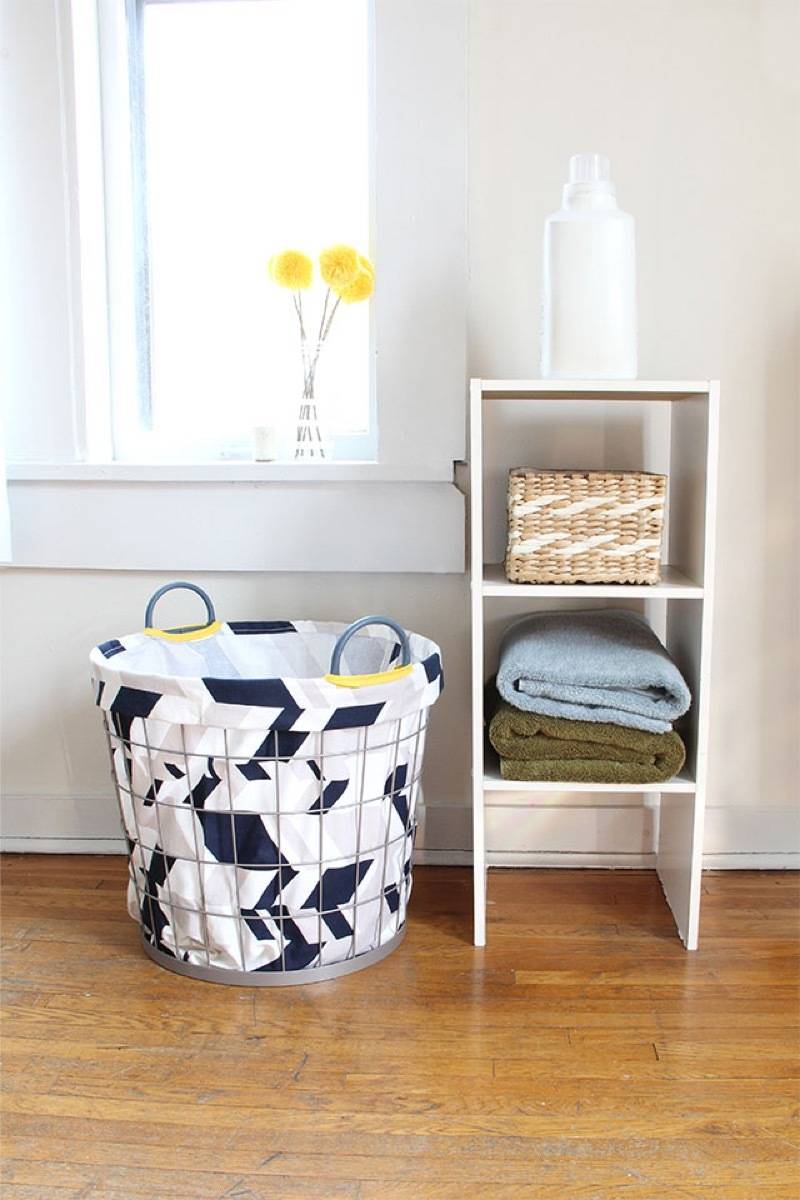
57. Or learn to turn any basket into a laundry hamper by creating a liner. 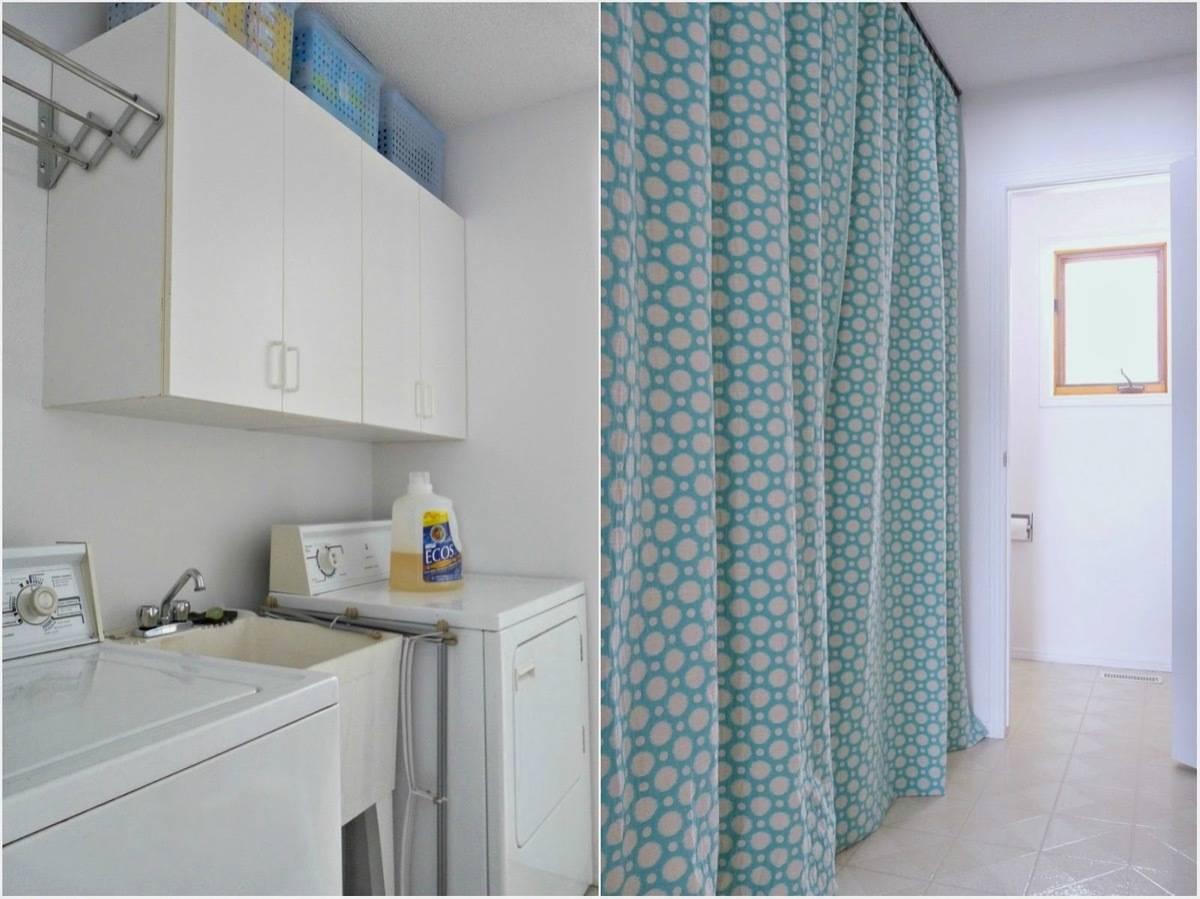
58. Totally disguise your unsightly laundry area by hanging a large curtain. 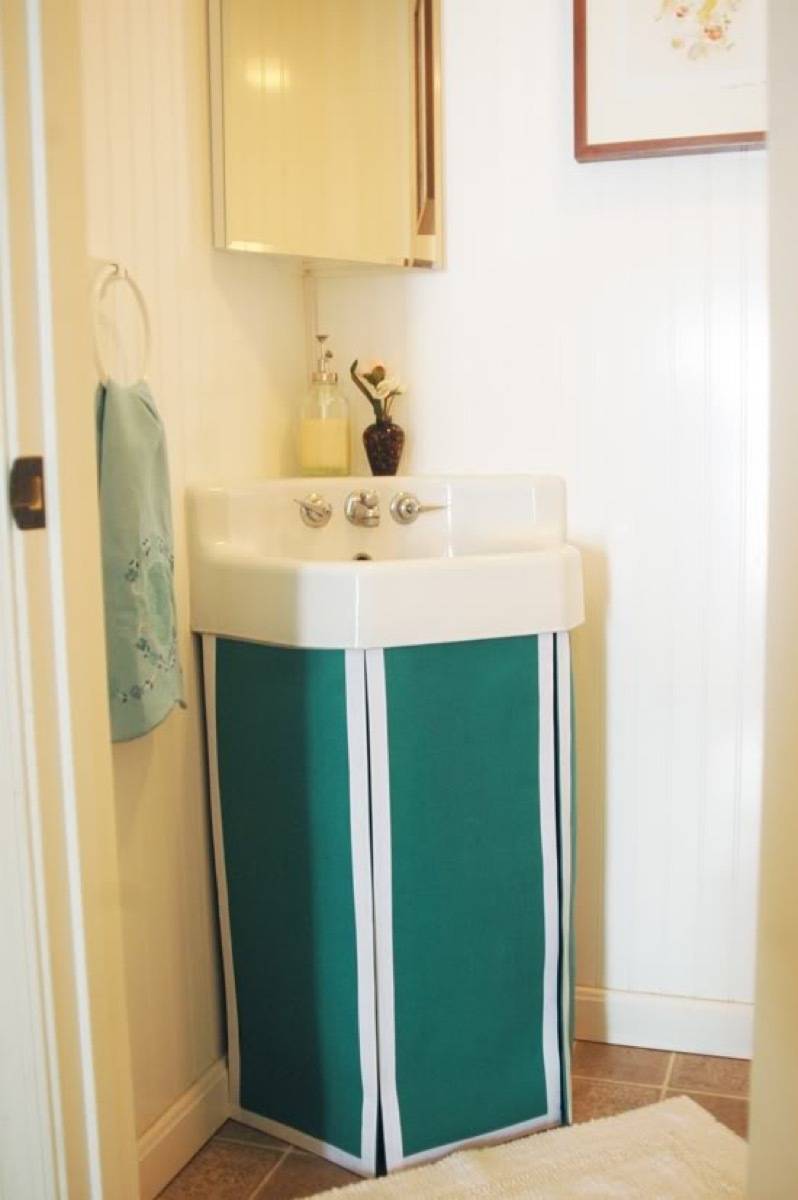
59. Hide the pipes under the sink (and create more storage space) by putting a skirt around your pedestal sink. 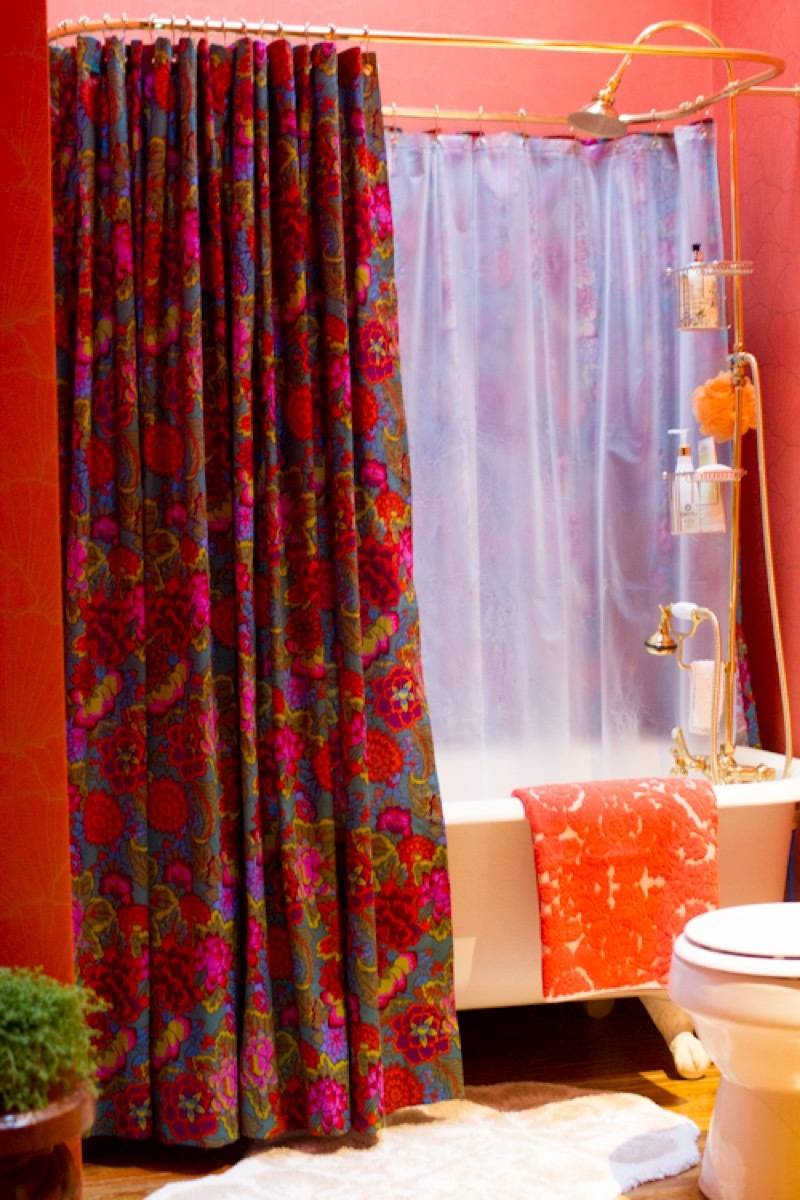
60. Make your own shower curtain from the fabric of your choosing. 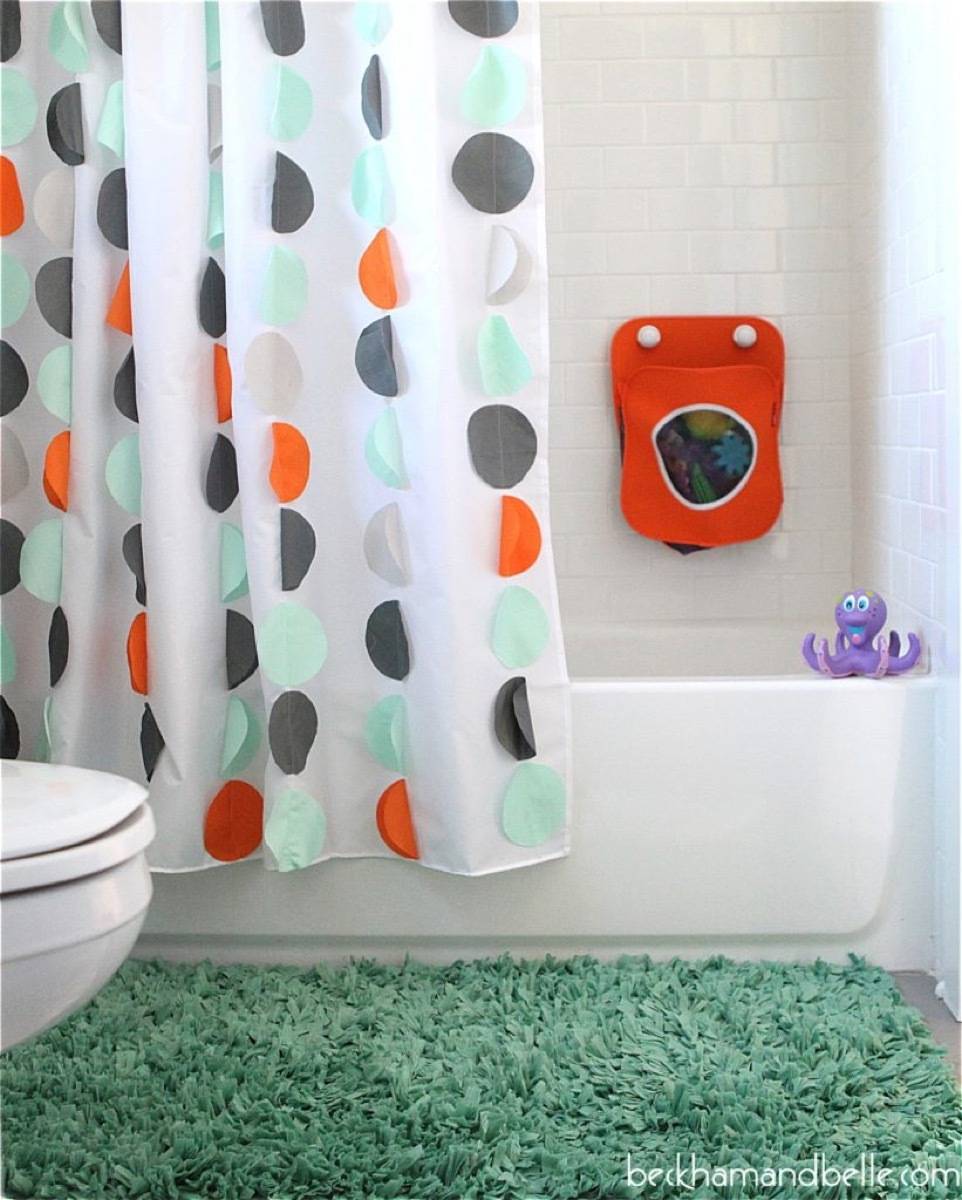
61. Add fabric dots to your shower curtain for a fun look. 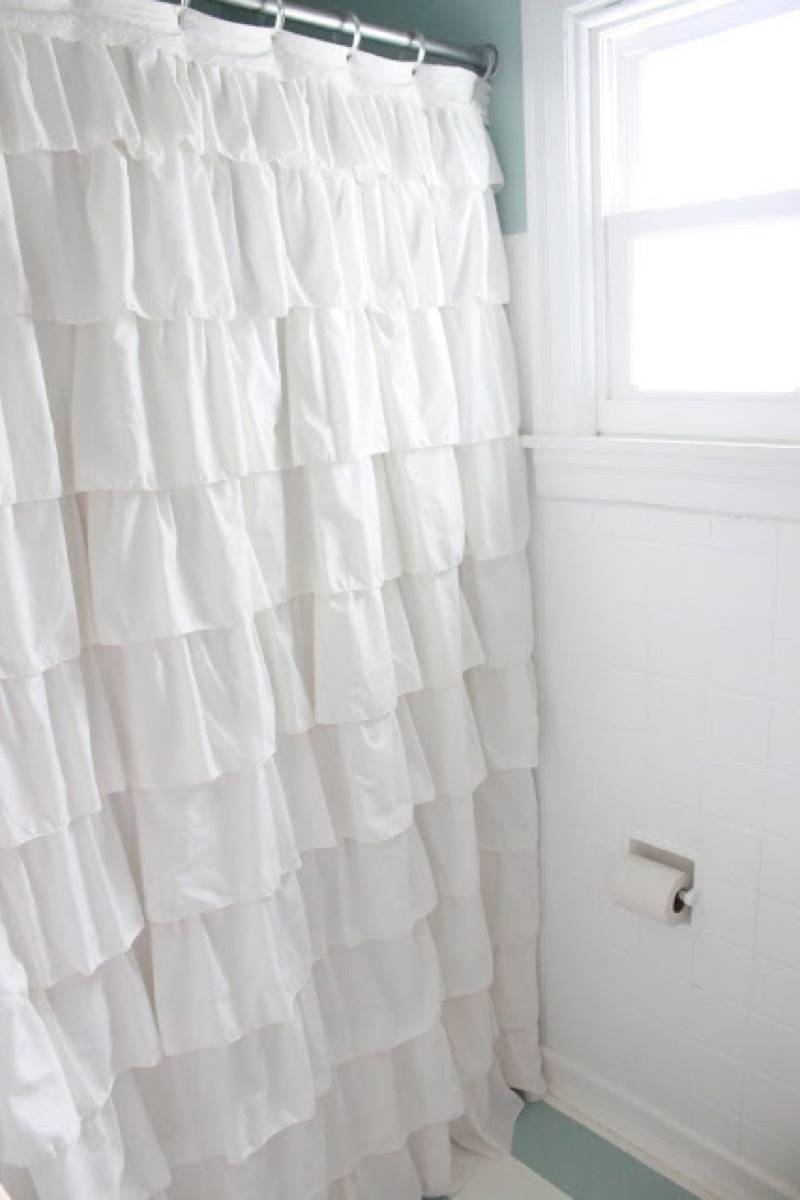
62. Or try the ruffled style with this DIY. HOME OFFICE
63. Add texture and color to your office space by dyeing a fur throw. 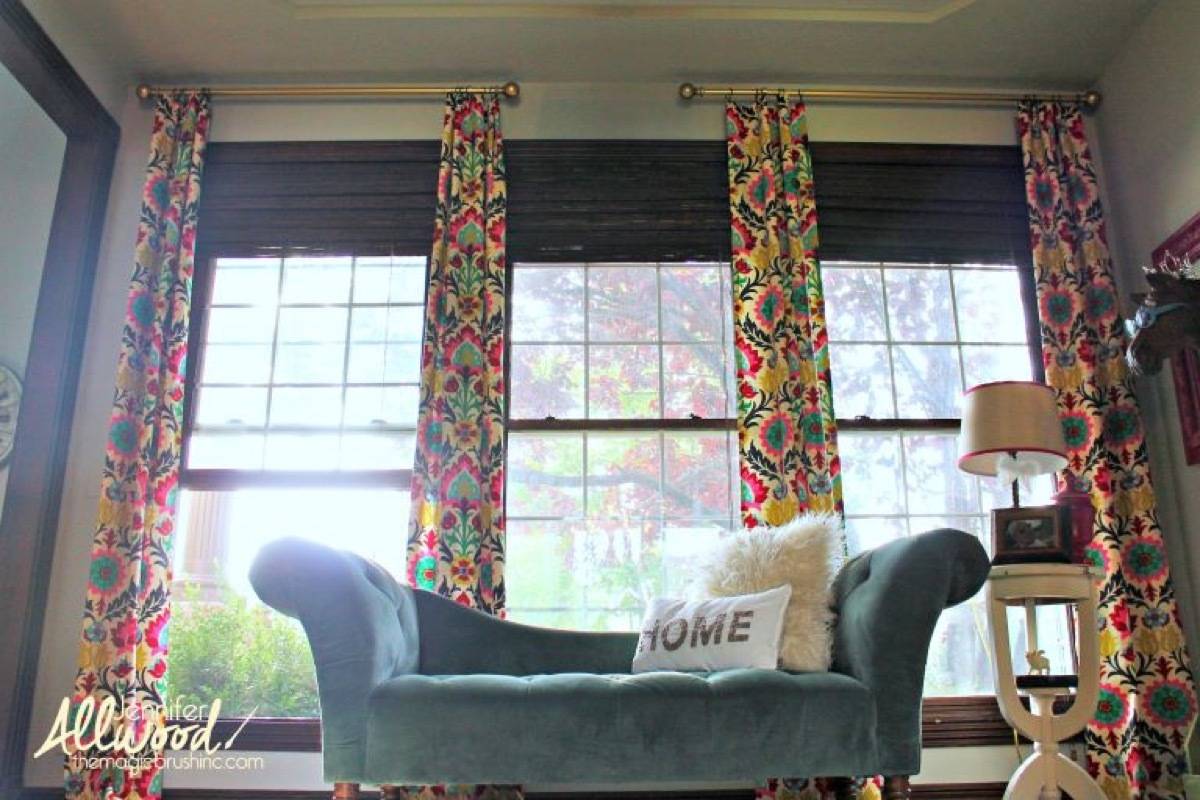
64. Create customized window treatments that don’t require any sewing. 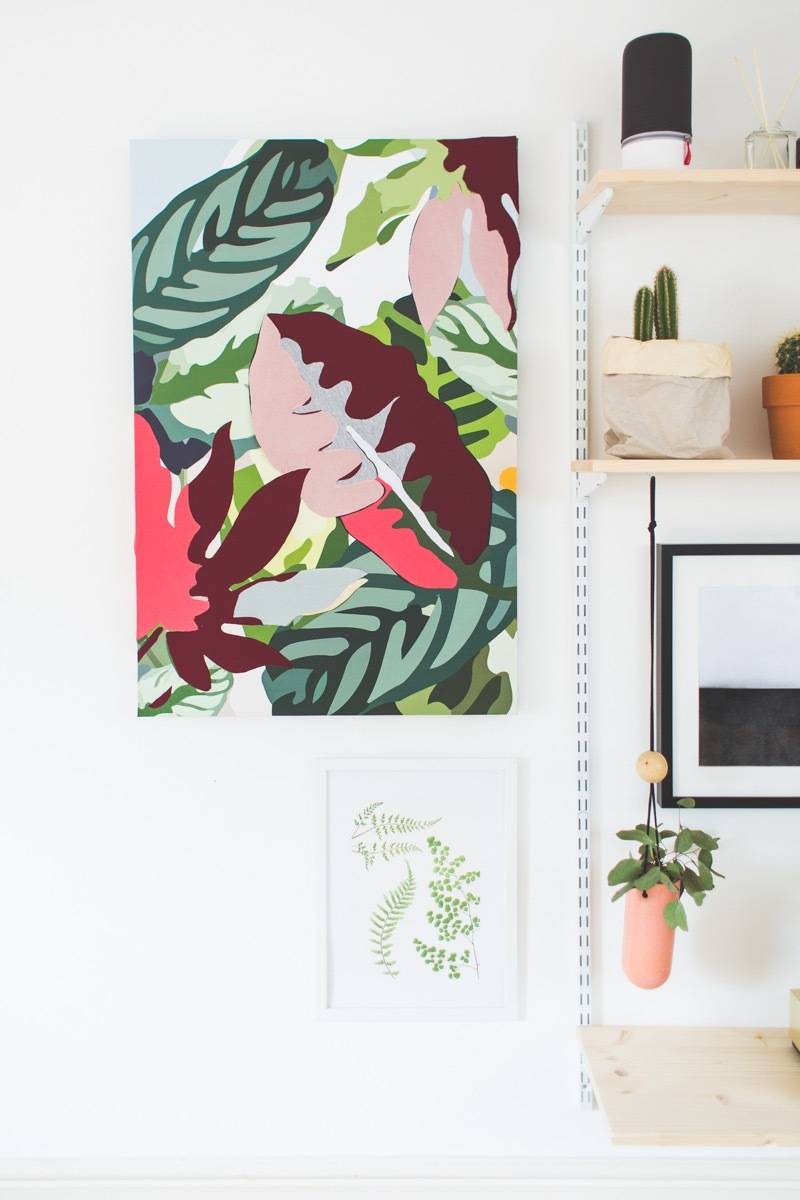
65. Try your hand at some fabric appliqué art. 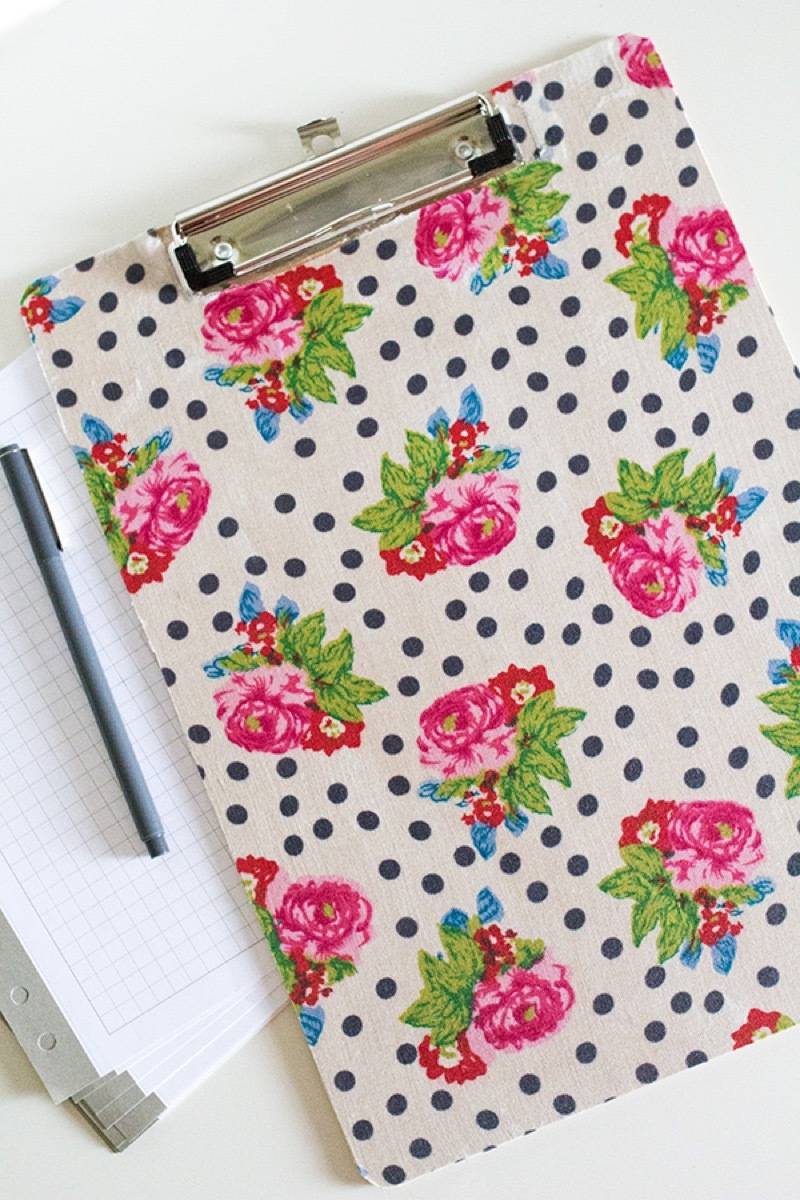
66. Use fabric to decorate clipboards to stay organized in style. 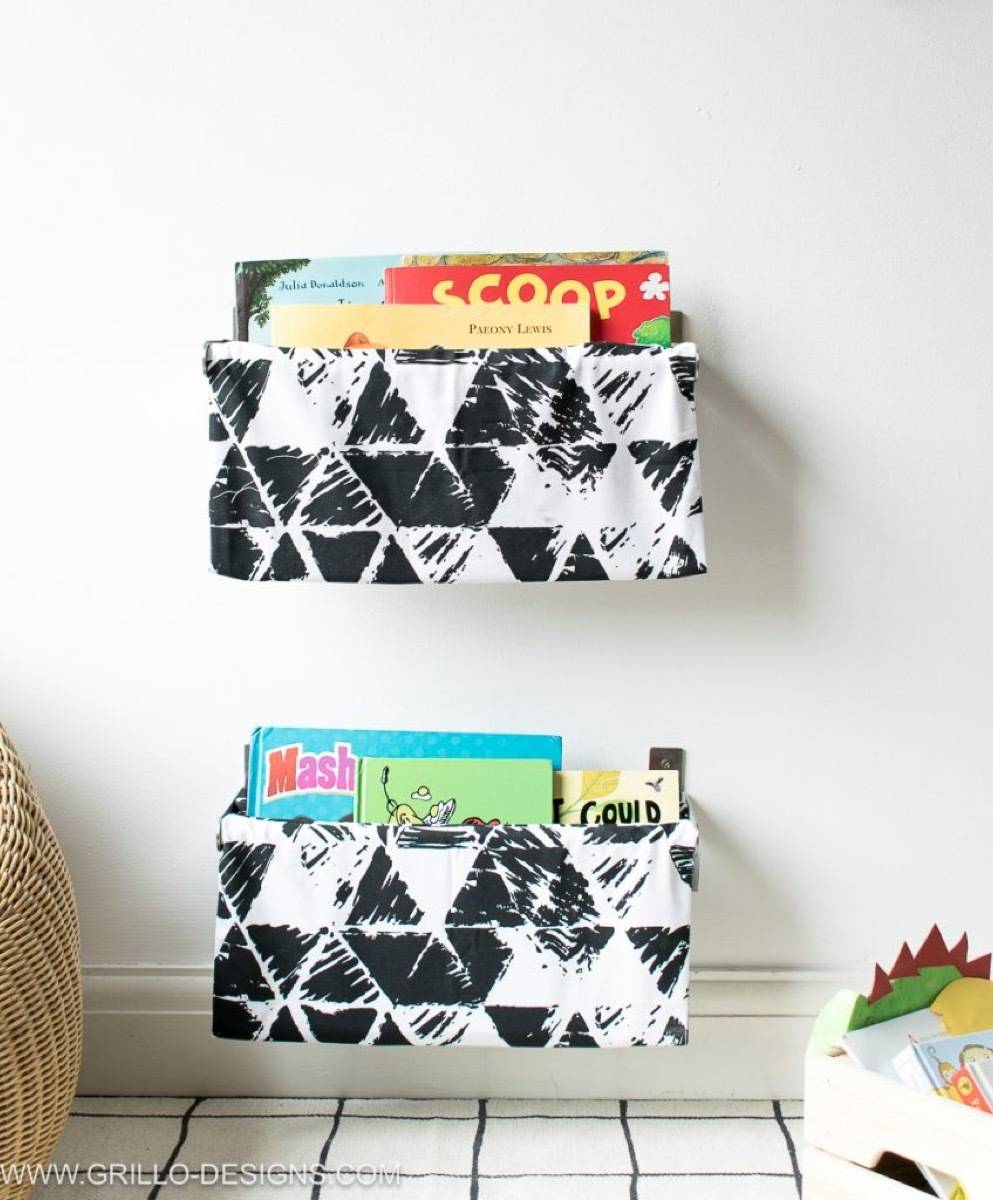
67. Take your organization to the wall with fabric book slings. 
68. Give your dull ceiling fan a makeover by adding fabric to the blades. 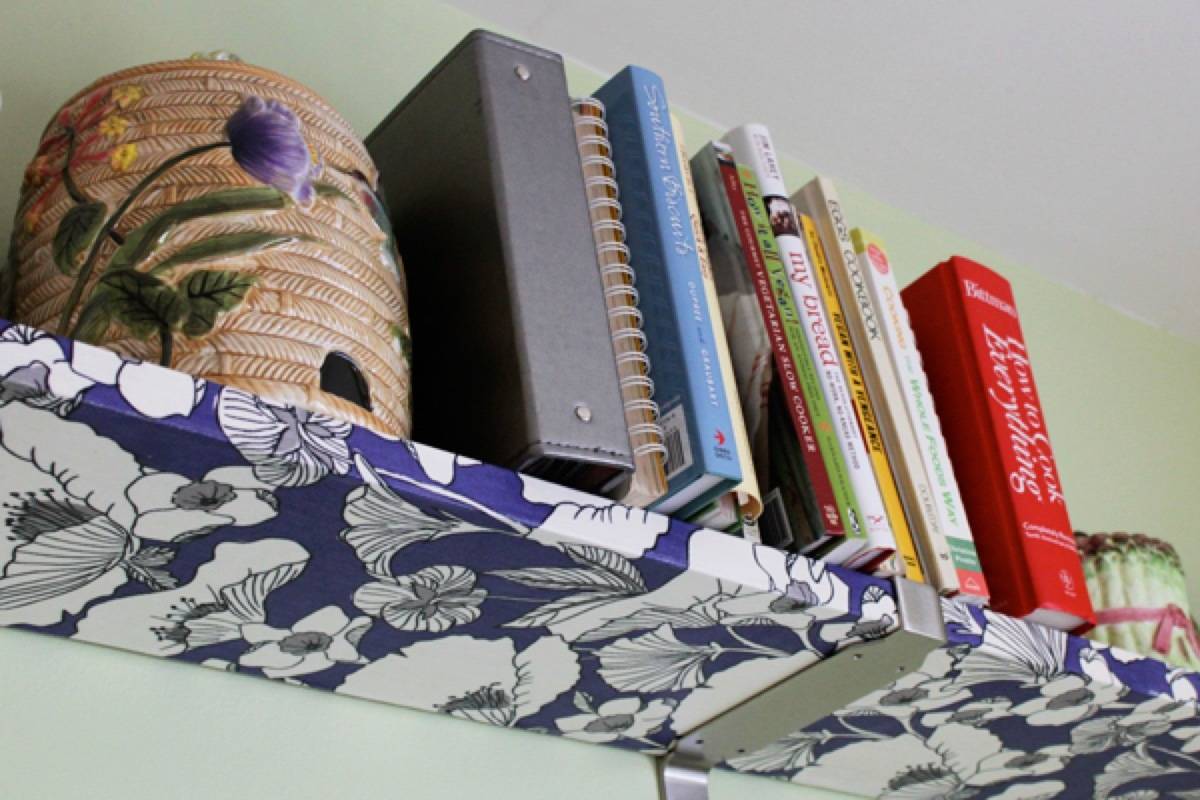
69. Decoupage your boring shelves with a happy print. 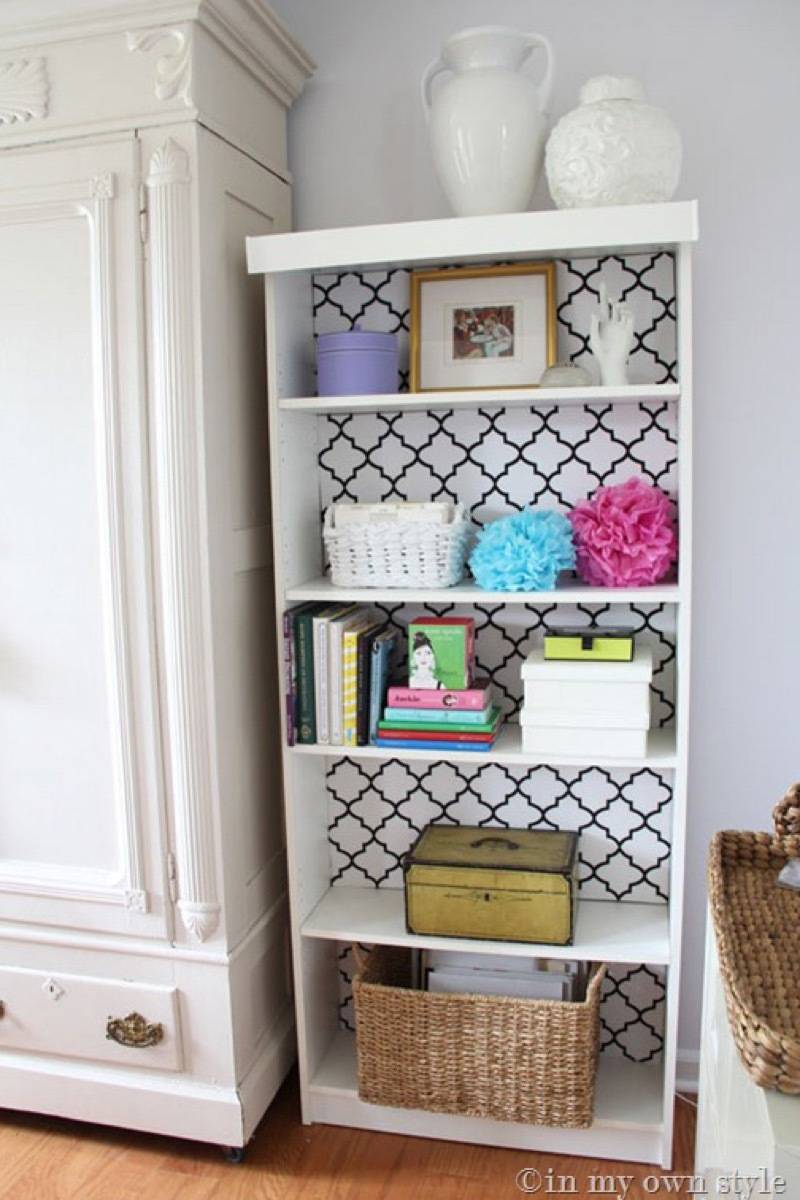
70. Line the back of a bookcase with fabric-covered boards. 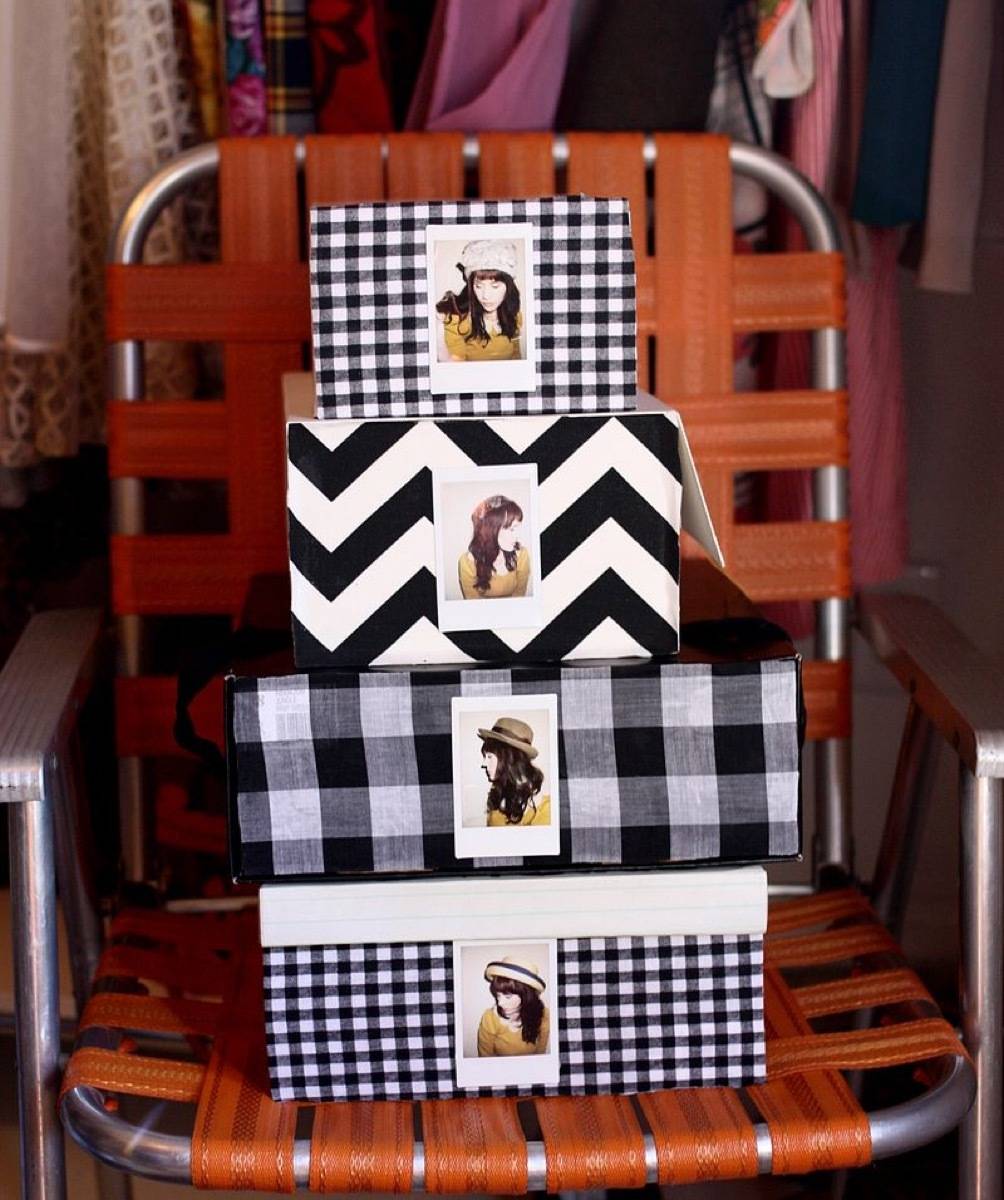
71. Cover storage bins in fabric. 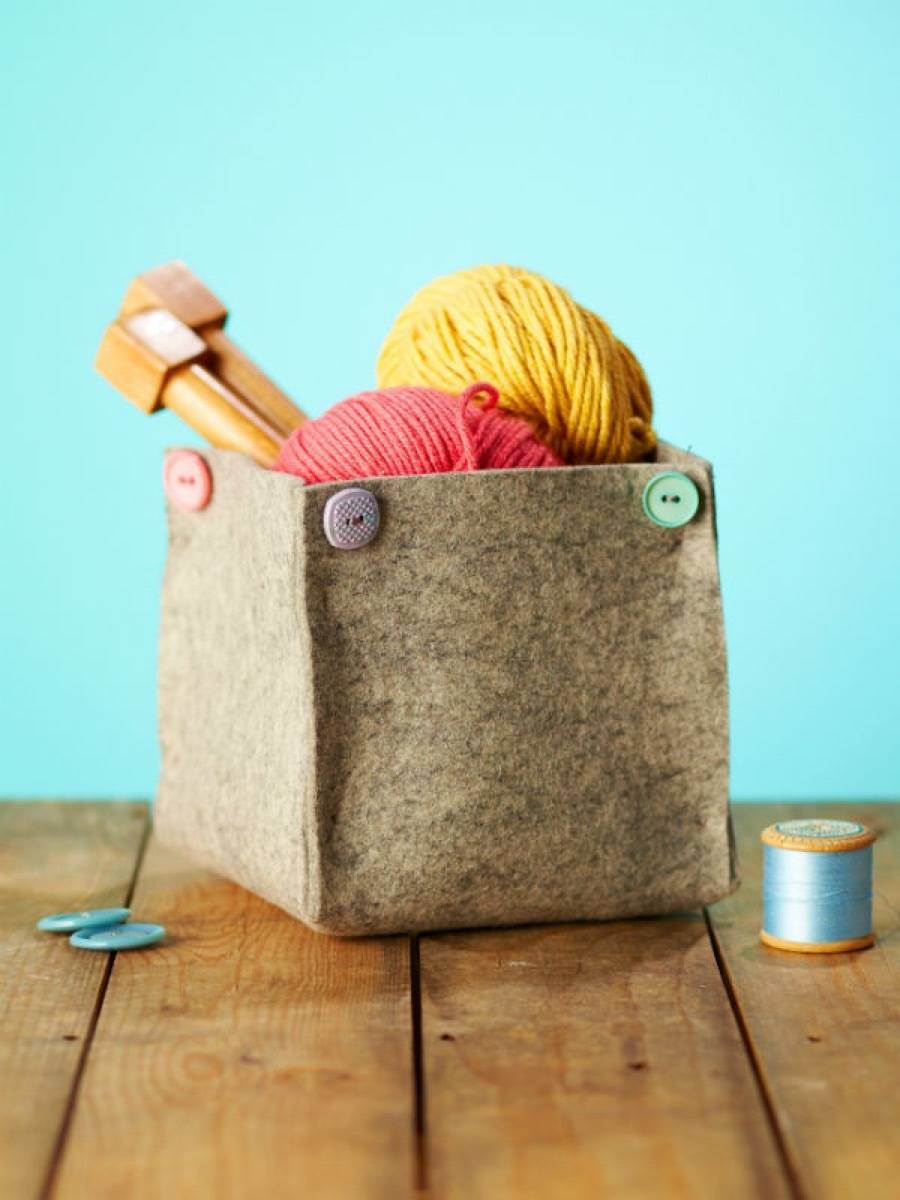
72. Create cute felt storage cubes to keep all your supplies in once place. 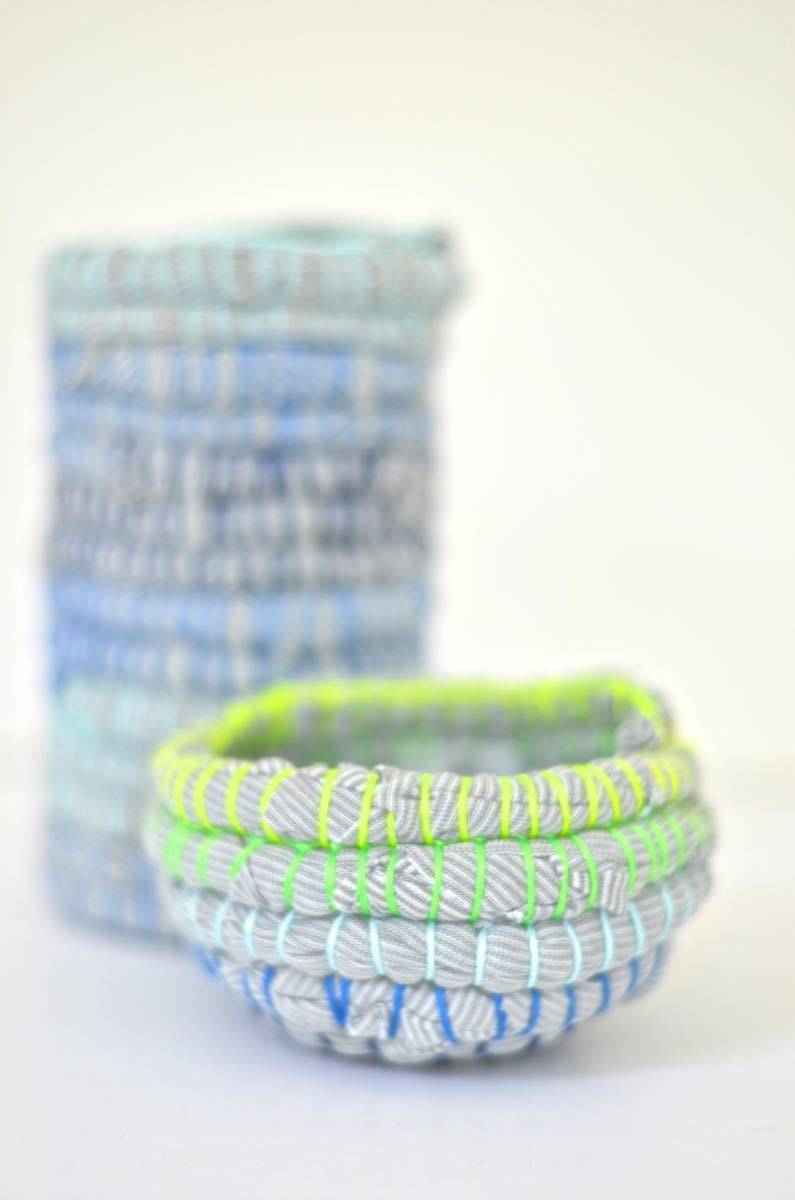
73. Or try these coiled fabric bowls made from scraps. 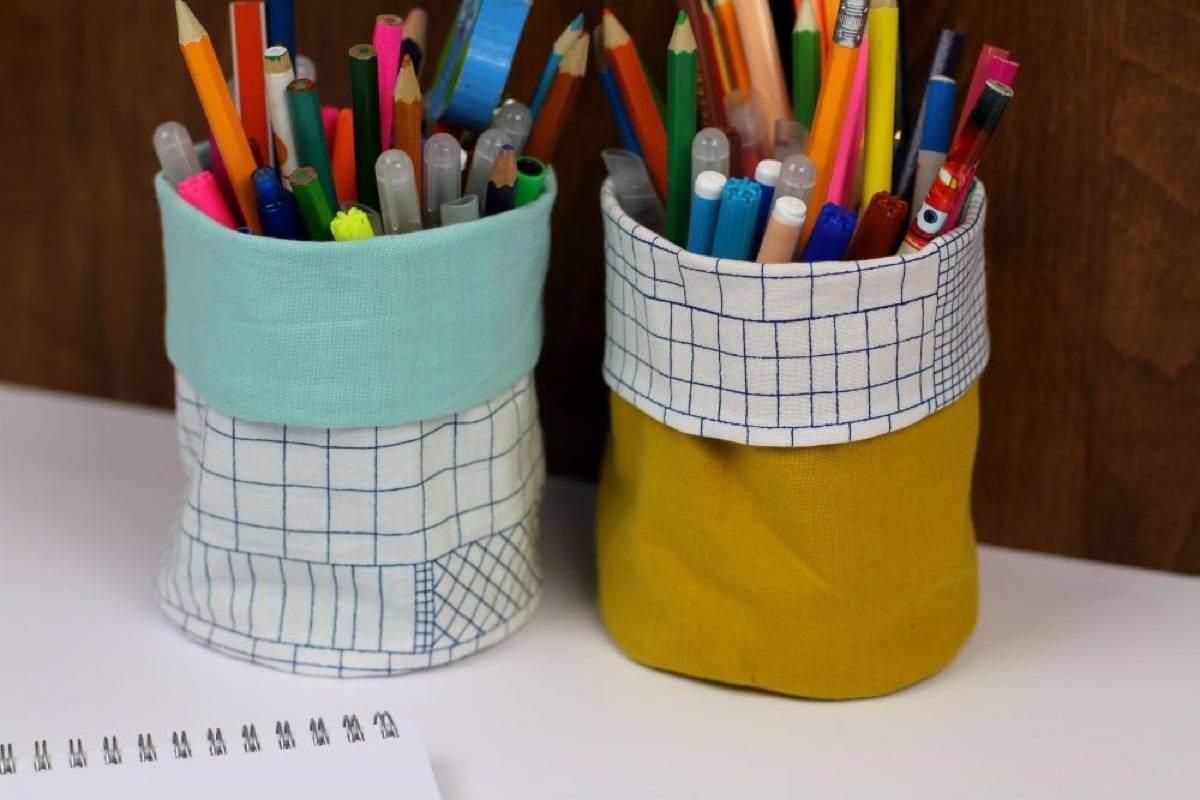
74. Make desk organizers from fabric and old tin cans. 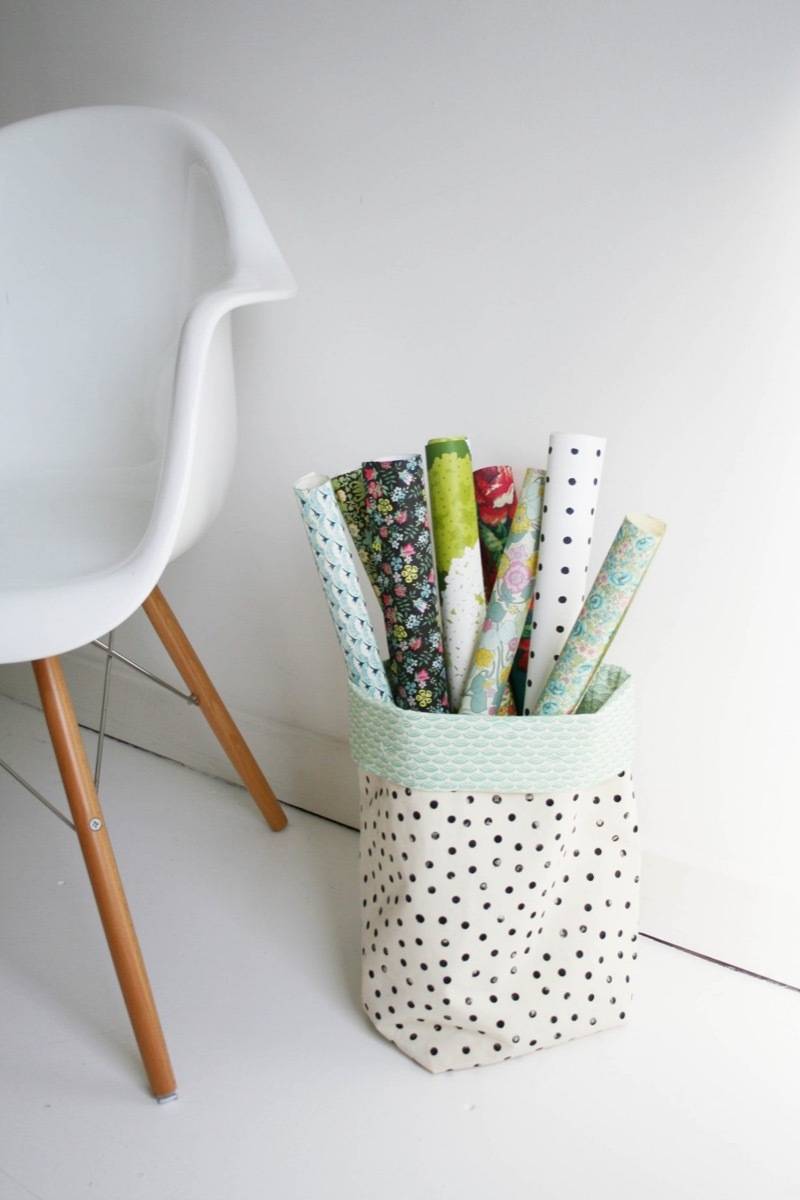
75. For larger objects, try this fabric bin DIY. 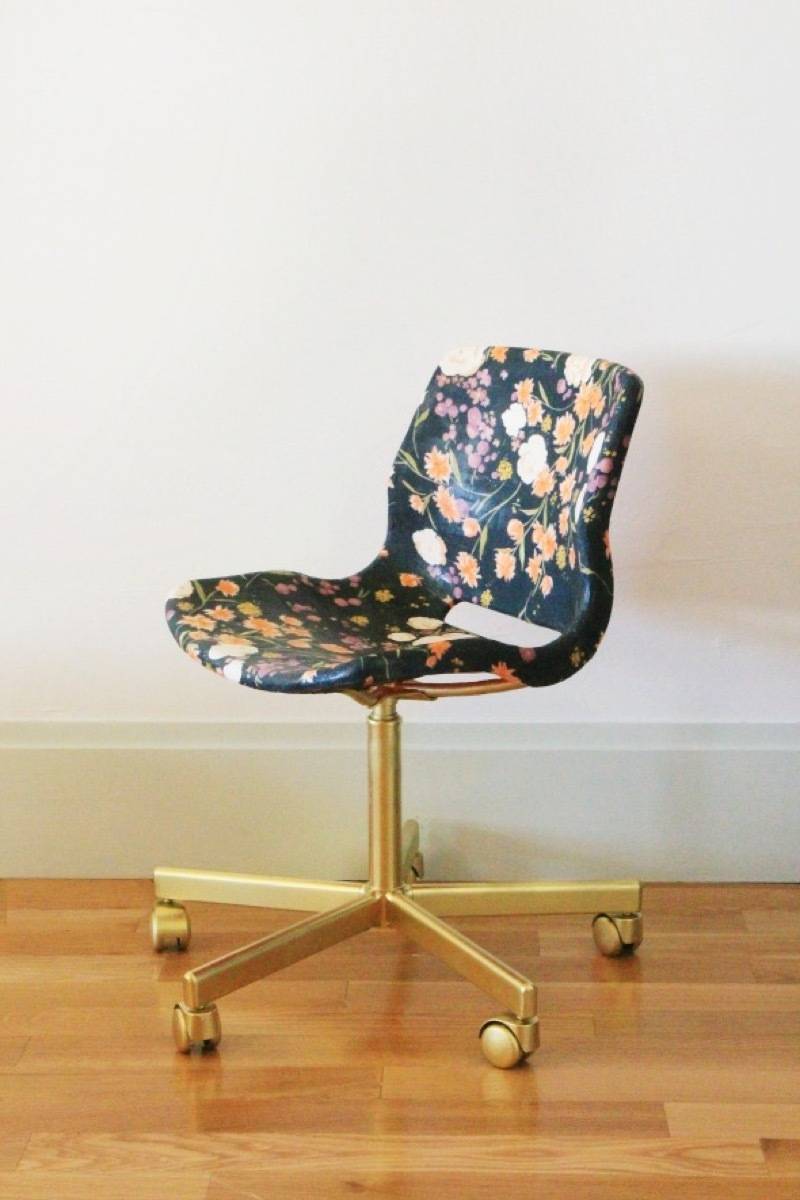
76. Decoupage your office chair in fabric. 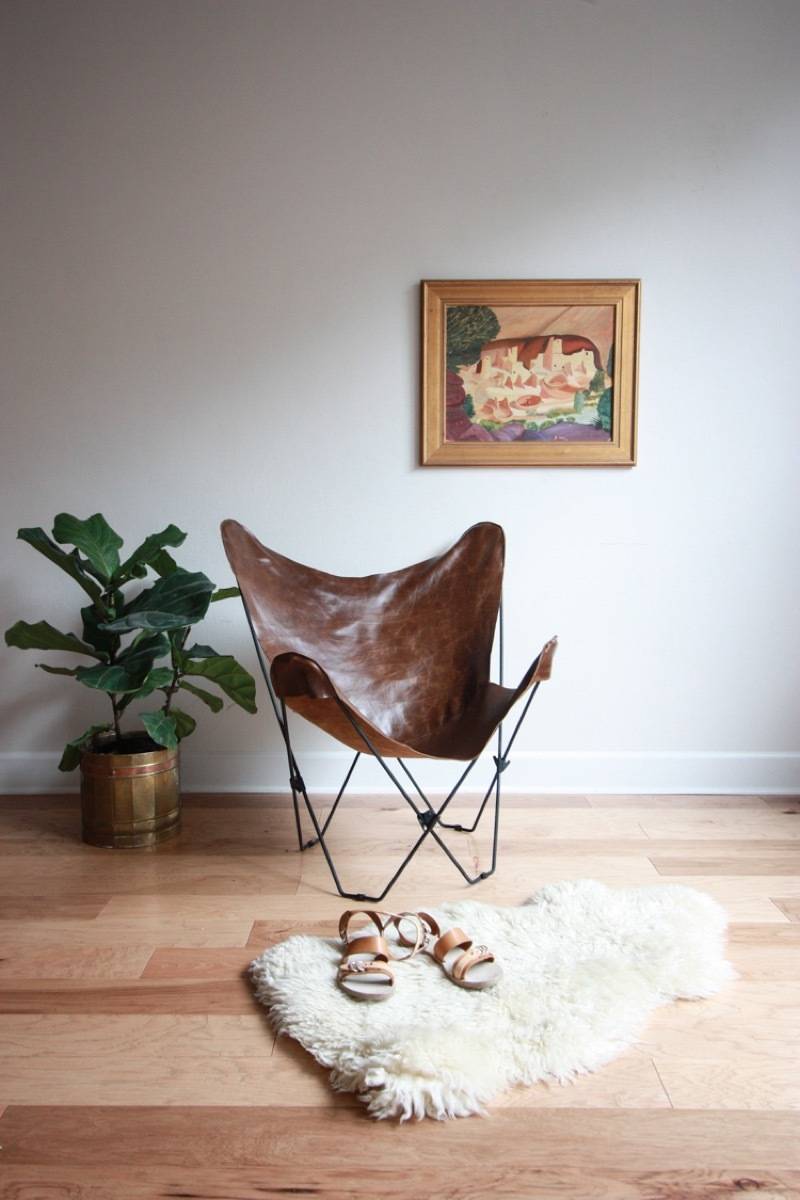
77. Update your butterfly chair with fabric of your choosing. 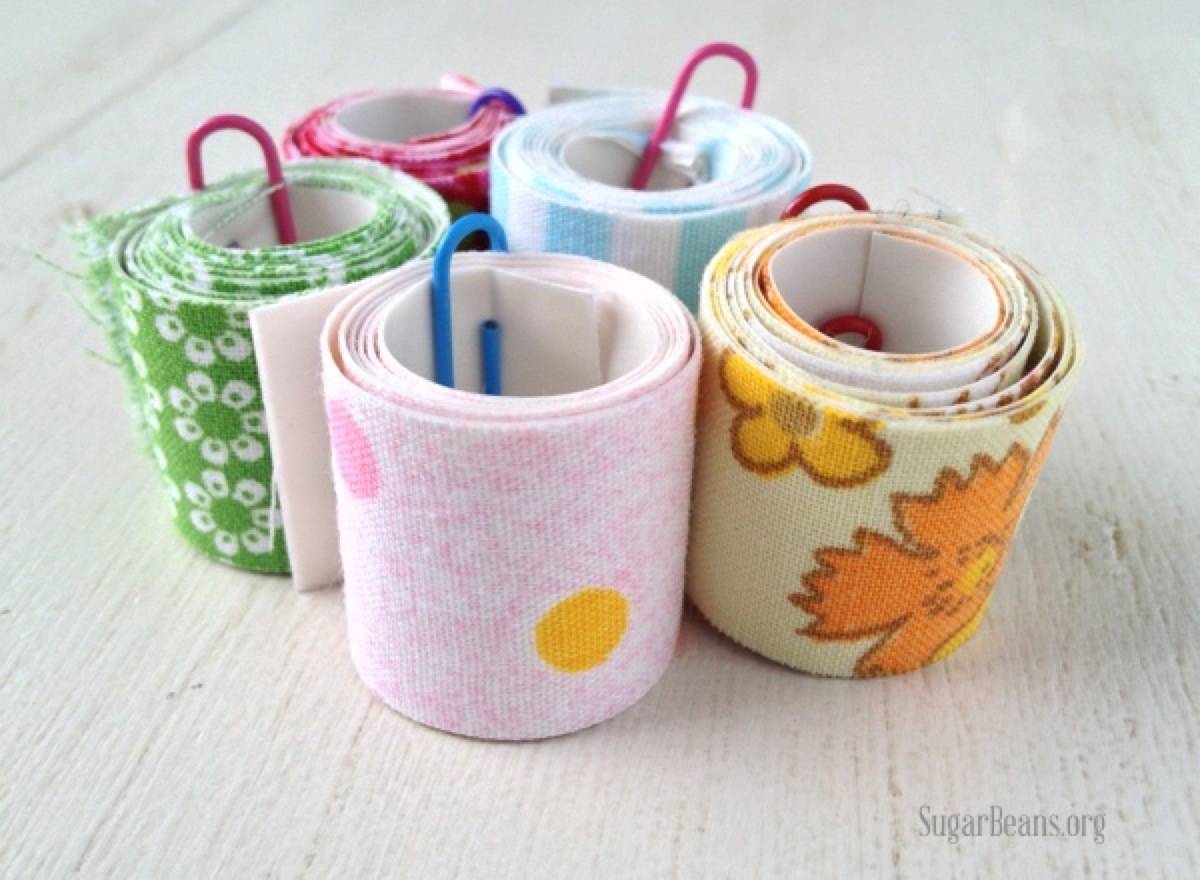
78. Learn how to make fabric tape to organize and coordinate your office life. 
79. Cover your mousepad in pretty fabric. 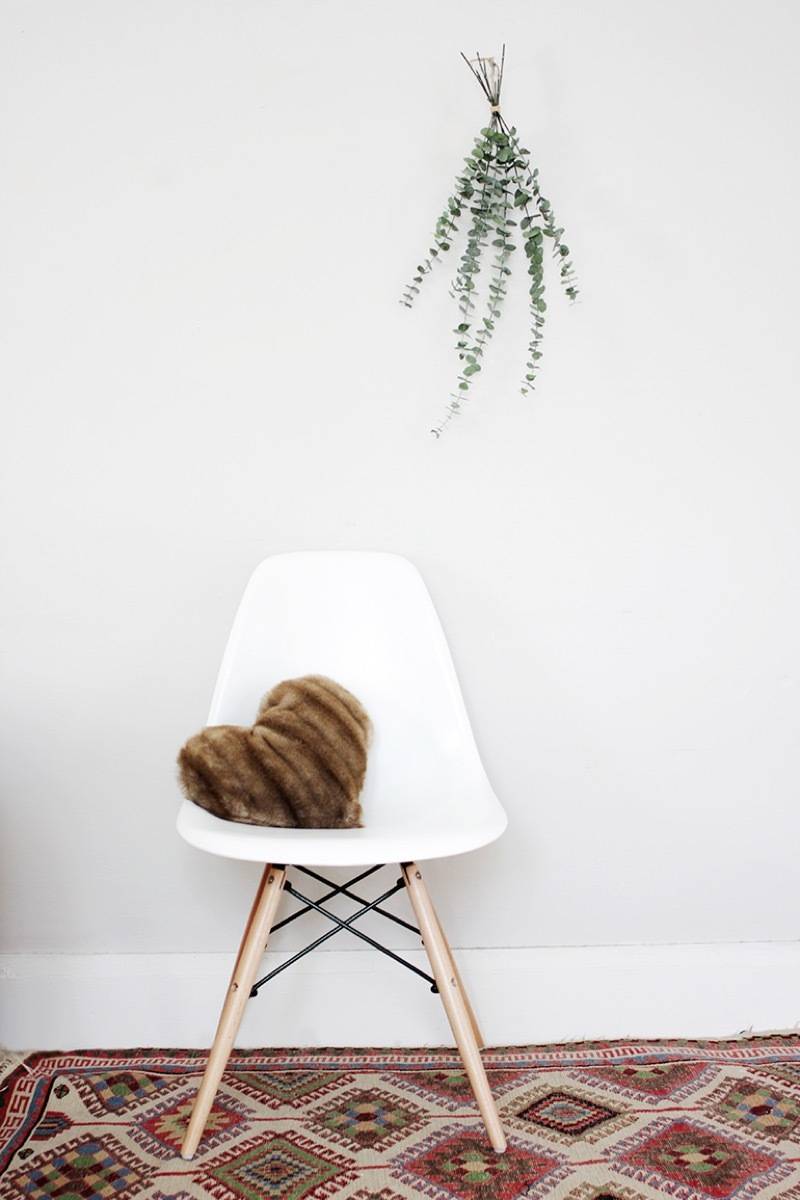
80. Create a cute heart-shaped pillow from faux fur. BEDROOM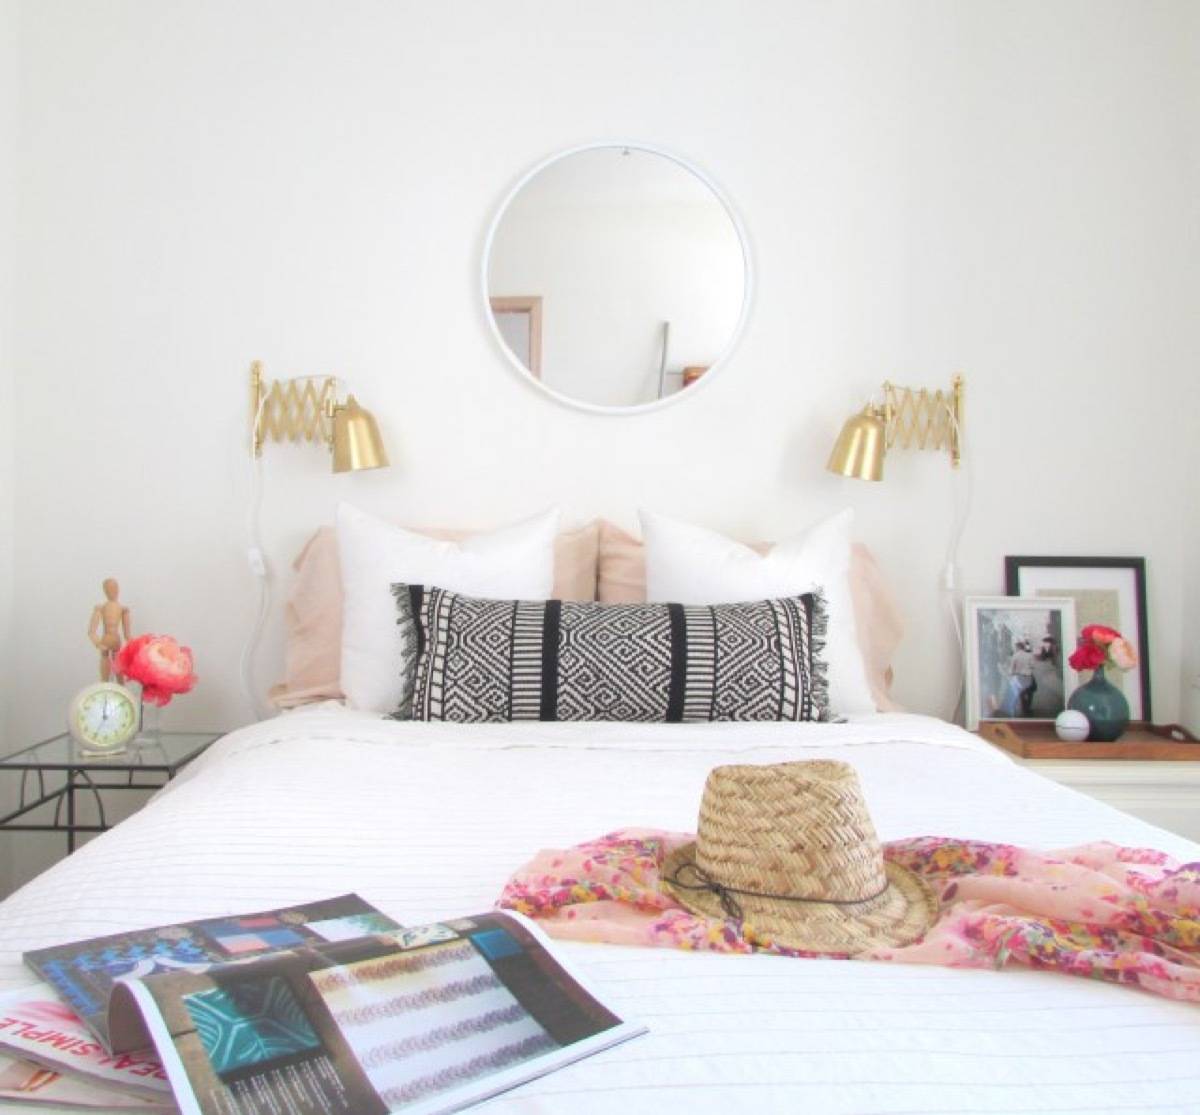
81. Make a lumbar pillow from a table runner. 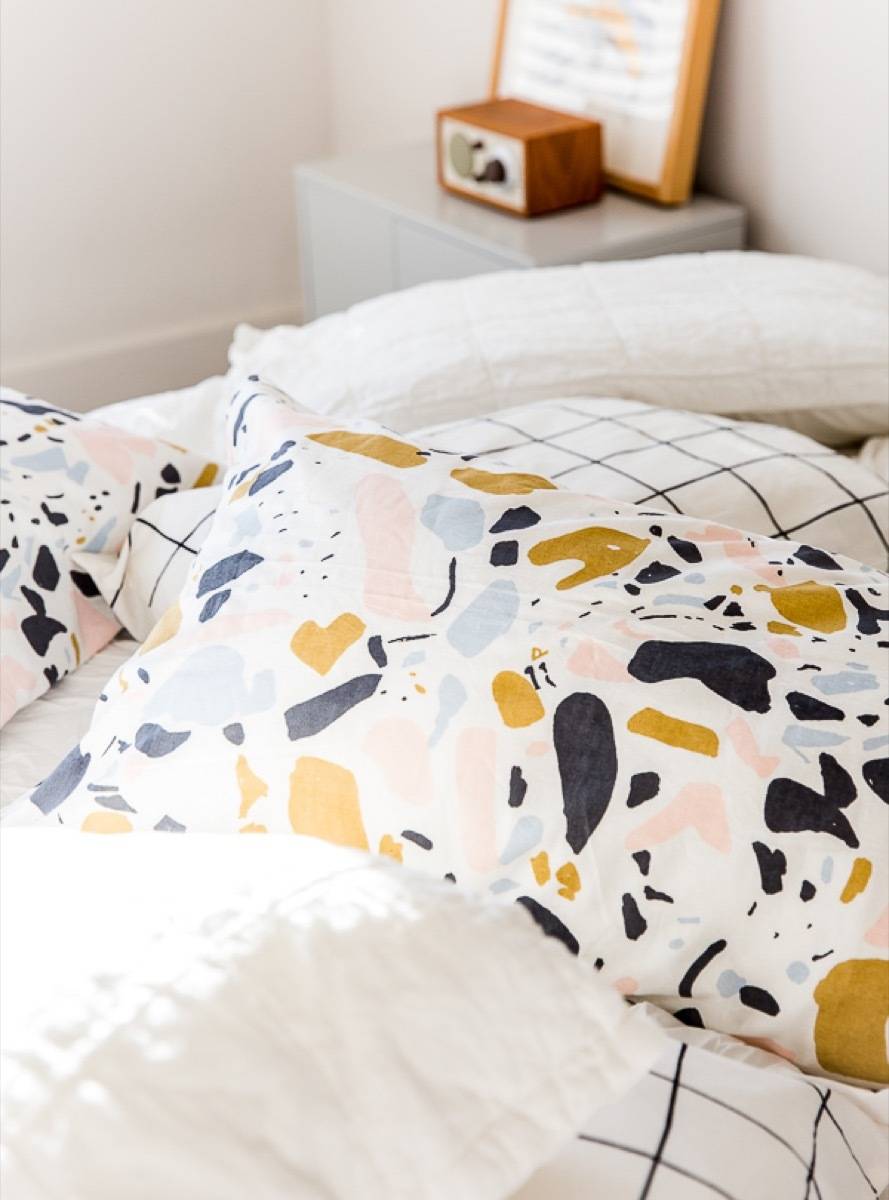
82. Or learn how to make standard pillow cases from any kind of fabric. 
83. How about a DIY bolster pillow? 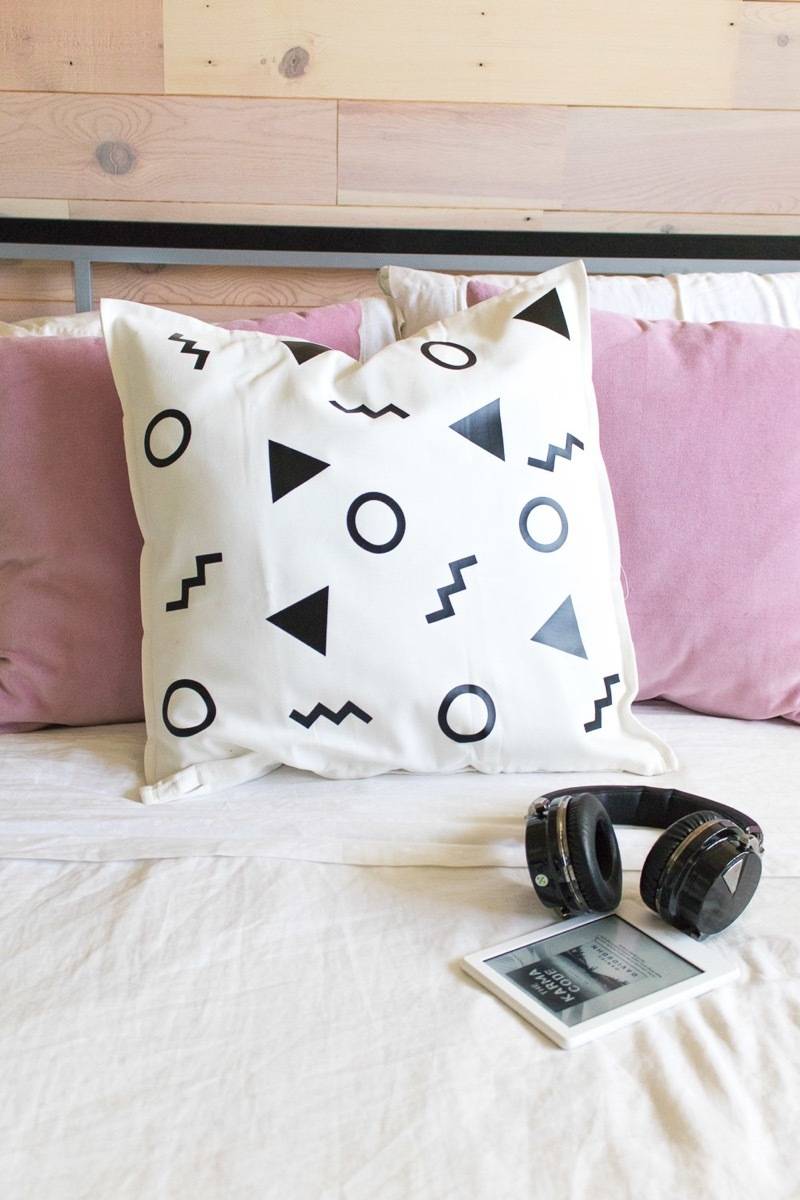
84. Customize your pillows with iron-on vinyl fabric. 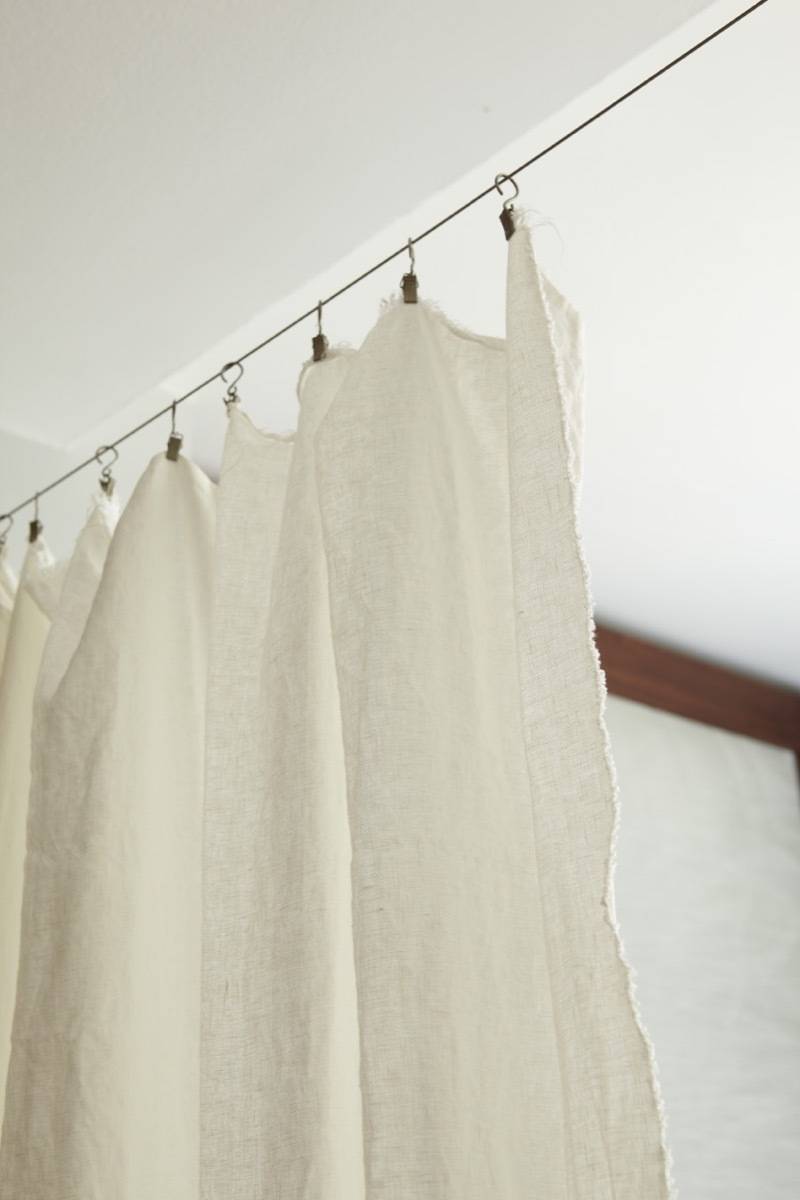
85. Hang fabric to divide a room. 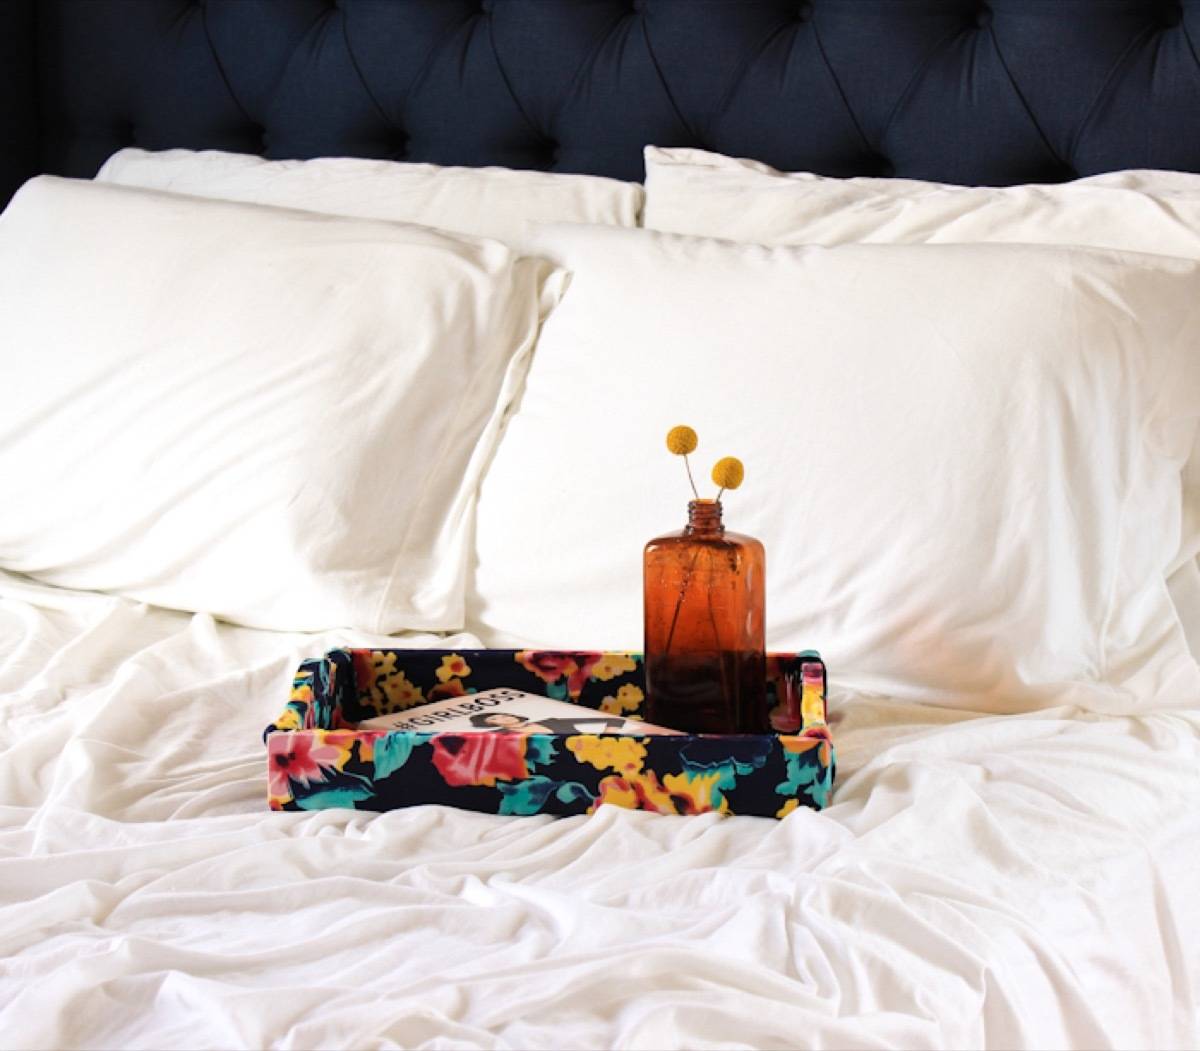
86. Cover a tray in colorful fabric for breakfast in bed. 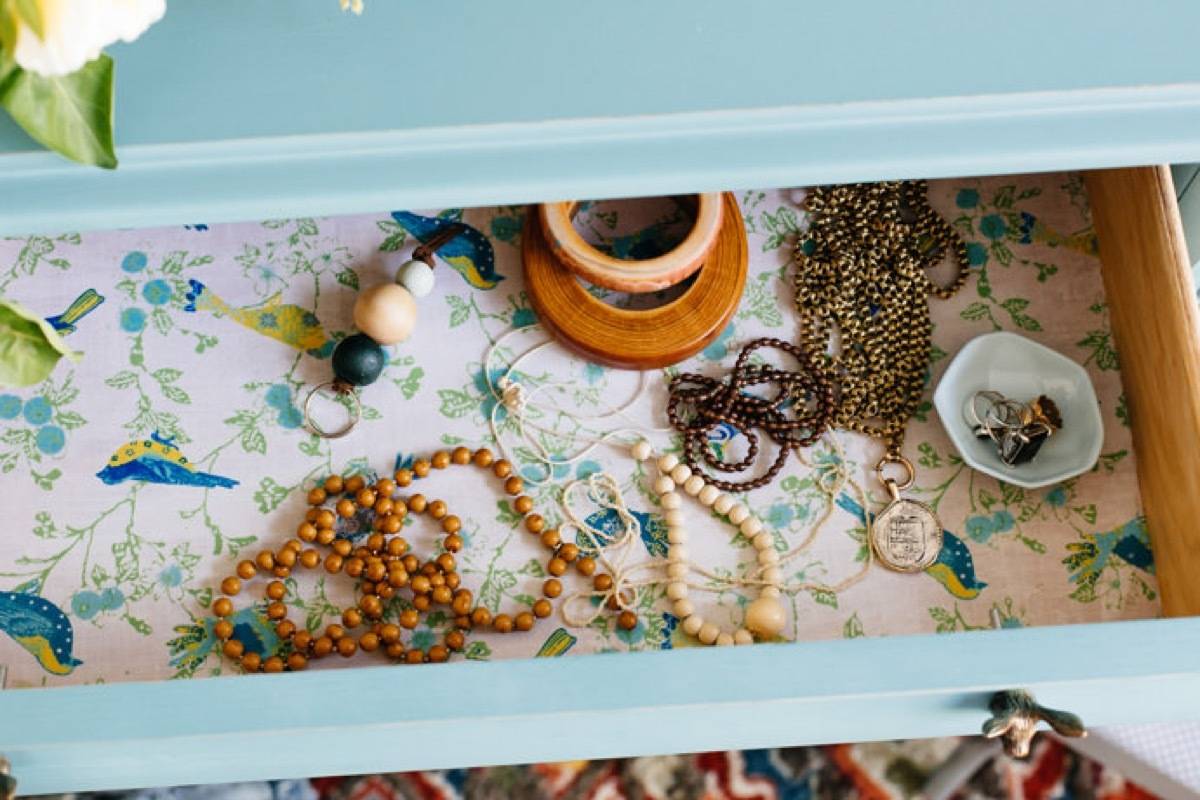
87. Line your dresser drawers in fabric. 
88. Or cover the front of your nightstand or dresser. 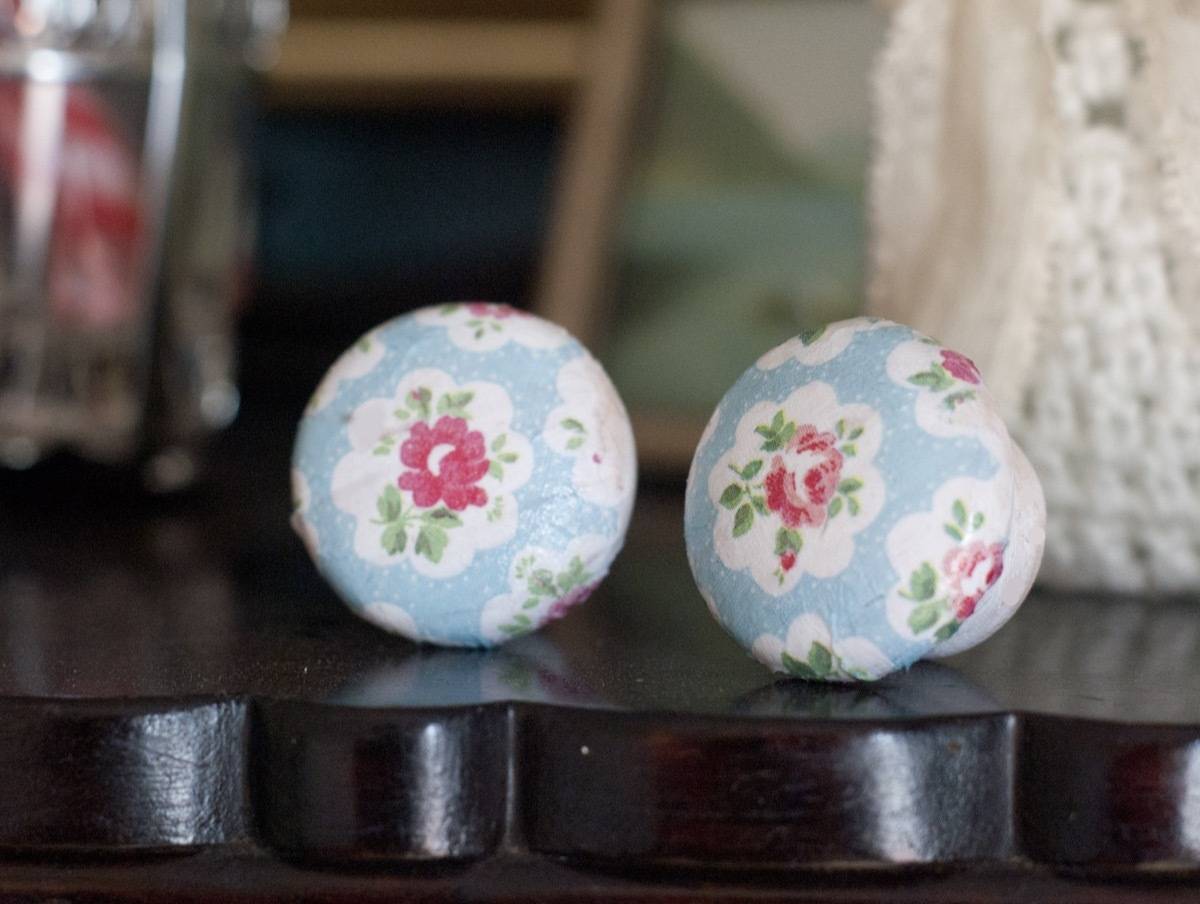
89. Did you know you can decoupage dresser knobs in fabric? 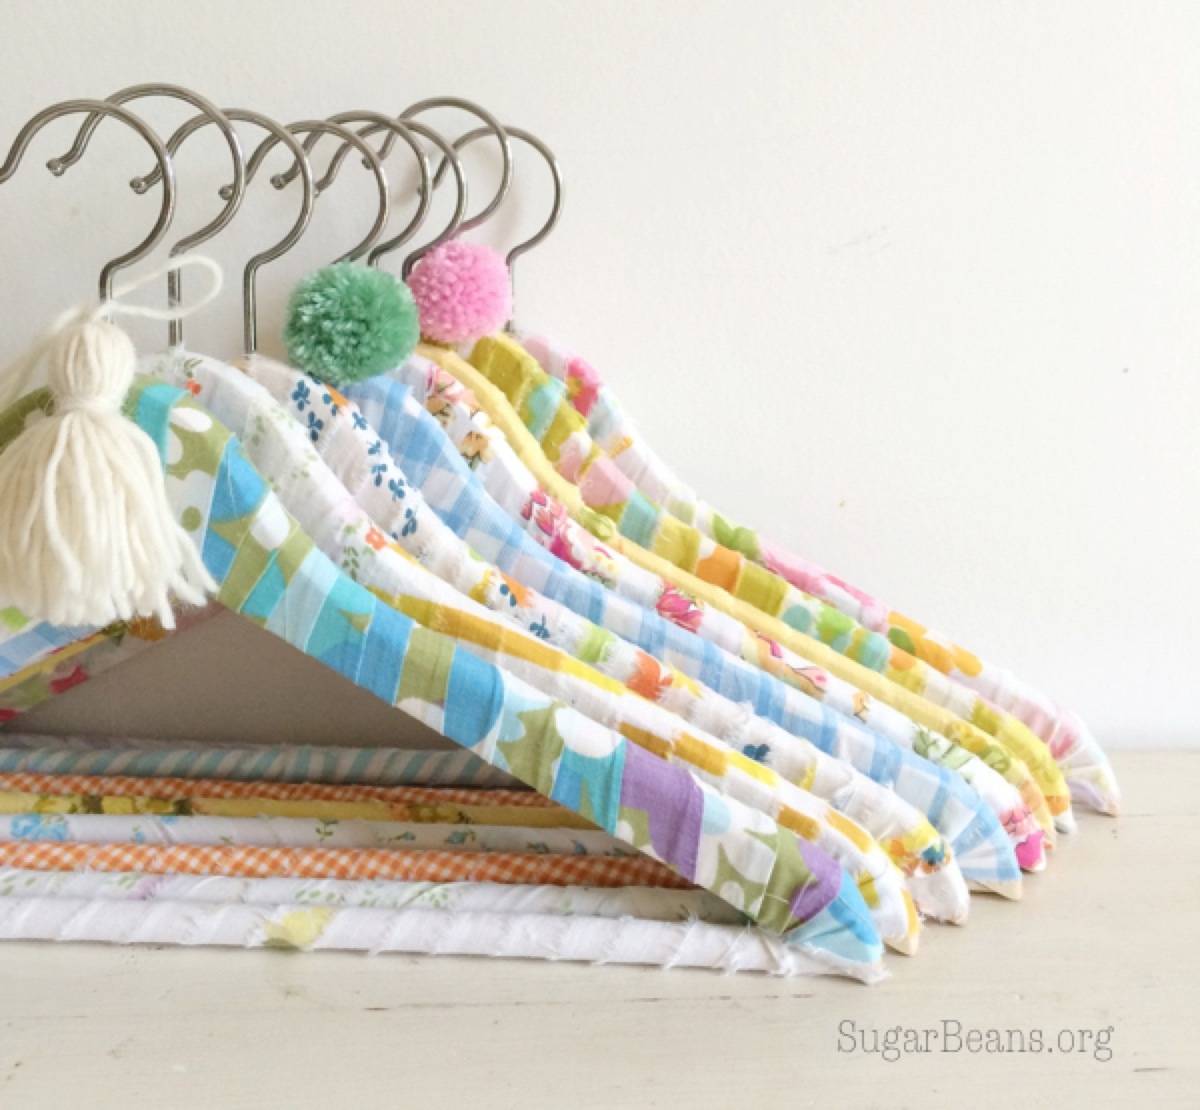
90. Wrap your clothes hangers (because why not!). 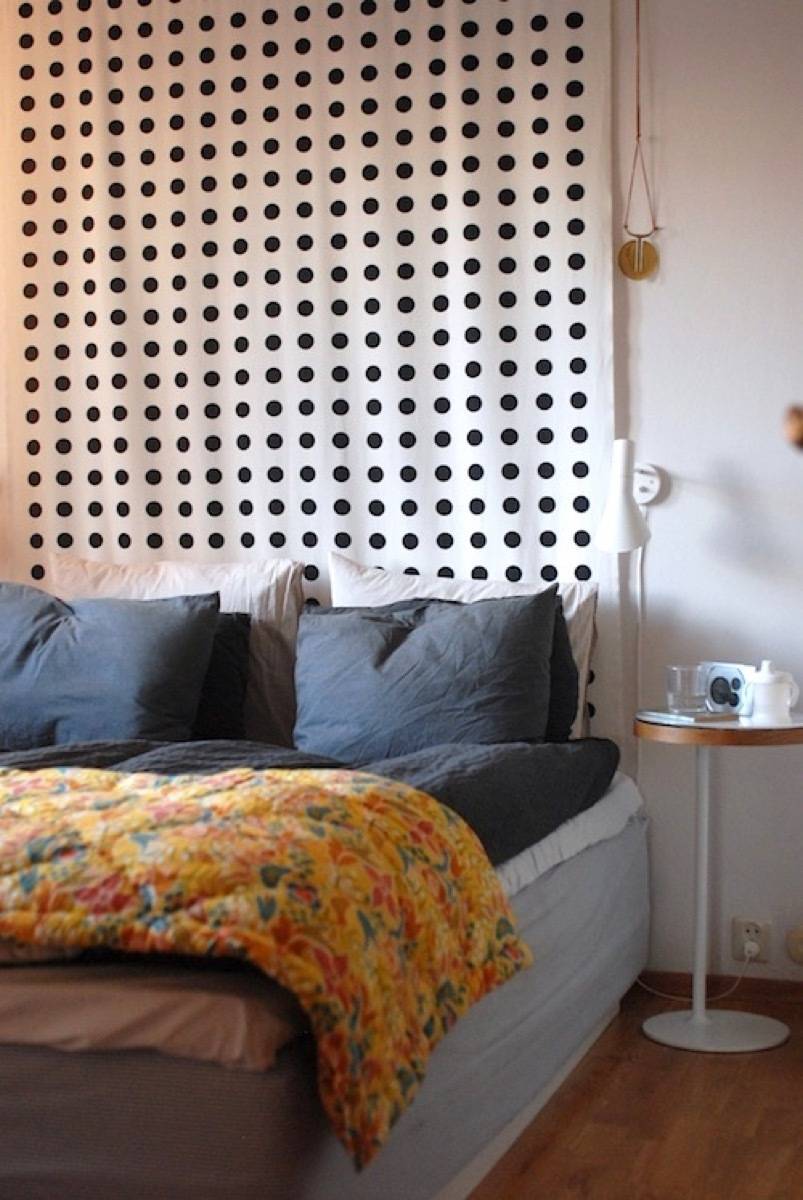
91. Hang a large tapestry behind your bed for a makeshift headboard. 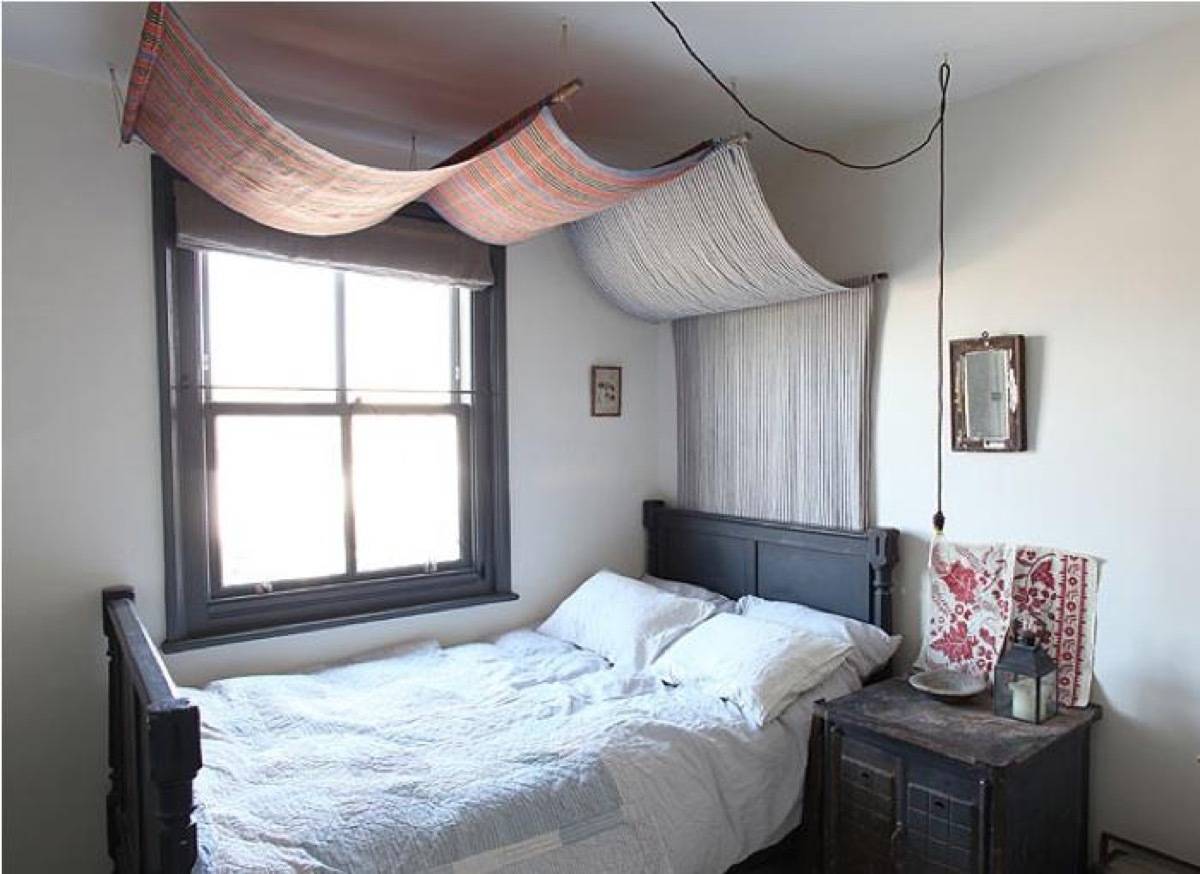
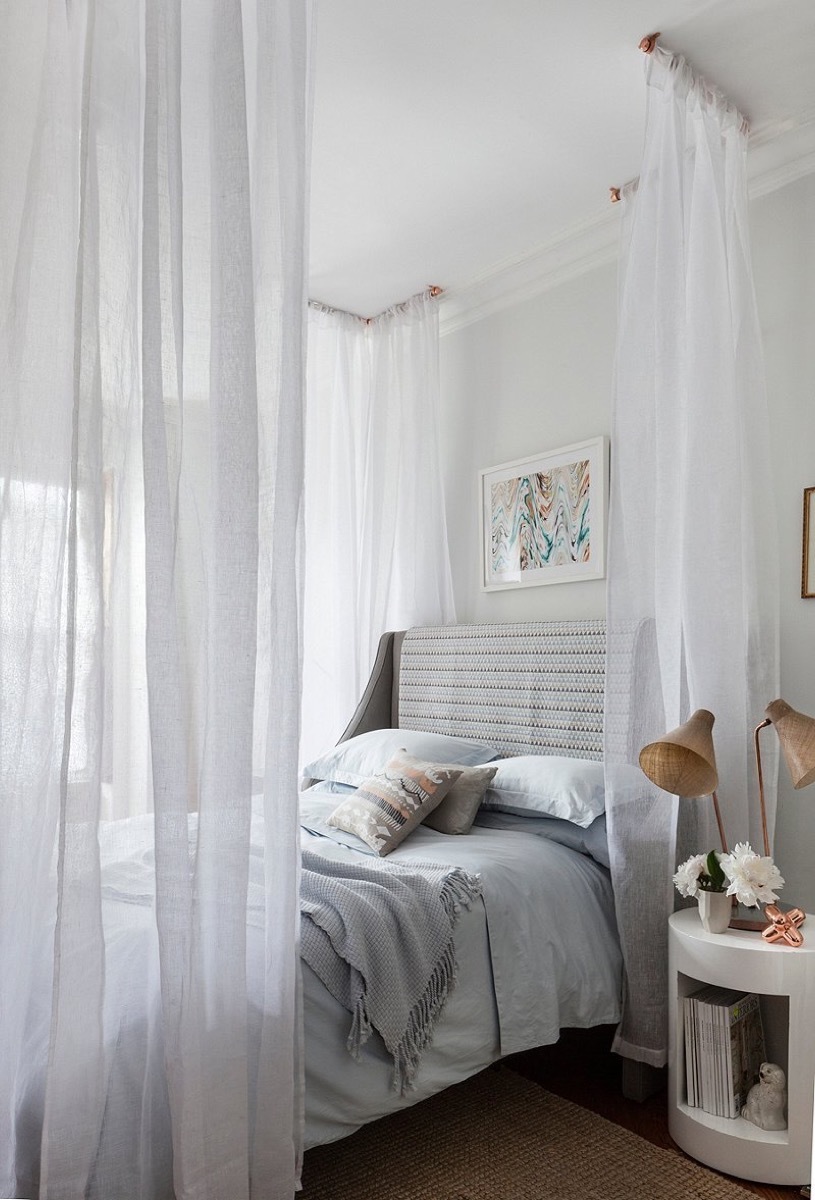
92. Using dowel rods, you could replicate this dramatic fabric canopy. 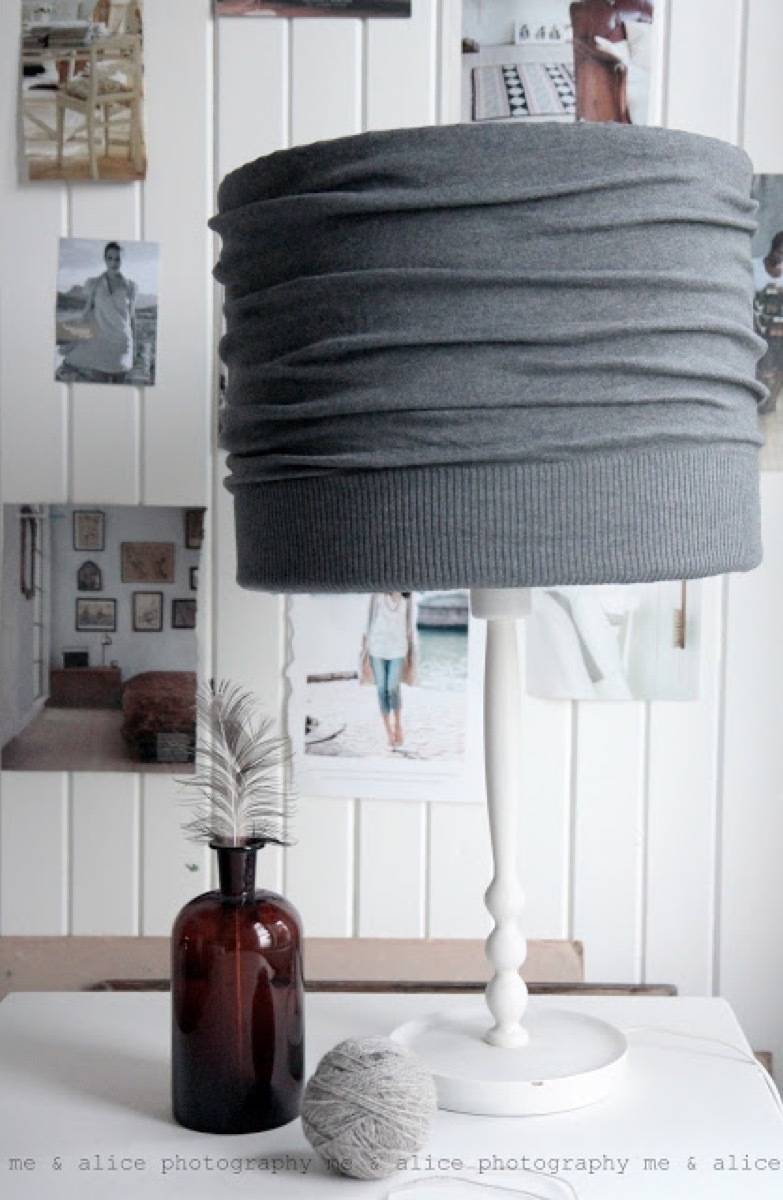
93. Cover a lampshade in a cardigan sweater. 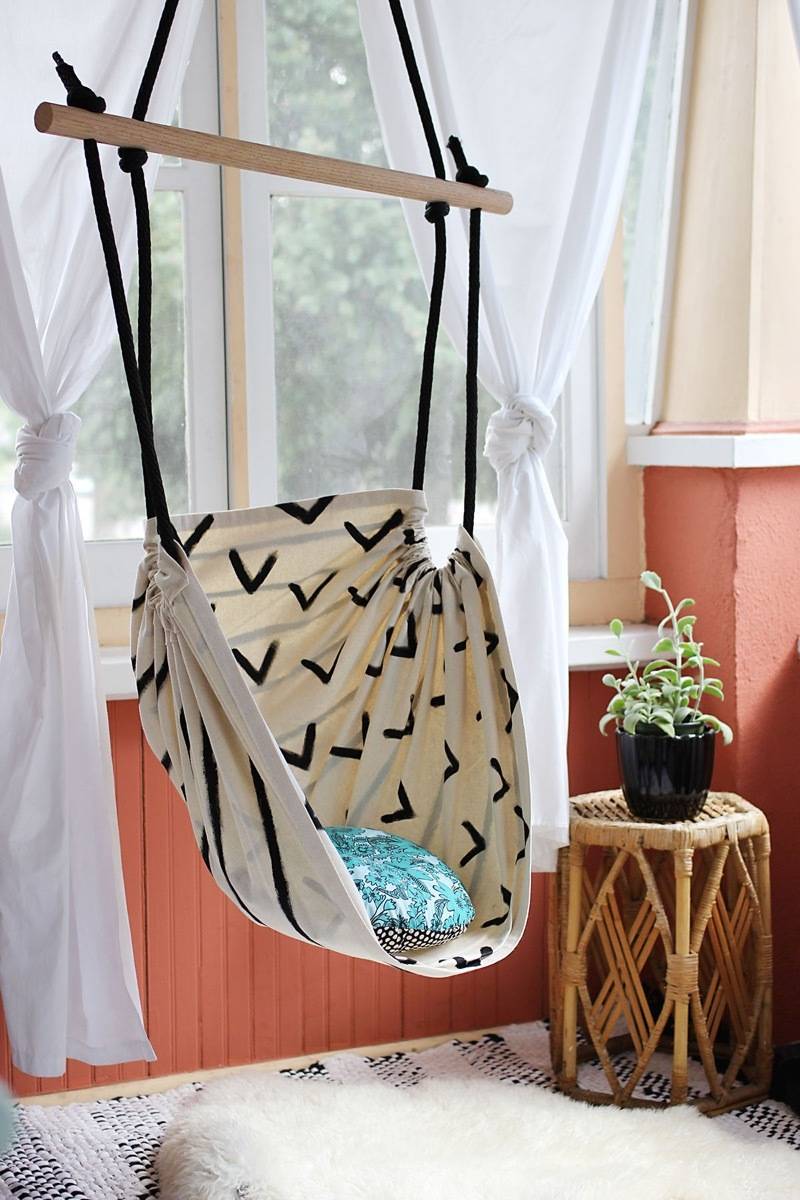
94. Create a hammock chair from sturdy fabric. 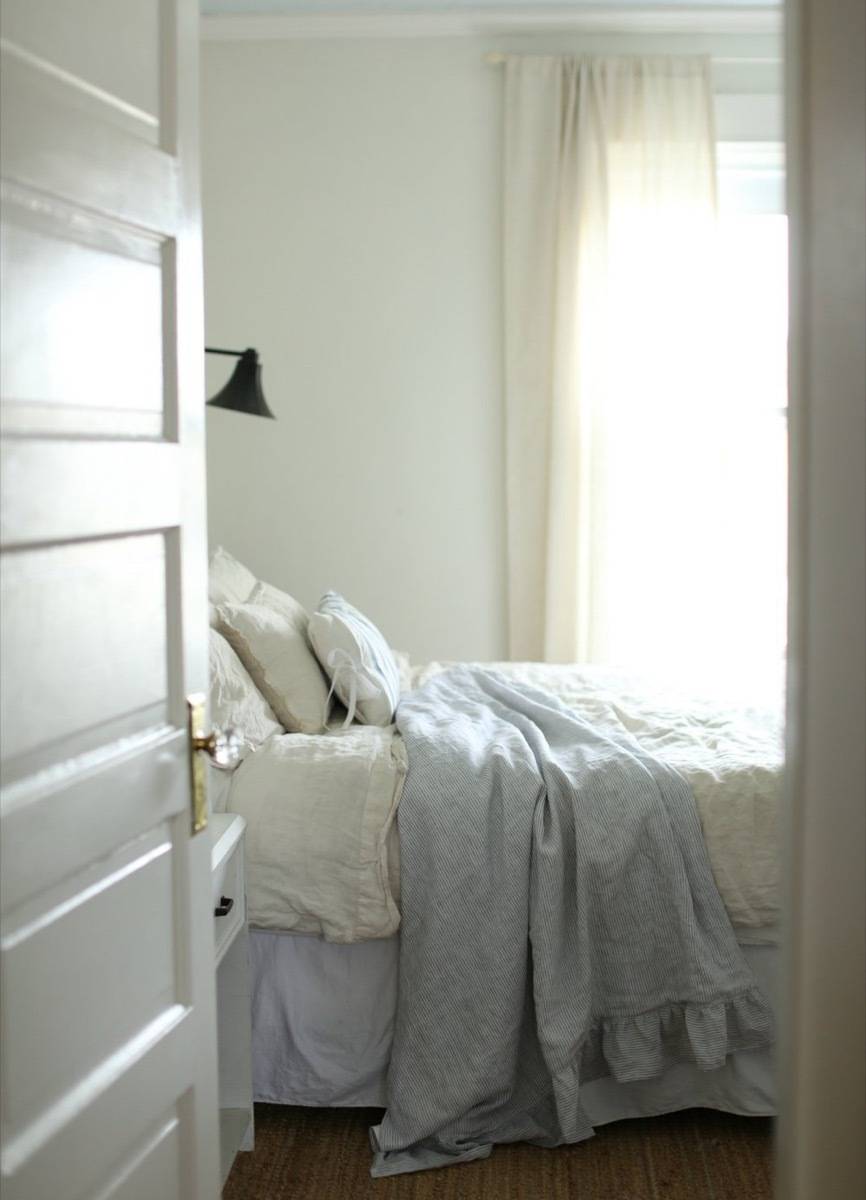
95. Make your own throw blankets, like this ruffled throw. 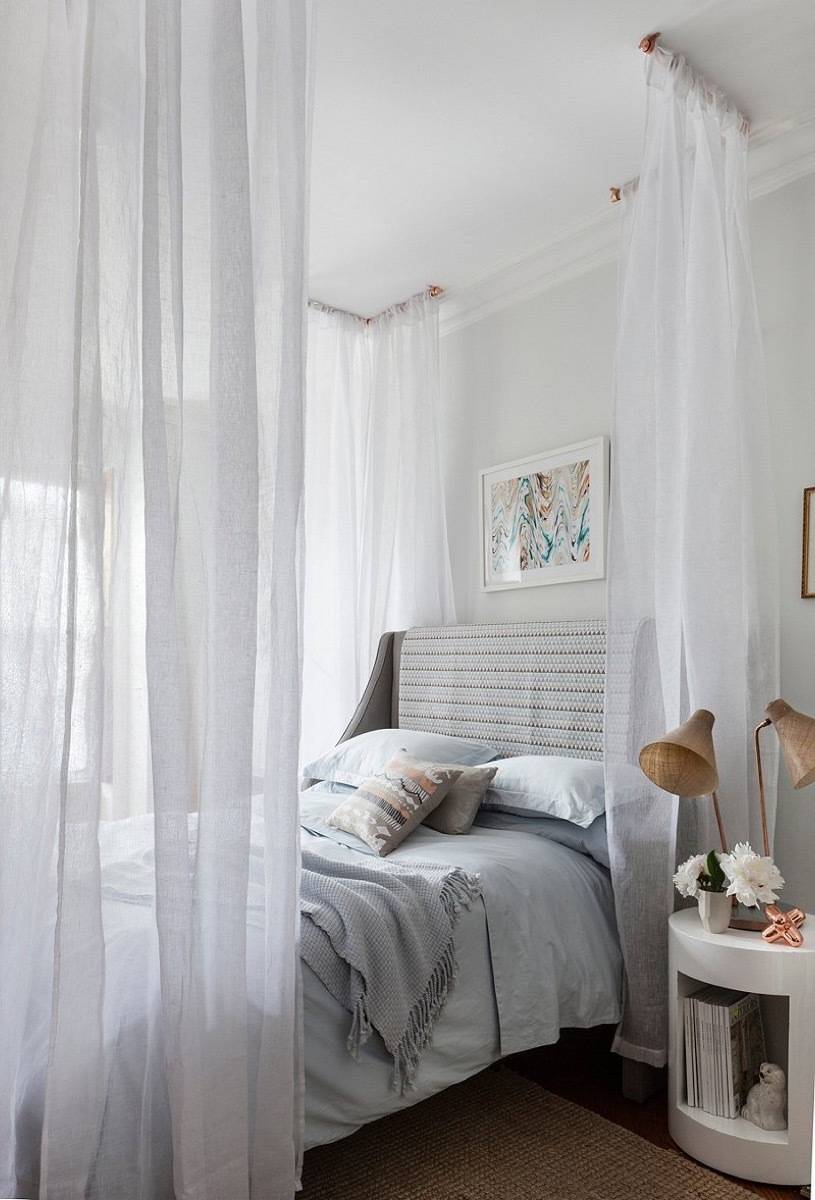
96. Get dreamy by fashioning a canopy bed. 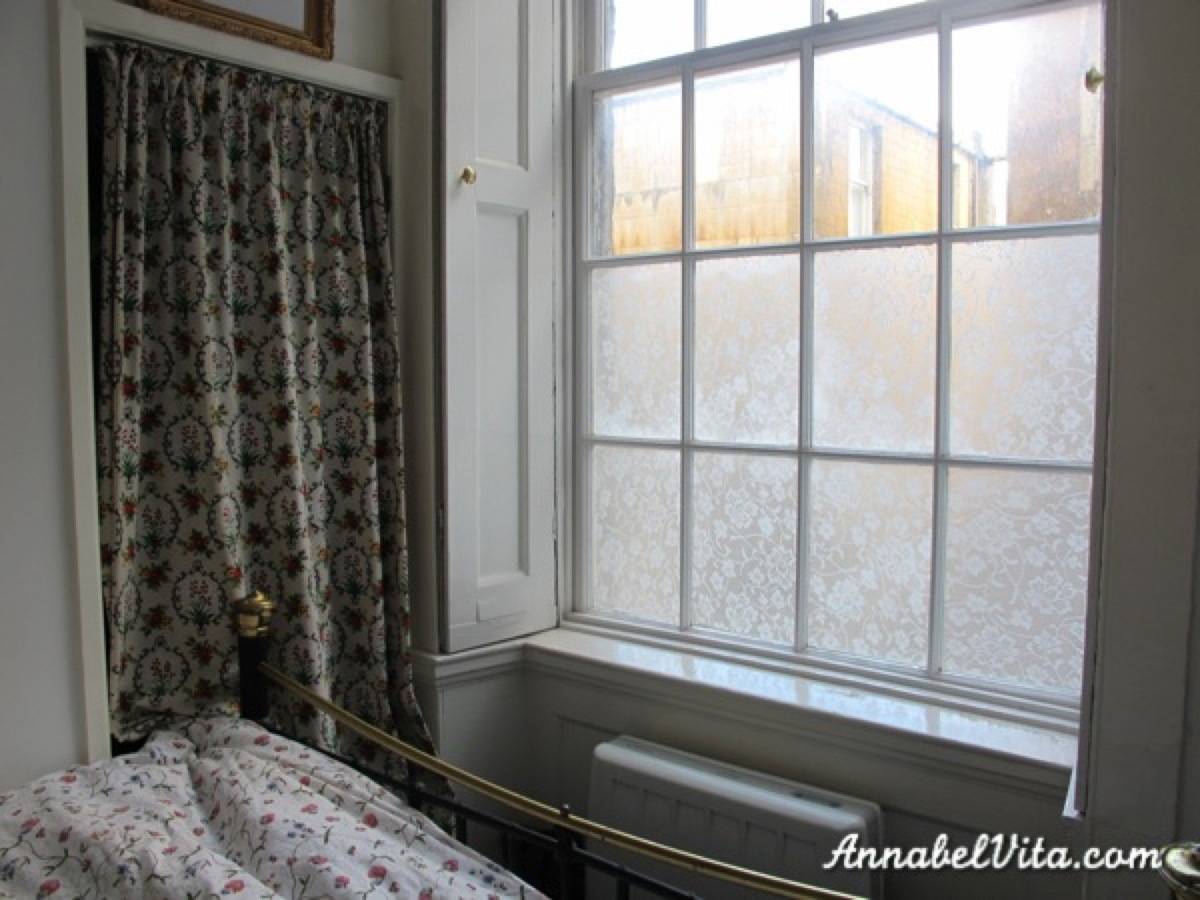
97. Need more privacy? Cover your windows in this lace treatment. 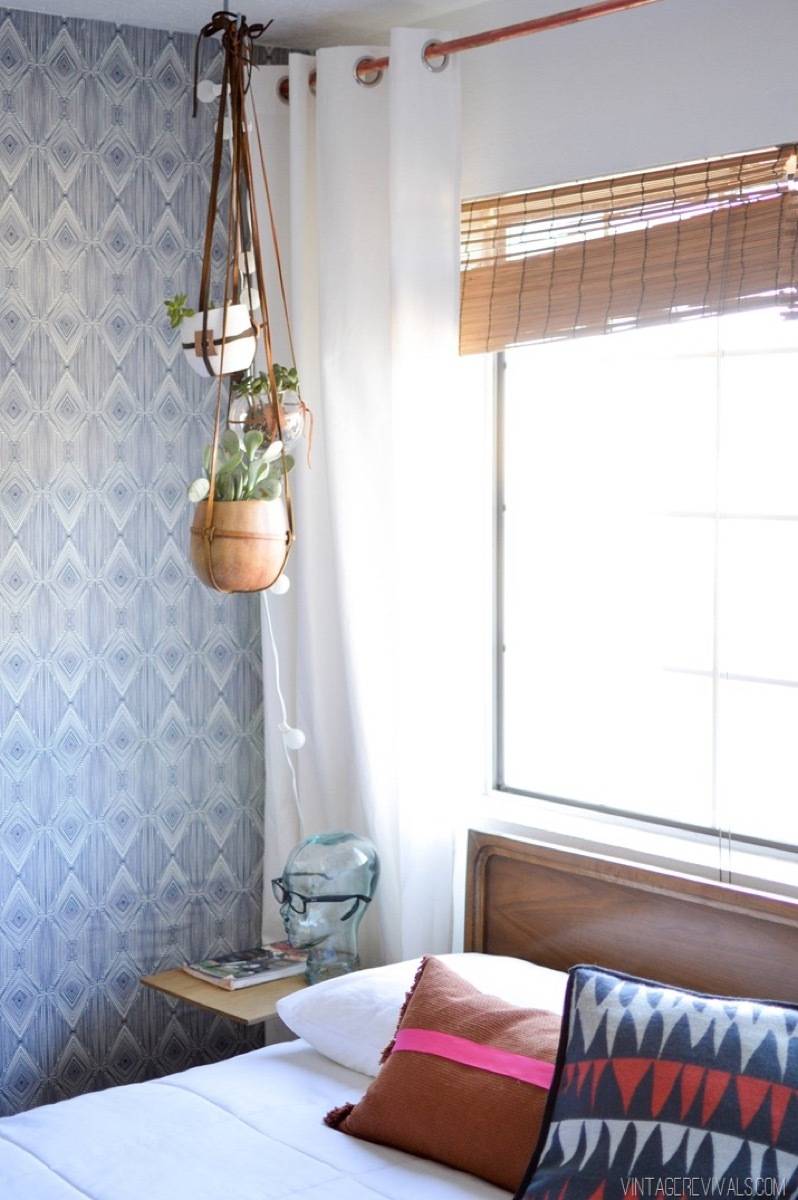
98. How about you use fabric to decorate your walls? Bonus: This treatment is reversible. 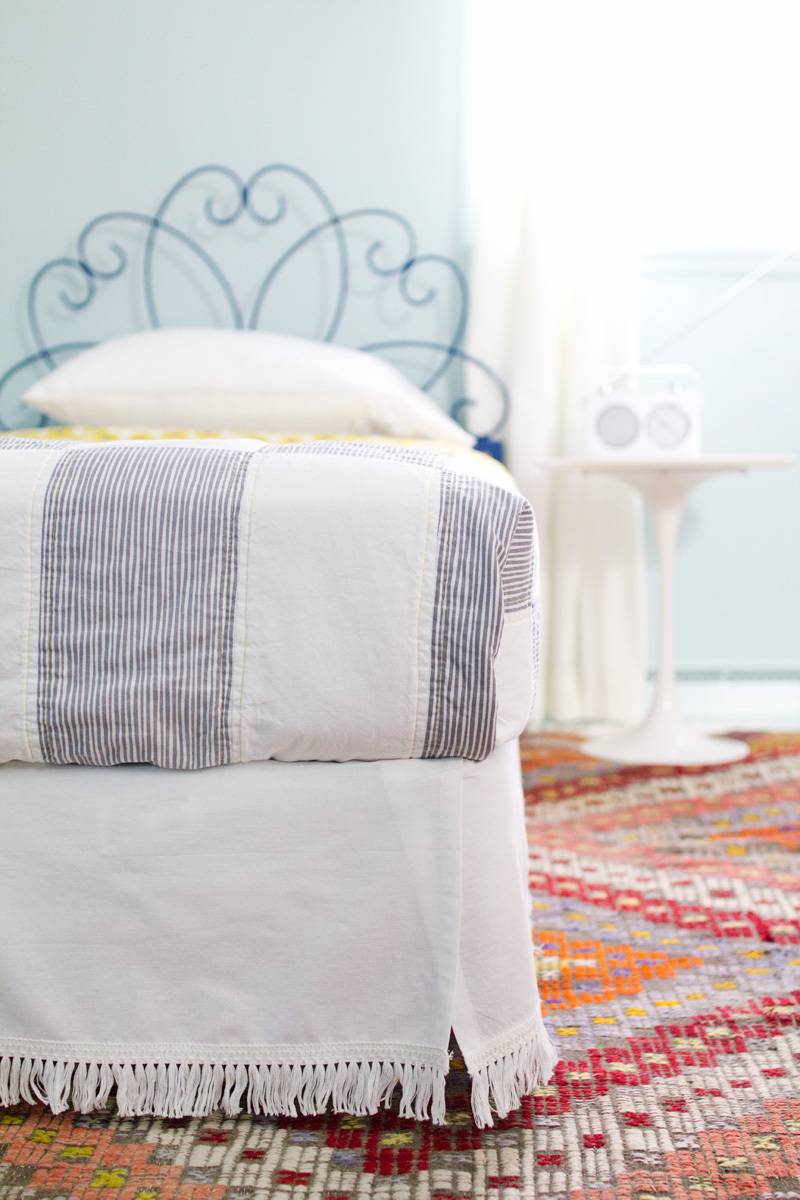
99. And finally, create a removable bedskirt using fabric and velcro. 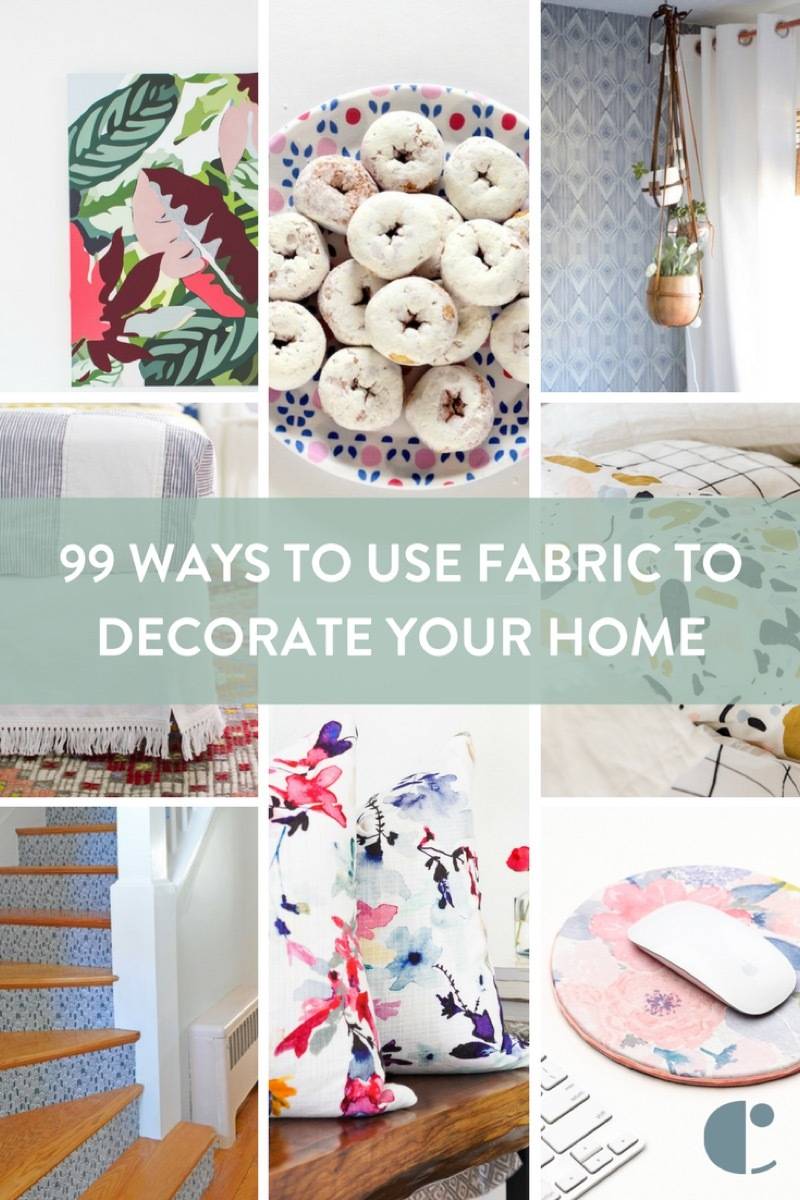
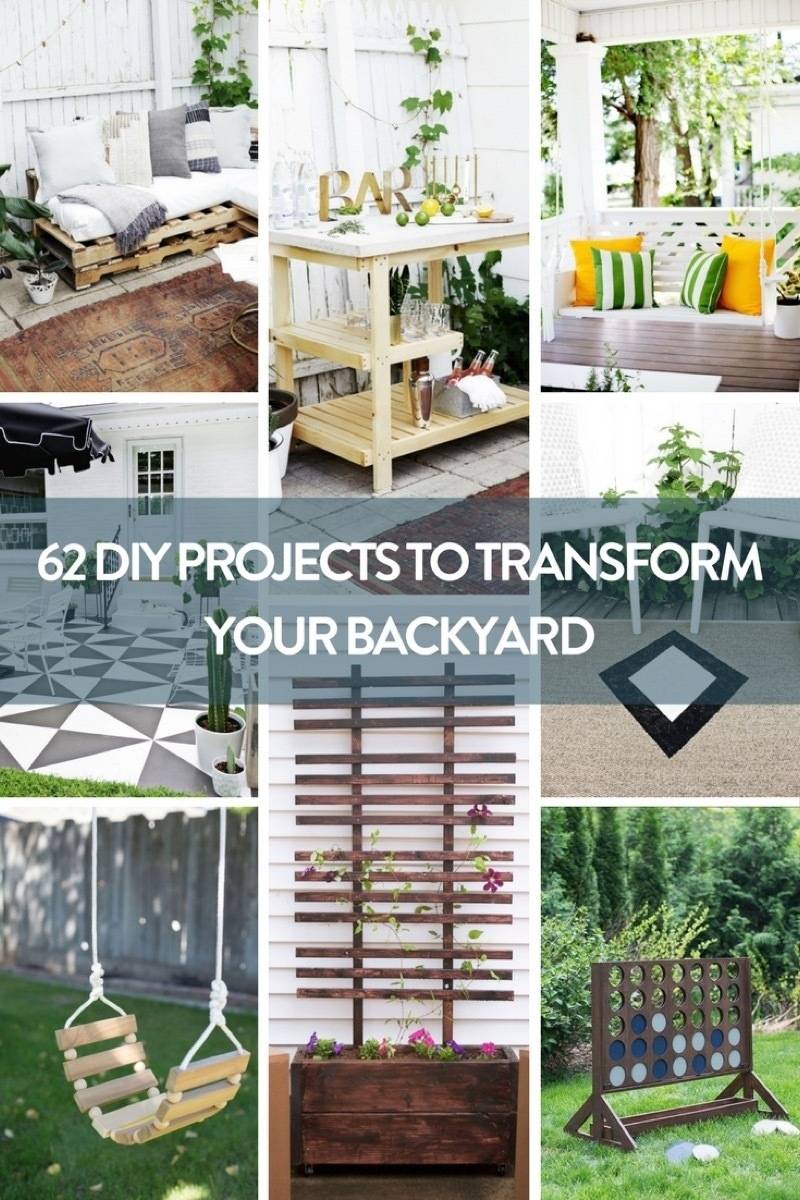
Now that you know how to use fabric to decorate your whole house, check out our mega roundup of outdoor projects you can totally DIY!
The post 99 Ways You Can Use Fabric To Decorate Every Room of Your Home appeared first on Curbly. Via https://www.curbly.com/use-fabric-to-decorate
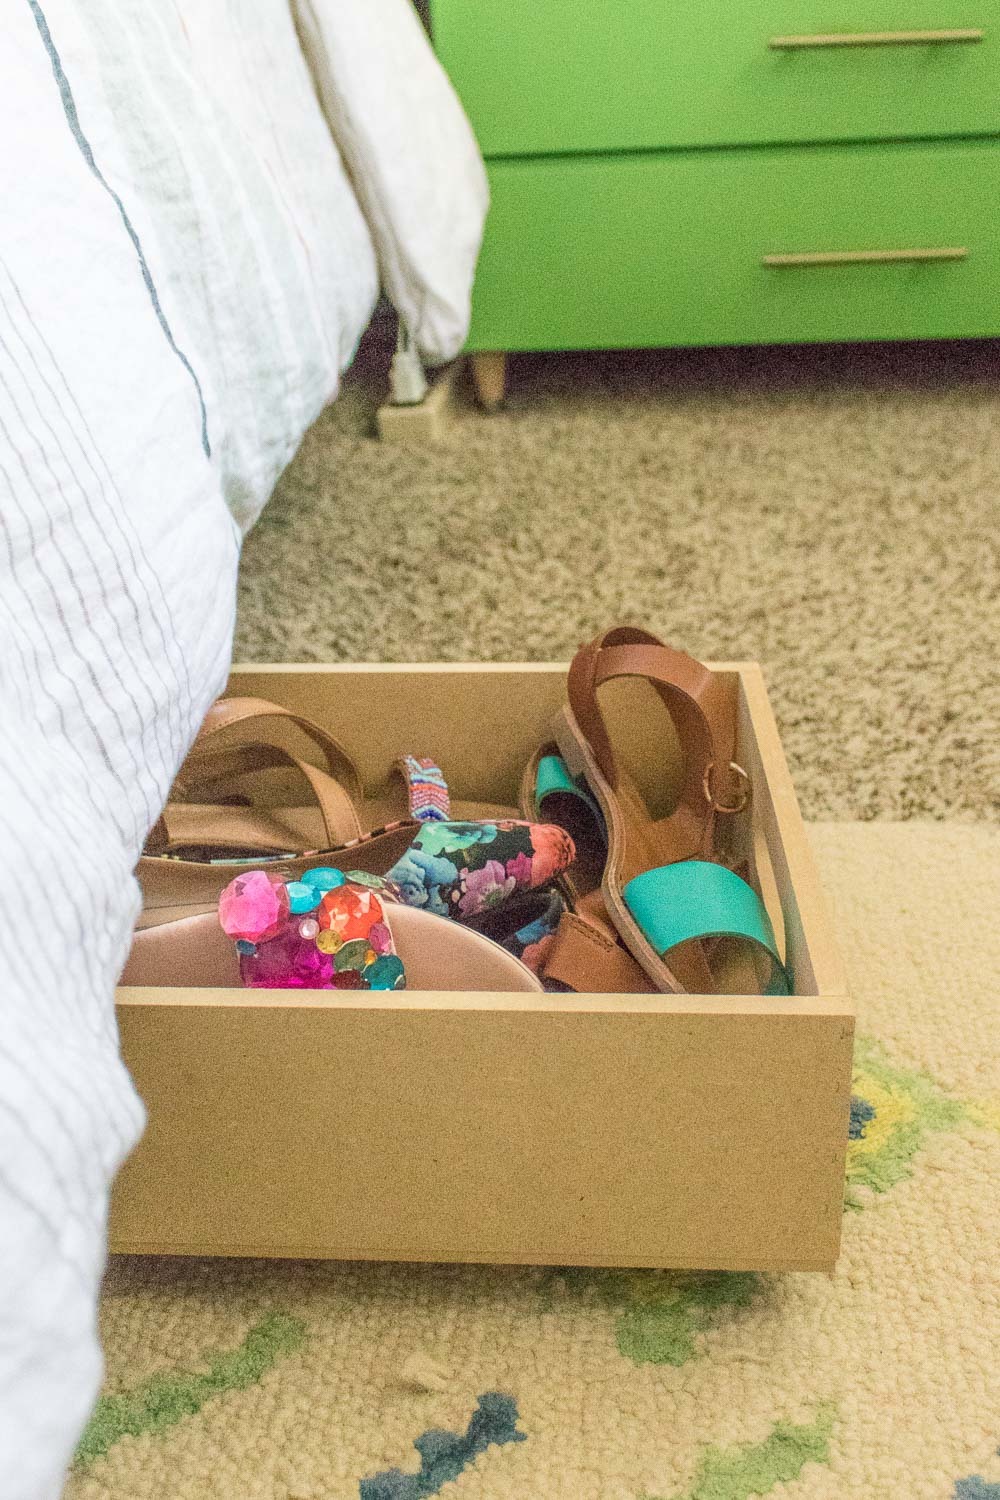
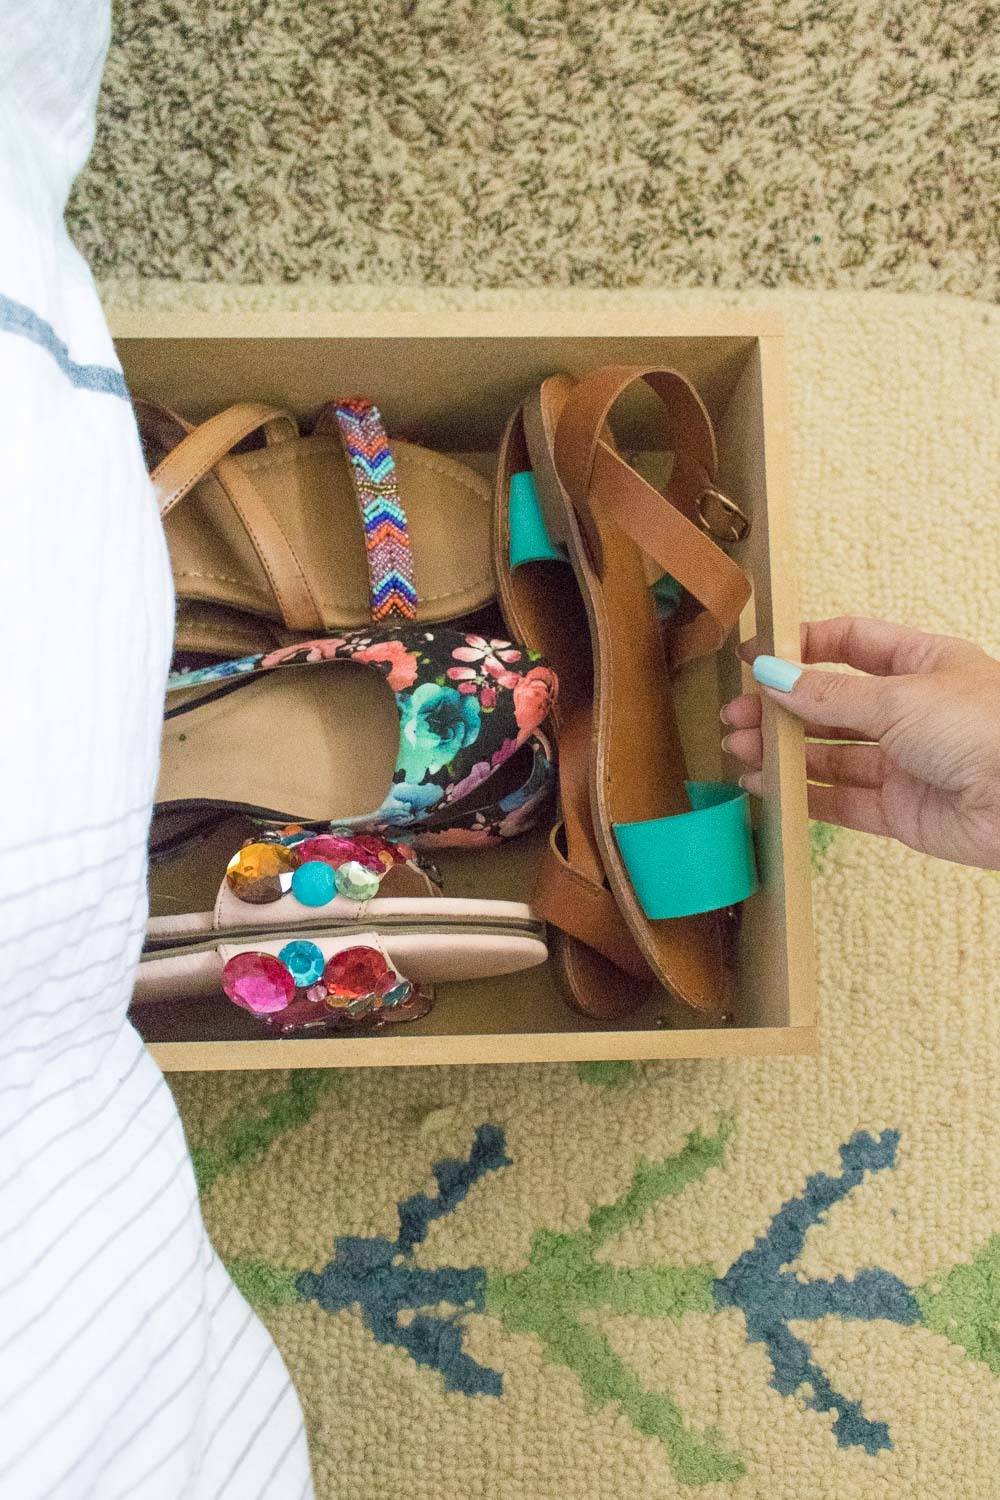
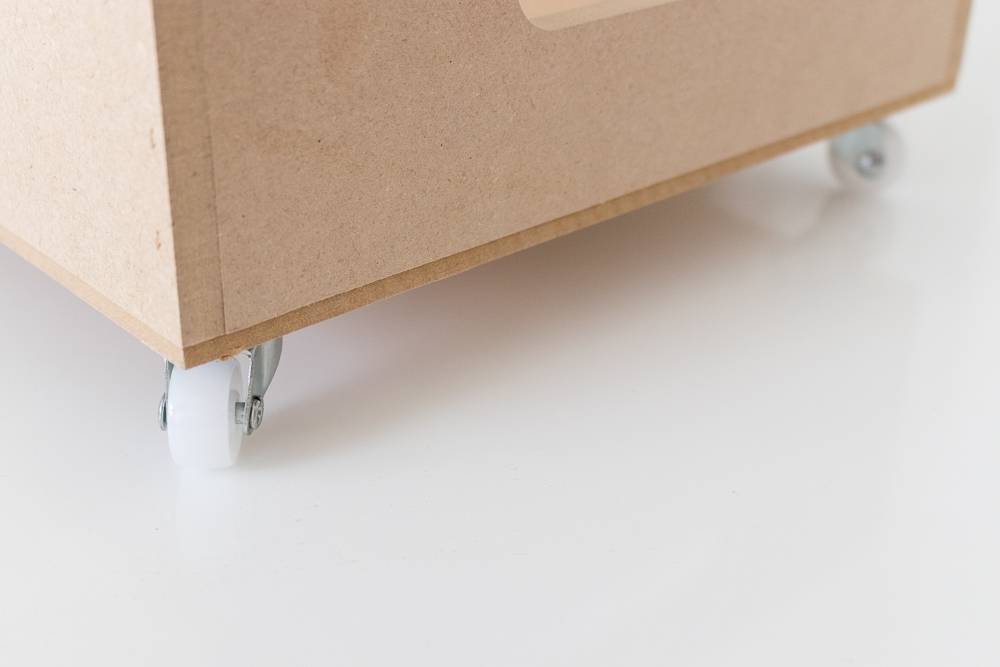
Since I live in a relatively small apartment, I look for space everywhere I can. In my home, there there are few nooks or crannies left unfilled! One of the few spaces left unfilled after two years in this unit was under my bed, and since my shoe collection was getting a little crowded (no shame!), I decided it was time to make my own under-the-bed rolling storage to store away the shoes I wear less often, like my sandals, that would slide easily under the bed and out of sight. It turns out this was easier to achieve than I thought!
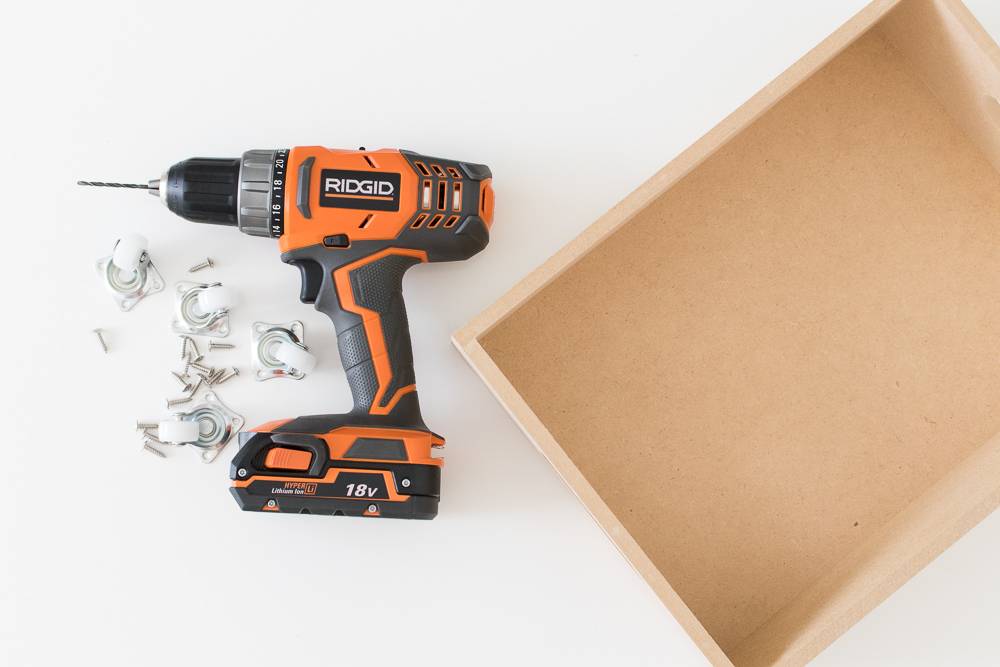
I purchased really basic wood boxes from the craft store that were thin enough to fit under my bed. Since this wood is very soft and inexpensive, it’s easy to drill through, and because it was sliding under my bed, I wasn’t too concerned with its appearance. Each box holds several pairs of shoes, so the rolling boxes quickly freed up space in my closet to go on another shopping spree! I was really inspired by this rolling under-the-bed box that seemed simple enough to recreate with a few basic supplies, and you can make them in minutes.
Materials:
StepFirst, paint the box if desired. I have a more natural wood look in my bedroom, so I kep the wood natural.
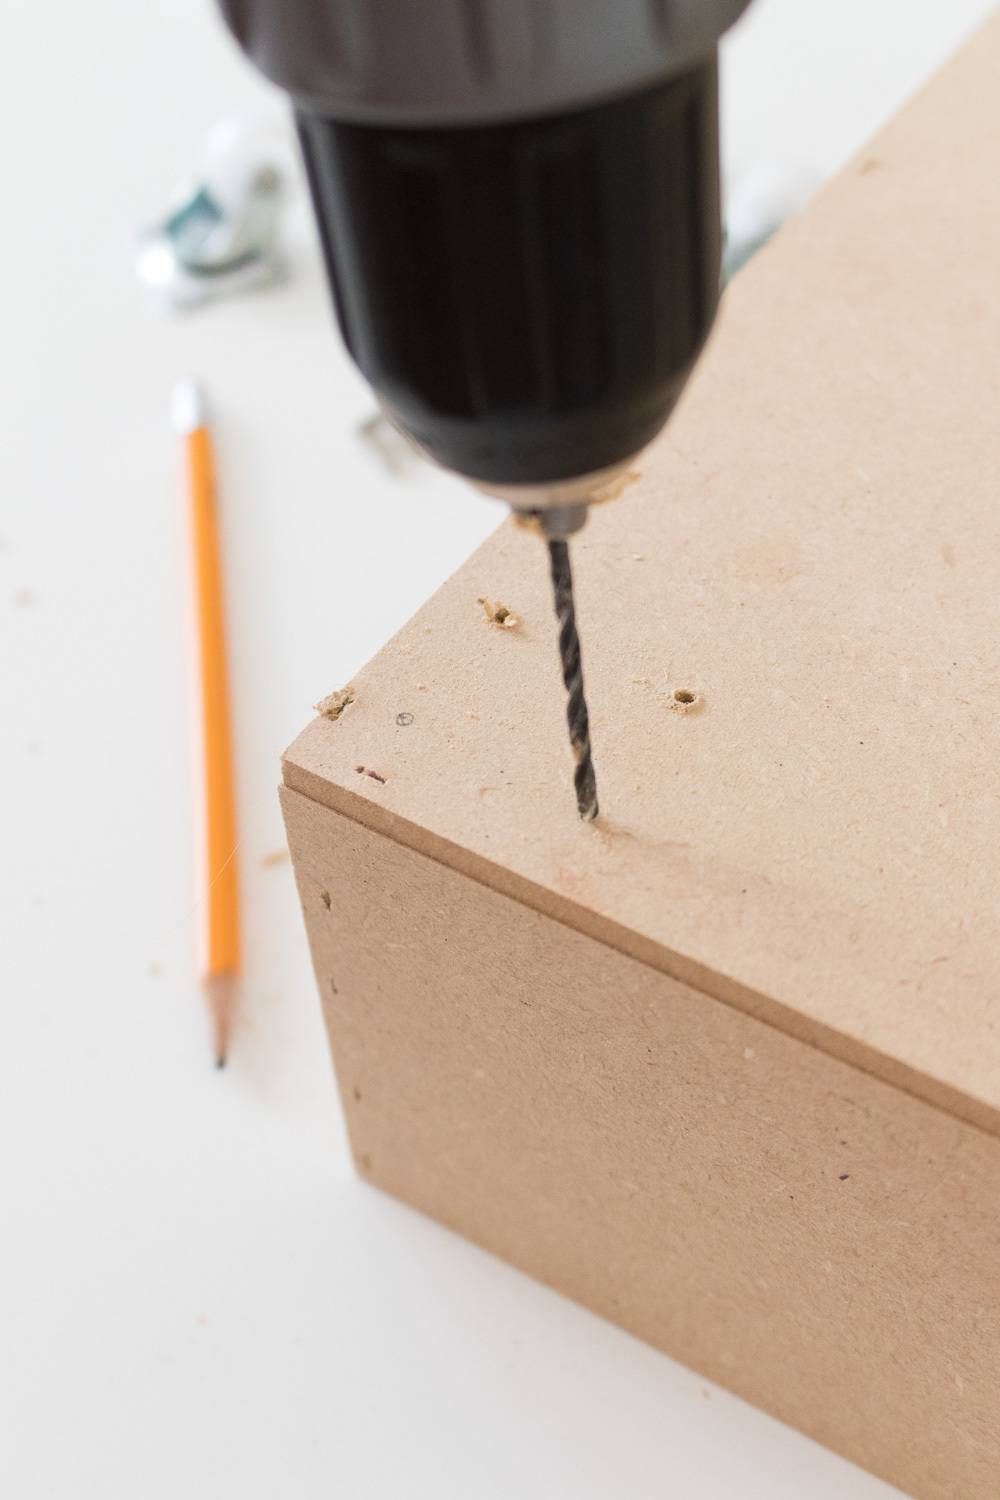
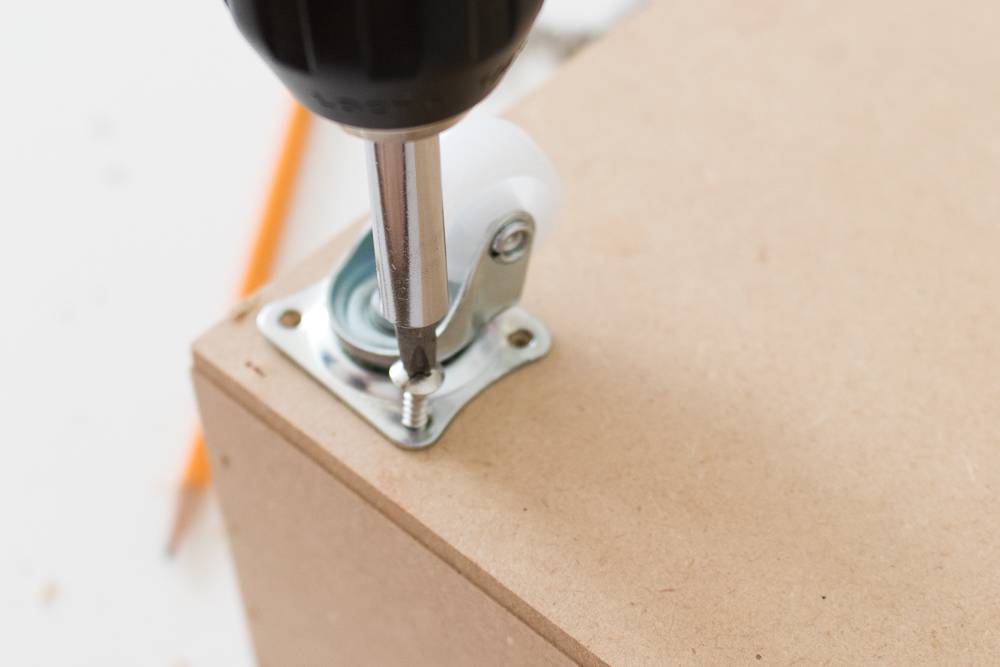
StepTurn the box over. On the bottom, place the caster wheels in all four corners and trace the screw holes with a pencil.
StepDrill small guide holes for the screws (4 for each wheel).
StepThen place the wheels over the holes and screw in the screws under tight and sturdy.
It’s that easy! Turn the box over and fill with items like shoes that will be able to collect dust. If you’re concerned about dust, be sure to package items inside of airtight bags before storing under the bed. The post Make your Own Under-the-Bed Rolling Storage appeared first on Curbly. Via https://www.curbly.com/make-your-own-under-the-bed-rolling-storage Learn to make a pebble bath mat with simple materials and techniques. 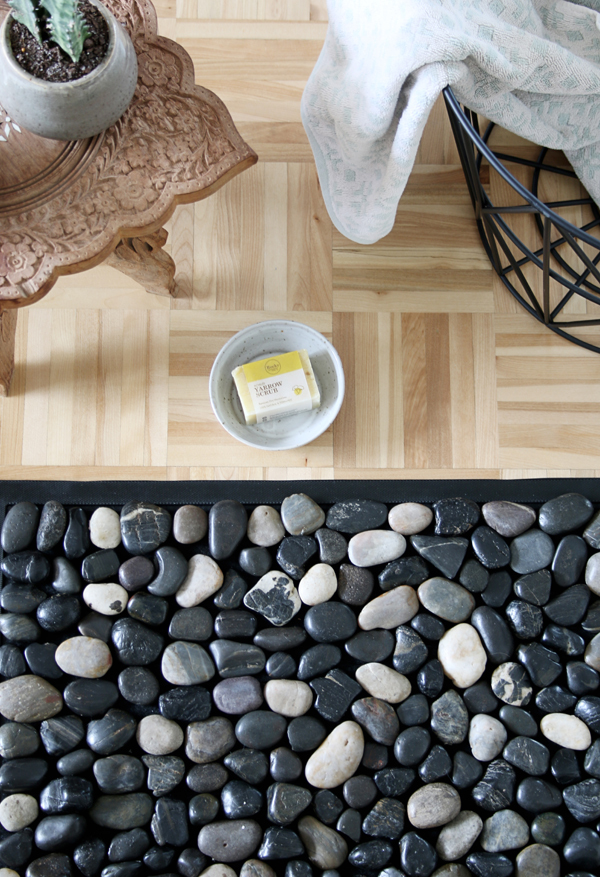
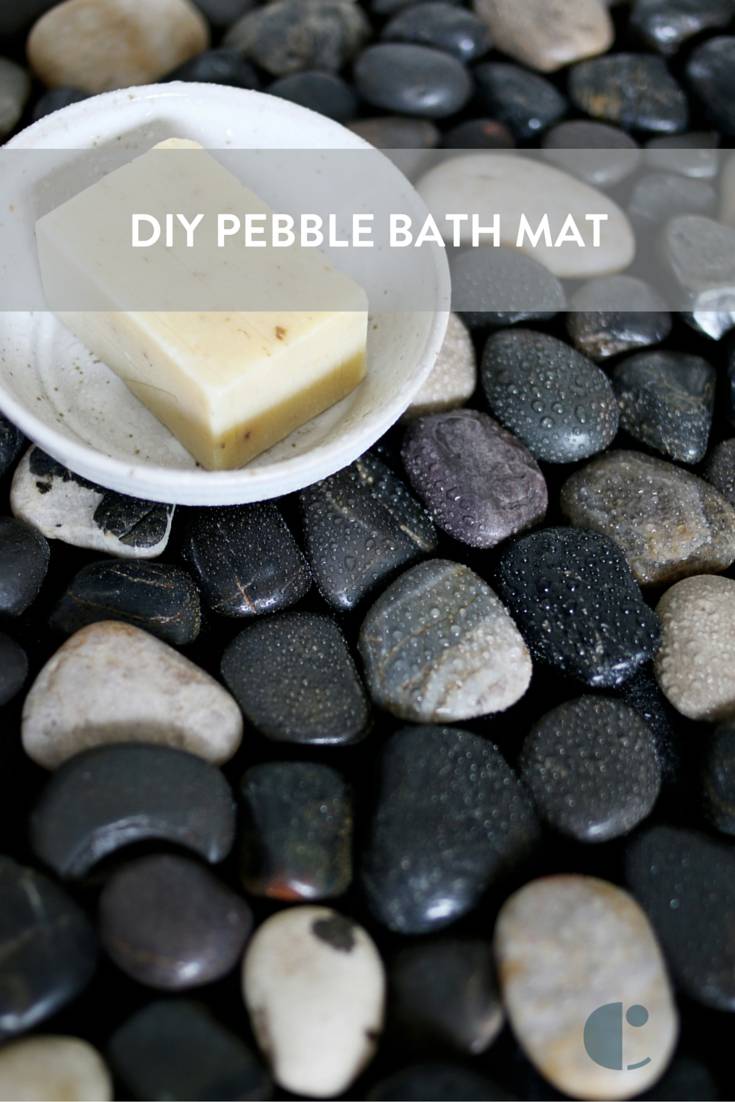
For all those stay-at-home moms who have very busy lives, this DIY is for you! Or anyone who loves an excuse to be pampered just a bit every day. Unfortunately, going to the spa isn’t a realistic or practical option for many of us. Which is why something as simple as this DIY Pebble Bath Mat can make the world of difference, turning an everyday shower into a treat. So take comfort the next time you get a spare minute to soak in some suds!
Here’s how to make a pebble bath mat to give your bathroom a spa-inspired atmosphere:Materials
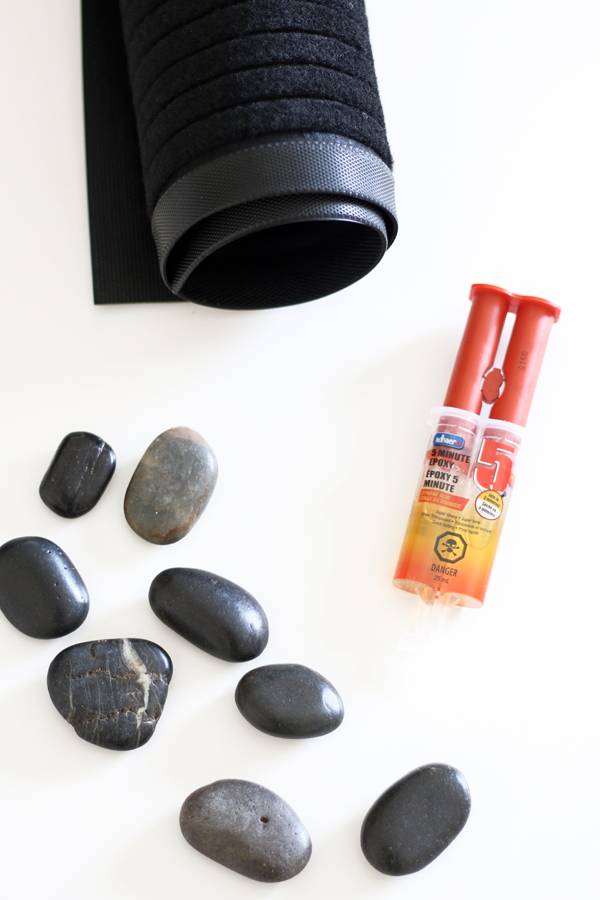
Step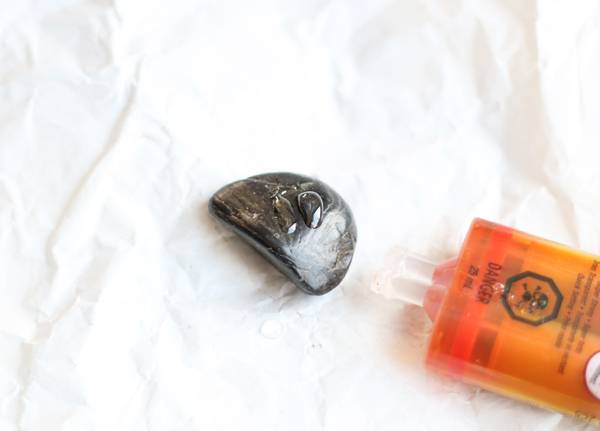
Clean and dry the surface of your rock. Press slowly so that equal parts of the hardener and resin are dispensed. Mix the two parts well for about a minute. Step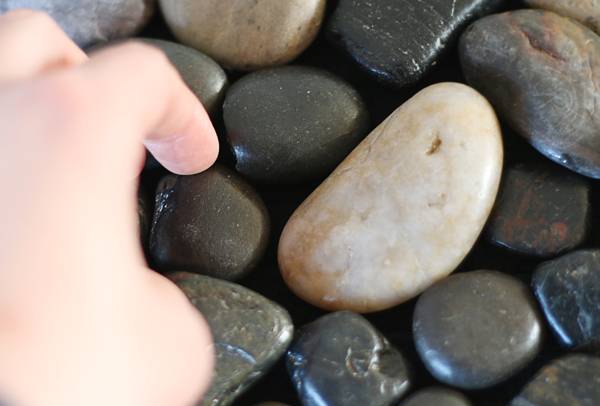
Press the rock to your floor mat firmly for about 3-5 minutes. 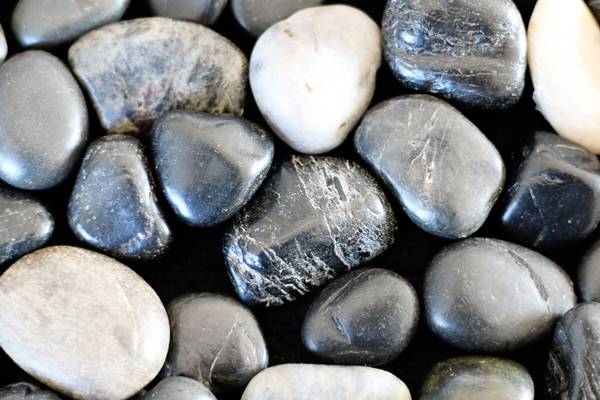
Repeat steps one and two until the entire surface of your mat is covered with the stones. Allow to dry for at least 30 minutes before moving your mat or manipulating it in any way.
Optional: Place a heavy weighted object over your pebble bath mat to secure the stones in place while drying!
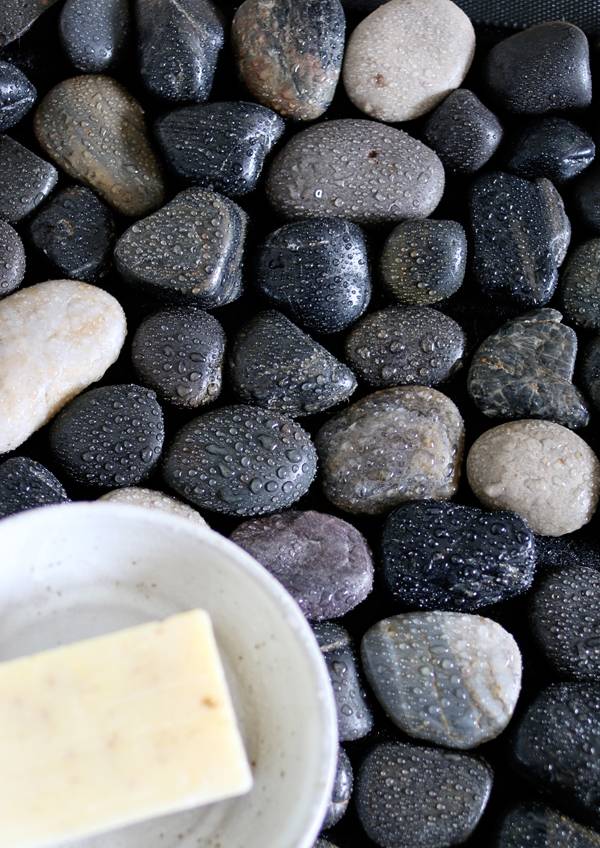
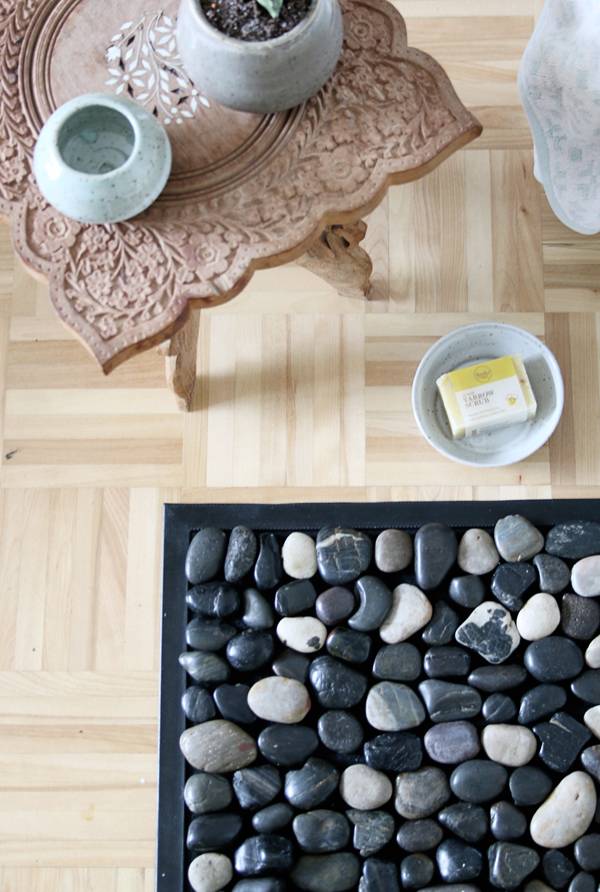
StepOnce your stones have dried completely, simply place in your bathroom or an outdoor area and enjoy! You can make your bath mat as big or small as you desire, depending on your space. Sticking to mainly black, grey and white stones will give your bathroom an instant modern feel. Not only will your space have that retreat-like feel, but every time you step out onto that smooth stone surface, your feet will be grateful for that mini foot massage! Here are some pictures of the finished product! 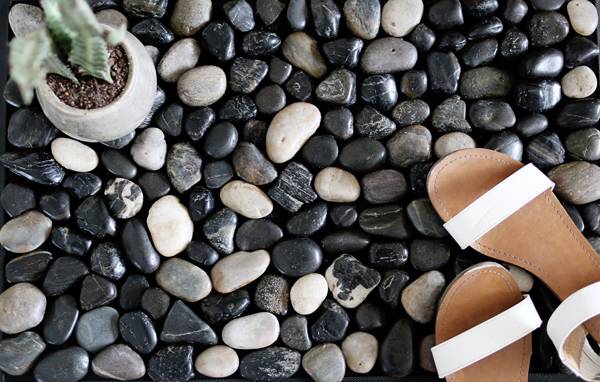
Photo: Lidy Dipert
Photo: Lidy Dipert 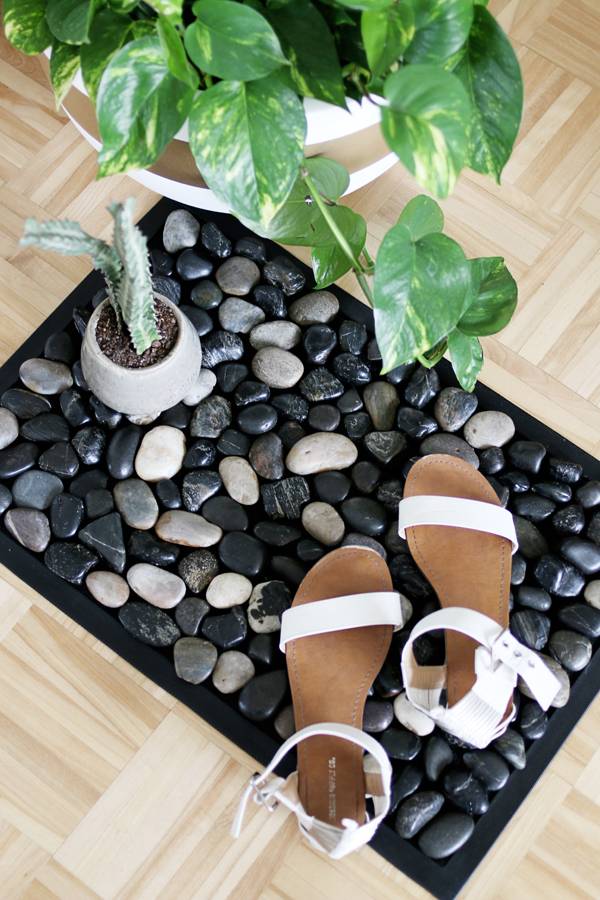
These pebble mats aren’t just great in bathrooms but work wonderfully in entryways and balconies as well. Happy crafting! Interested in learning more about Bathroom DIY projects?
|